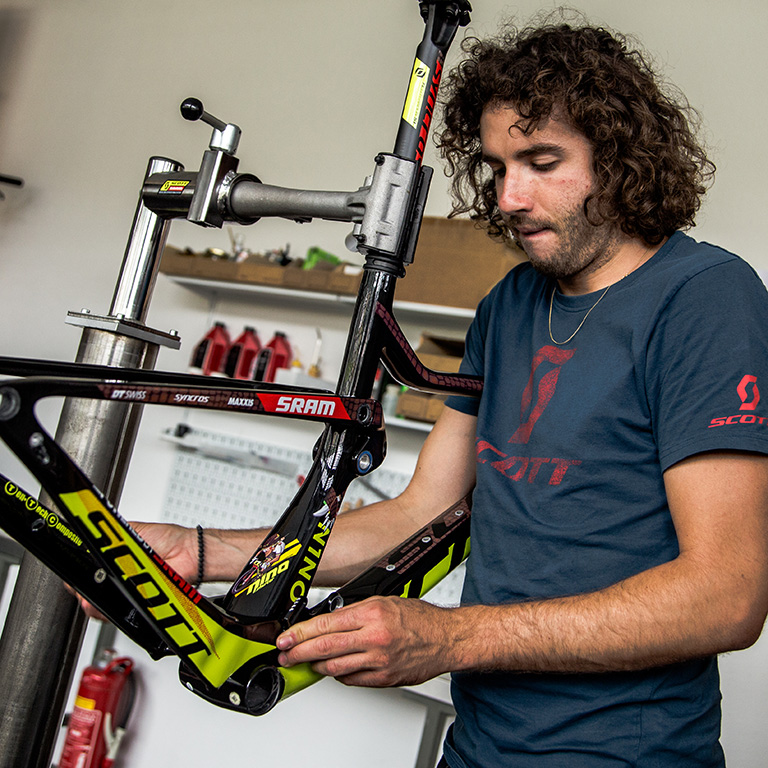
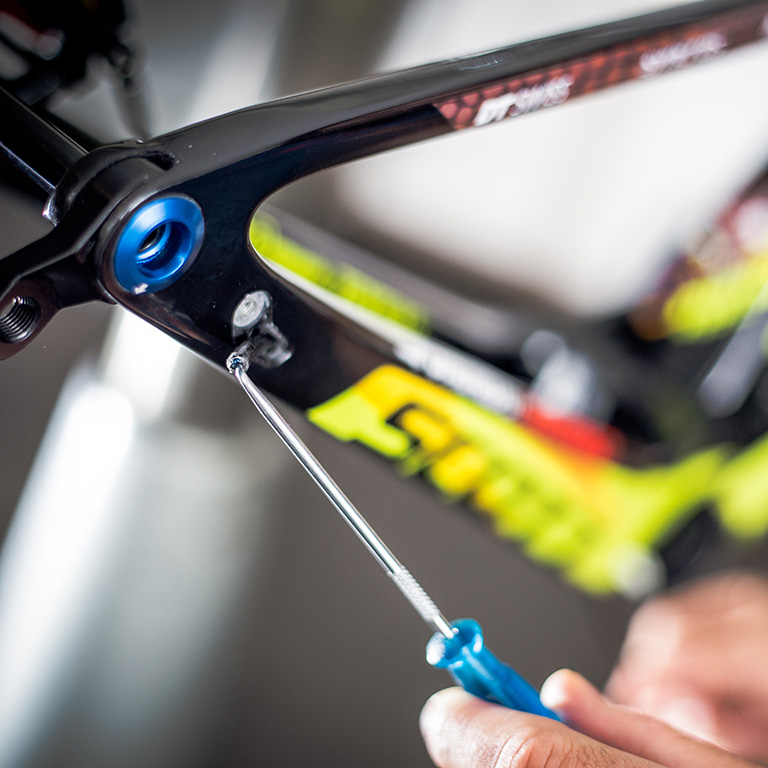
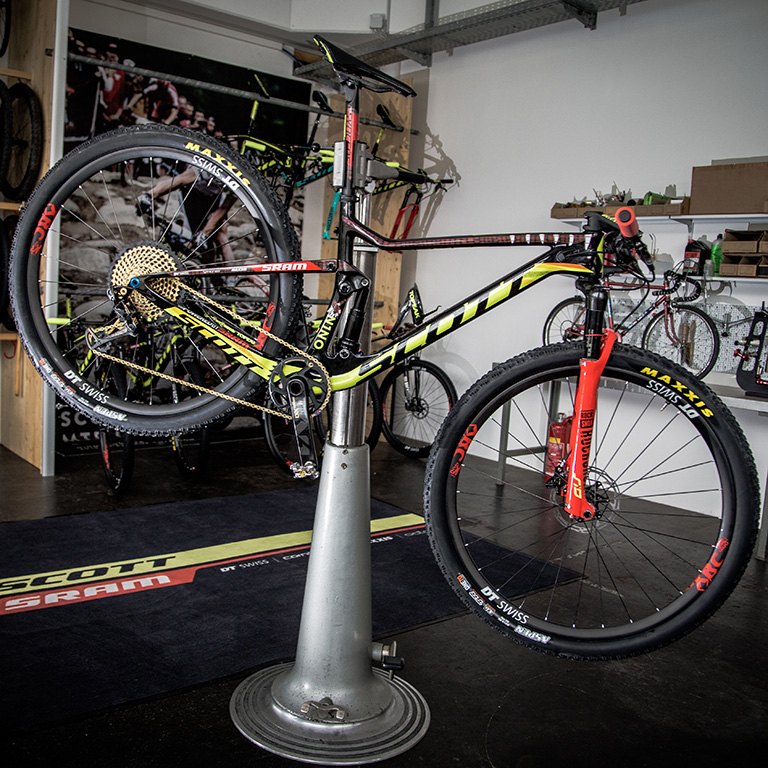
We have a more suitable website version for you. Please confirm your country to get the right product availibility and even purchase online.

About Cookies on this site

We use cookies to collect and analyse information on site performance and usage, to provide social media features and to enhance and customize content and advertisements.

Learn more

About Cookies on this site

Cookies used on the site are categorized and below you can read about each category and allow or deny some or all of them. When categories that have been previously allowed are disabled, all cookies assigned to that category will be removed from your browser. Additionally you can see a list of cookies assigned to each category and detailed information in the cookie declaration.

Learn more


Bike Tips and Tricks

Yanick-the-Mechanic is known as one of the most skilled mechanics on the XC circuit. As the main wrench for Olympic Champion Nino Schurter, he not only services the bikes of the fastest mountain biker on the planet, but that of the fastest team on the planet. As a chief mechanic of SCOTT-SRAM MTB Racing, home of Nino, Olympic Champion Jenny Rissveds, Cape Epic Champion Matthias Stirnemann and others, Yanick is in charge of no less than 55 high end SCOTT bikes. Servicing Mountain Bikes, Cross Bikes and Road Bikes at the highest level is Yanick’s daily business. Check out and learn how to make your bike a better ride with our “How To” Series.


1. GET ORGANIZED

If you fail to prepare you’re preparing to fail. Make sure you have every component and tool you need to complete your bike build. Make sure you have a clean space and clear time to do it patiently. Now fit the seat post so you can clamp the frame into the stand. Use an alloy grease or carbon assembly paste depending on the frame material. Never clamp a frame tube as it can easily be damaged by pressure in the wrong place.


2. INTERNAL CABLING

Insert all your internal cable/hose routing before adding cranks, forks etc so you have space to work. Use a foam sleeve over the cables/hoses to stop them rattling against the inside of the frame. Using a head torch can help you to look inside the frame to prevent any cable snags and potential issues. Cables should always be routed into the frame on the opposite side, i.e shifter mounted right side on the bar should enter the frame on the left side of the downtube, this makes the cable sit away from the frame at the headtube this prevents rubbing on the carbon or finish of the frame.


3. FITTING THE FORK

Apply a wipe of grease to the bearings and fit them into the frame. Insert the fork and slide the tightening wedge, top cap, spacers and stem firmly down into place to check overall stack height. Mark the steerer flush with the stem top. If you’re unsure how many spacers you will run always use the maximum you may want. You can always cut down the fork later if you need to. Disassemble the system, cut the fork carefully, grease the headset bearings then reassemble. Carefully torque up the steerer cap and stem bolts to the correct tension.


4. ASSEMBLE AND ADJUST THE COCKPIT

Add the handlebar and all cockpit equipment-brakes, shifters, TwinLoc, and dropper remote. Work out where these parts need to go, start with the grip then work out where the break levers needs to go. Remember 1 finger braking mount inboard so your hand is perfectly positioned on the grip and your index finger is comfortably placed on the break lever. Don’t tighten just yet, nip them so they don’t slide sideways, preventing any bar scratches. Take your time starting the threads on the bolts especially the ones with lock tight already applied, if it feels wrong it could well be crossing a thread so stop, remove and visually inspect before trying again.


5. WHEELS AND BIKE FIT

Assemble the wheel package by fitting tires, rotors and rear cassette. Fit the wheels to the bike. Remove from the stand. Align the stem. Adjust the handlebar and cockpit control angles to your personal preference. If you are unsure, set the levers so they are parallel to the natural angle of your forearms when sat on the bike. Once satisfied, tighten to indicated torque (default to 5nm if unmarked).


6. CABLE TIDYING

TwinLoc controls can make the front end of a SCOTT a busy place so route cables carefully for the neatest solution. Shorter is generally better but always check the bars can still rotate fully without pulling the cables/hoses too tight. Cut carefully, open the cable ends and add ferrules.

Also, don’t be scared of trying different options when cables and hoses sit on top of each other. As a rule the front brake hose should be independent, able to move freely with the fork and bar (not crossed by other cables and hoses). We also recommend it passes on the inside of the fork leg so never to get snagged out on the trail. Be careful when shortening the brake hoses as you tighten the bolt reconnecting, it can wind around causing the hose not to run straight. If this happens, just remove the brake leaver allowing the hose to relax then refit.


7. FITTING THE DRIVETRAIN

First fit the bottom bracket. Always use a carbon paste on Press Fit units, or assembly grease on screw in bearings. Use waterproof grease on the bearing faces and to help slide the crank into place. Tighten the cranks into place, making sure they still spin freely. Add pedals using assembly grease and protective washers. Fit the front and rear mech checking for correct alignment and set the upper and lower limit screws in relation to the cassette. If you have a SRAM Eagle 12 speed drivetrain, use the alignment quadrant to set the gap between the top jockey wheel and the largest rear sprocket. Fit the chain, checking for any tight links.


8. BRAKE AND GEAR SET UP

Even if they feel OK always bleed your brakes as hidden bubbles can otherwise cause problems when you least need them. Check brake caliper alignment so that pads don’t rub the rotors.

Thread the inner gear cables carefully into the outers. Pull tight and then clamp securely. Run through the full range of gears to adjust the indexing and make sure the chain does not fall off the top or bottom of the cassette. If you’re unsure how to bleed brakes or adjust indexing follow the specific instruction videos for the correct model of brake on the SRAM or Shimano websites.


9. ADD COMPONENTS

Add the saddle. Adjust height, angle and fore/aft position before measuring your reach, that way you won’t make the common mistake of ordering a new stem you might not need. Check the dropper works correctly if fitted. Add and secure grips, using built in clamps or adhesive tape. Spirit level and tape measure are your friends for this task.


10. FINAL CHECK

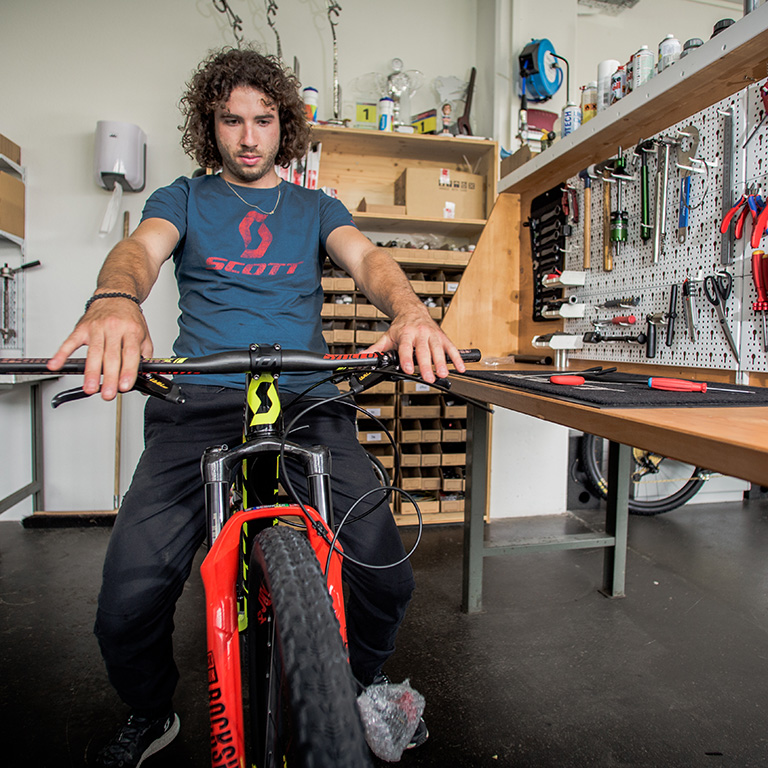
Double check all fixing bolts in the stand. Remove bike from stand. Bounce it on the ground and rock it back and forth with the brakes on to check for any loose components. Check tire pressures. Set fork and rear suspension pressure to give 25% sag as a starting point. Set rebound for quick enough extension for multiple bumps without the tire bouncing off the ground as it extends. Again if you’re unsure, check out set up videos from Rock Shox and Fox.

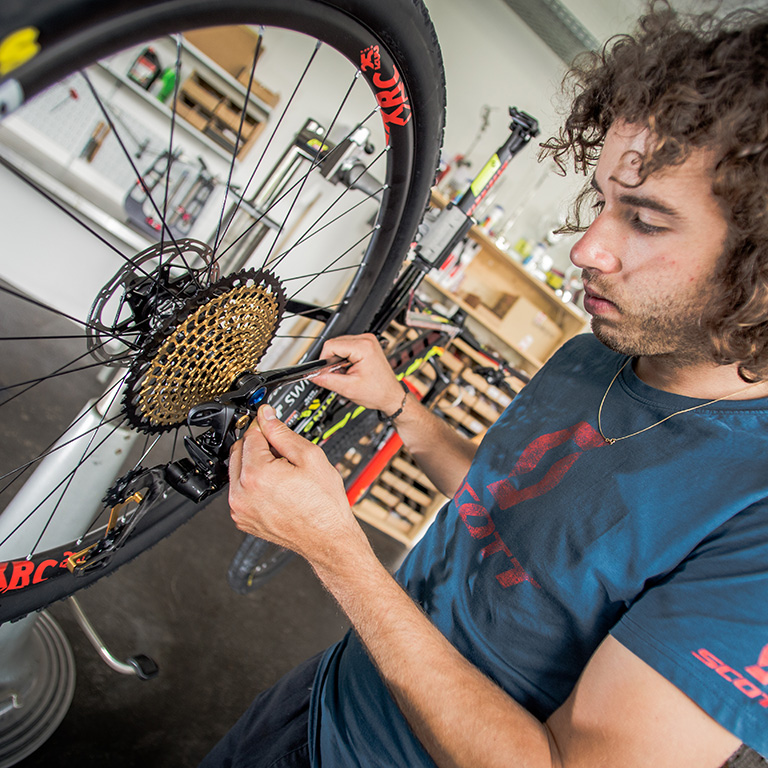
Do some gentle laps to check the full gear range and control/saddle position. Get used to the position, feel and function of all the controls. ’Bed in’ the brakes by sprinting then braking increasingly hard a few times, without completely stopping until you feel their power increase as the pads and rotors share an even coat of pad material.

Now your SCOTT bike is totally ready to hit the trails. Enjoy!


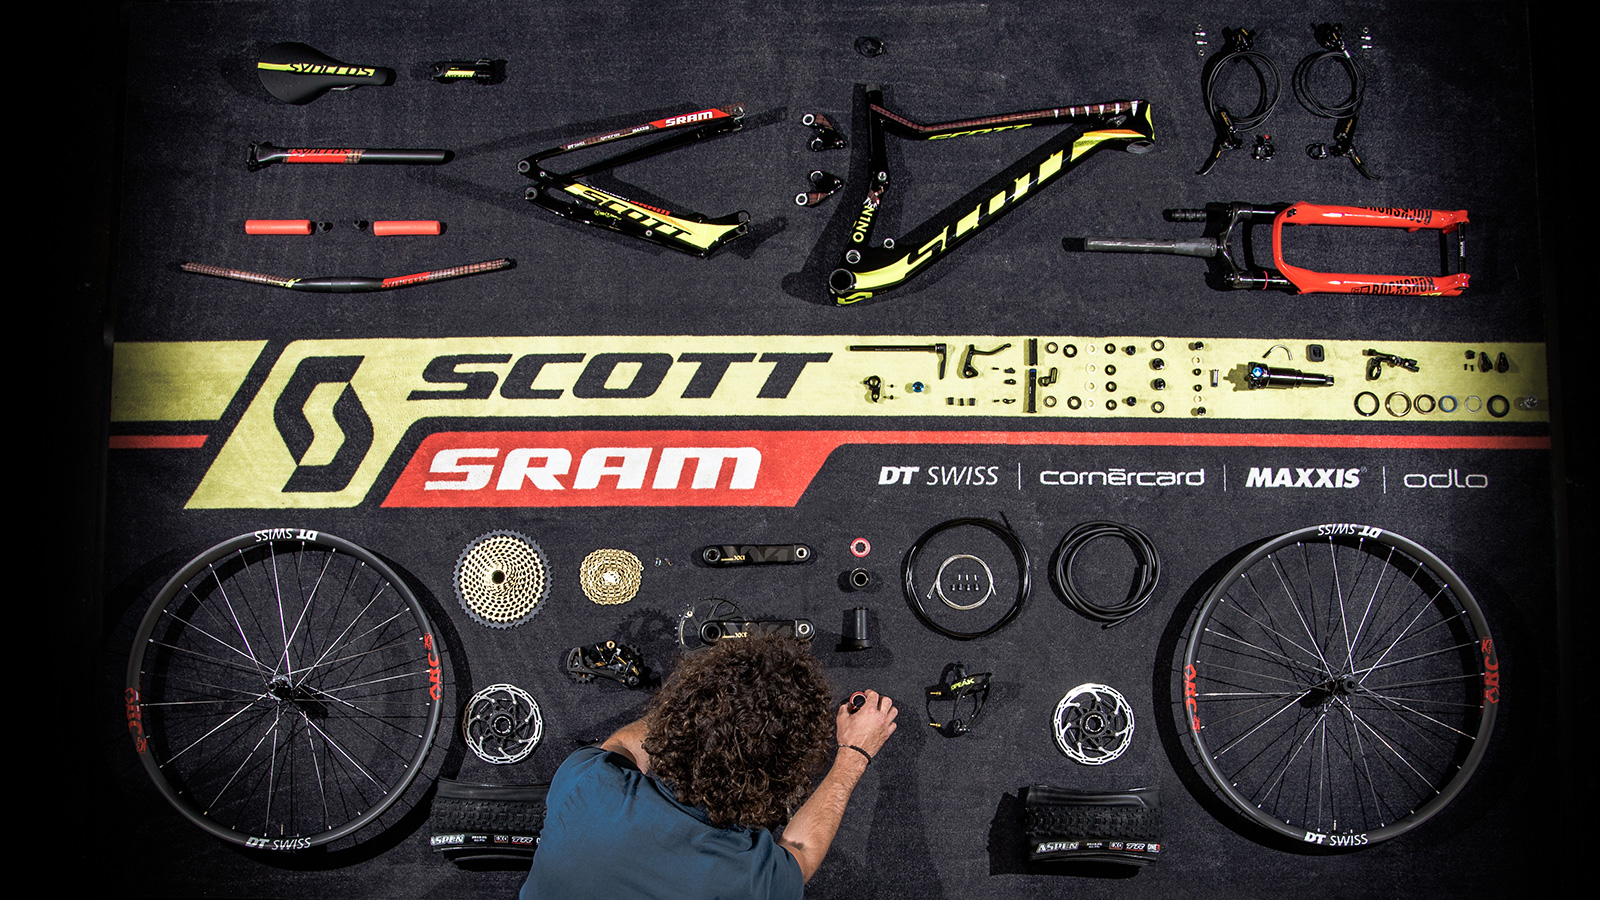
Learn more about SCOTT-SRAM MTB Racing here.


Words : Yanick Gyger & Nick Craig
Photos : Jochen Haar
Video : Shaperideshoot / Gaëtan Rey


Nino Schurter

Learn more

SCOTT-SRAM MTB RACING TEAM

Learn more