We have a more suitable website version for you. Please confirm your country to get the right product availibility and even purchase online.

About Cookies on this site

We use cookies to collect and analyse information on site performance and usage, to provide social media features and to enhance and customize content and advertisements.

Learn more

About Cookies on this site

Cookies used on the site are categorized and below you can read about each category and allow or deny some or all of them. When categories that have been previously allowed are disabled, all cookies assigned to that category will be removed from your browser. Additionally you can see a list of cookies assigned to each category and detailed information in the cookie declaration.

Learn more


Brakes, bolts, gears, wheels, suspension- when your next Marathon or Cross-Country competition is near, you’ll want your rig to be 100% ready to race! Yanick-the-Mechanic knows what is really necessary for having your bike in the best condition. Check out how SCOTT-Sram’s head mechanic gets Olympic Champion Nino Schurter’s SCOTT Spark RC 900 fine-tuned for win after win.


Step 1 - The System, the Process and the “why”

I give 100% of my focus for the following steps. I go into my zone. As a World Cup mechanic, it’s my job to prepare the best possible tool for the race. The riders have to trust me 100%, this is why I apply my own system. I do not allow anyone to speak to me so that I do not miss anything. My job is to make the bike battle ready, I aim to make it 100% the best it can be. I also aim to reduce as much friction as possible. In the previous chapter I washed and polished the bike in this process, I inspected the bike, making notes of any observations relevant to the performance of the bike.


Step 2 - Wheel Check

The wheels are already out of the bike from the polish in the previous chapter. I put the wheels in the trueing stand, and check the rims are running straight making any adjustment’s as need be. I check that the bearings are running smoothly with minimum friction, I also take the free hub body off, clean and lube the pawls and teeth with specific grease. This is important to the drive chain as any snag here during a race can cause major problems. The seal must be fitted 100% perfectly so as to not drag the cassette when freewheeling. Check the tyres for cuts and damage to the knobs and side walls and remember when the sealant was last changed, at 2 months open and check. Inspect the valve, they clog making the pressure check difficult, either clean the sealant or as I do fit a new valve.


Step 3 - Brake Piston and Pad Check

I inspect the brake pads looking to see if there’s enough material for the race, this means checking the weather forecast and conditions for the race. I never want to change the brake pads the day before a race. If you do have to change them so close to a race they must be bedded in properly. Refer to chapter 1, how to build your bike. I check the pistons to make sure they both move equally at the same time if one is sticking; hold the good one back pulling the lever gently activating the sticky piston. Special silicon lube can be used but be sure it’s the right product as it may harm the seals.


Step 4 - Bolt Check

I go through the whole bike, I start at the back and work to the front so if I have to leave I know where I’m up to. Dropout, rear derailleur, all the linkages and shock mounts- I check every bolt. Where its states the NM please make sure you use a calibrated tension meter especially where safety comes first i.e. stem and handle bars. For pedals, I don’t only check the main thread but also every single small bolt. Be careful not to always keep adding more tension and then over tightening, causing a break, just check that nothing is loose. Check the grips if they are glued on. If there’s any movement I remove them, clean and replace them using double sided tape. I check that the pedals are tensioned to the exact requirements of each rider. This is really important- a grip that moves can cause a major incident. The connection for hands and feet are of the utmost importance.


Step 5 - Brake Discs and Function

First of all put both wheels back into the bike, be sure to tighten properly. Make sure the rotors are running free between the pads, the rotors should be central in the caliper and the pistons should move equally until the pads come in to contact with the rotors at exactly the same time. Don’t just centralize the rotor in between the pads if one piston has been lazy. If the rotor is slightly bent use a rotor straightening tool to correct.


Step 6 - Gear and Chain Check

Firstly, make sure the chain is dry using a towel, or with compressed air if available. Then it’s very important to inspect the chain link by link. I start at the power link, I check each one looking for any sign of damage or a stiff link and repeat this on both sides. This is the only job I do seated. I spend 10 minutes inspecting, if I find any damage I have to decide to replace or not. I don’t like to fit a new chain on race day; it’s my calculation and my job to make this decision. Then it’s time to lubricate the chain, you need to consider the current conditions along with the forecast for the time when the bike is needed to perform. If it’s wet use wet lube, if it’s really dry use wax or dry lube. I place the chain onto the largest sprocket on the cassette putting the chain under tension and also side stress opening the joints in the chain. I then run the lubricant in to the chain on both sides of the rollers. Pedal backwards making sure the lube runs deep into the joints, repeat pedaling forwards to be sure no moving parts are missed. Now take a towel and wipe any excess lube away. Check the gear alignment on the work stand, pedal and shift, checking every gear is perfectly adjusted up and down. Micro adjust this with the barrel adjuster one click at a time. After every adjustment repeat a full run through of the gears.


Step 7 - Suspension Check

I would already have done a suspension service at this point, it’s a job that is done at least 2-3 days before a race allowing time to make sure it’s well bedded in. I never do this the day before a race. Take a paper towel, put a suspension specific lube on it, wipe it around the rubber seals on your fork and rear shock, cycle the shock through its travel. Wipe any excess off leaving only a thin film on the shaft. Notice if the shock rebound is set correctly for the course or rider preference. Some riders know exactly, others take my guidance. I always take a note of any changes so we can always immediately put the set up back to the rider’s base line setting.


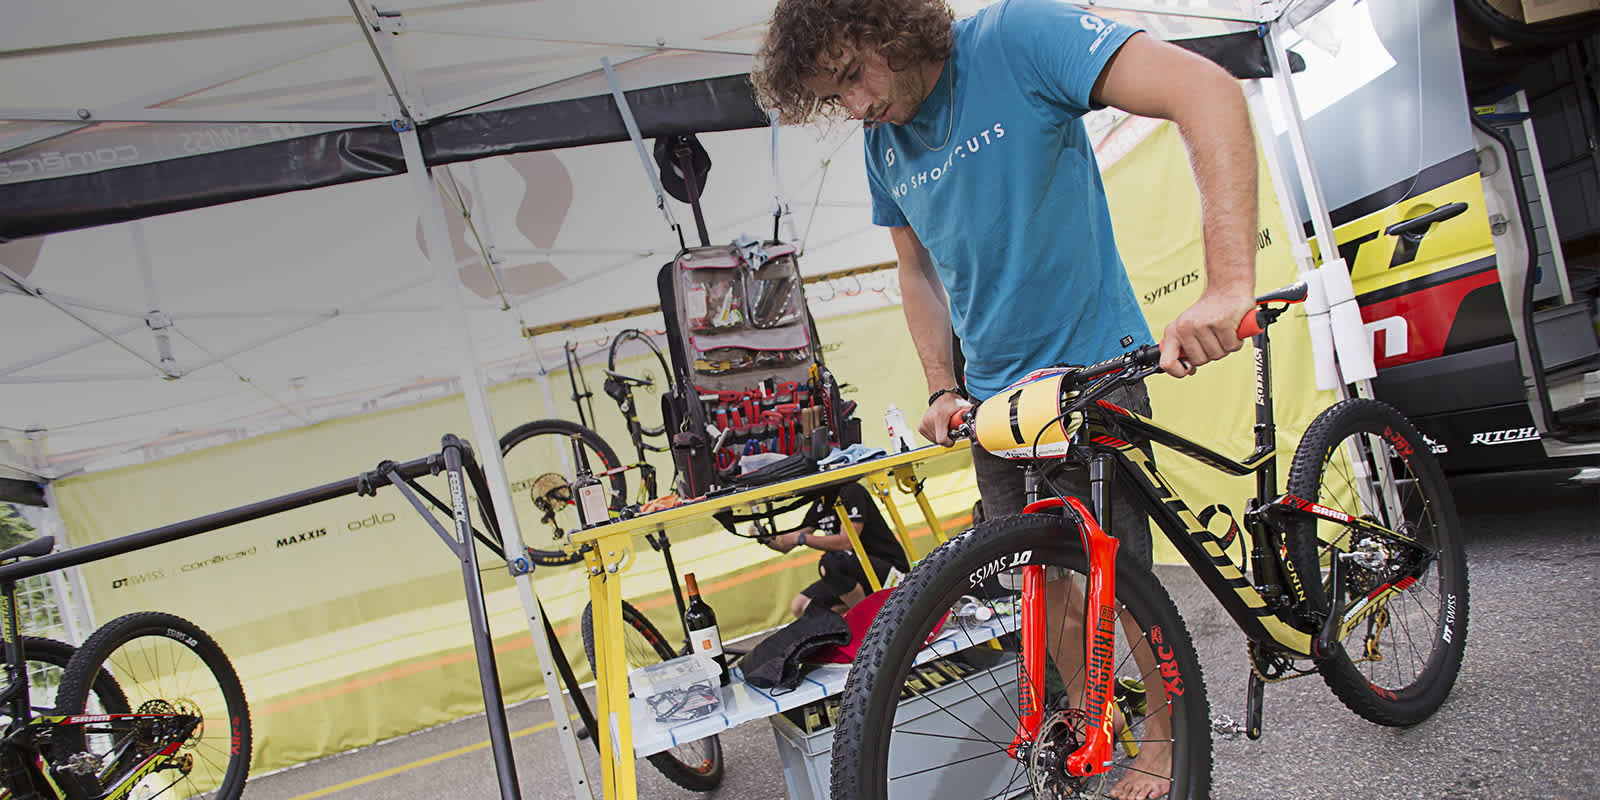
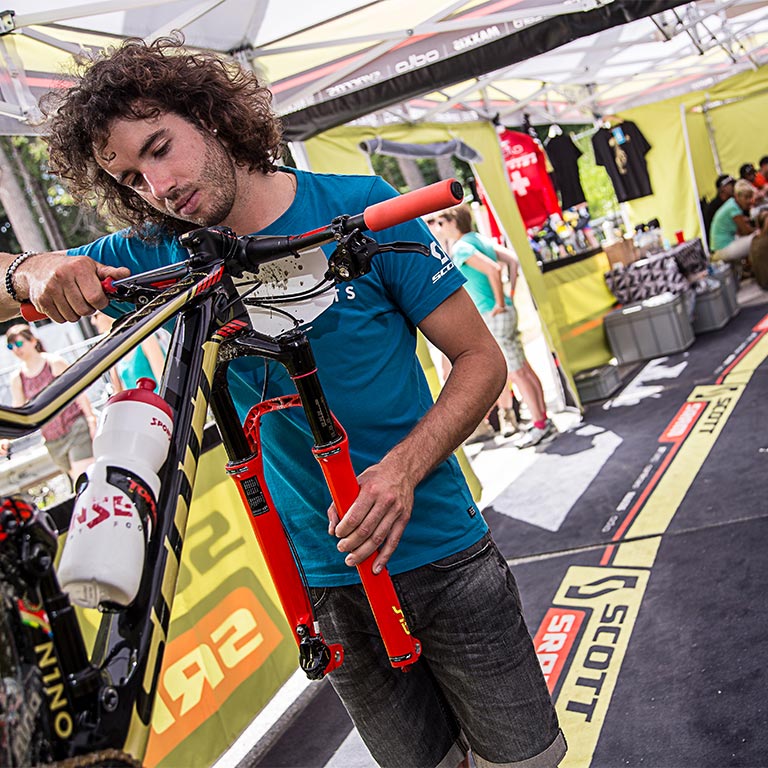
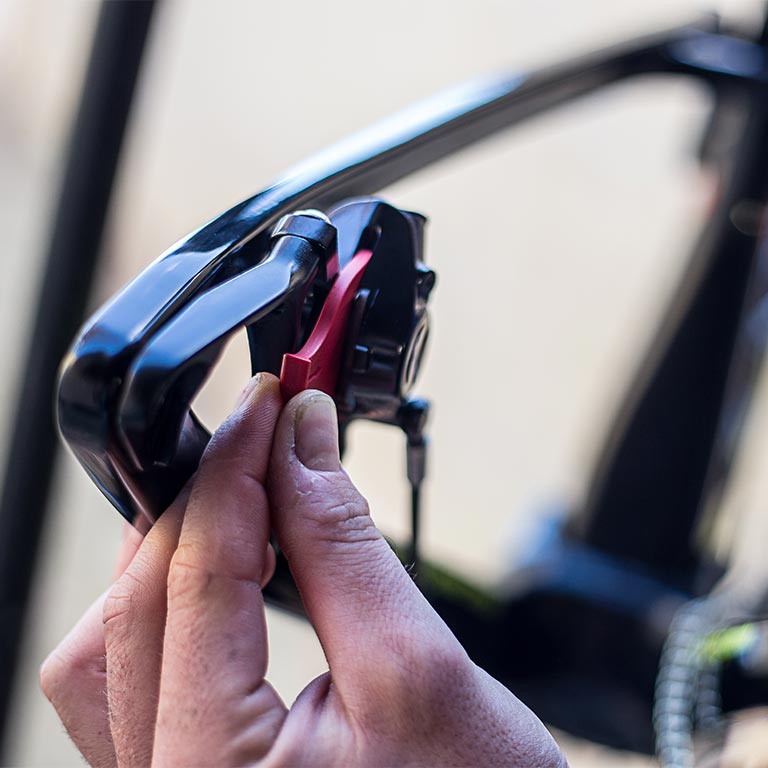
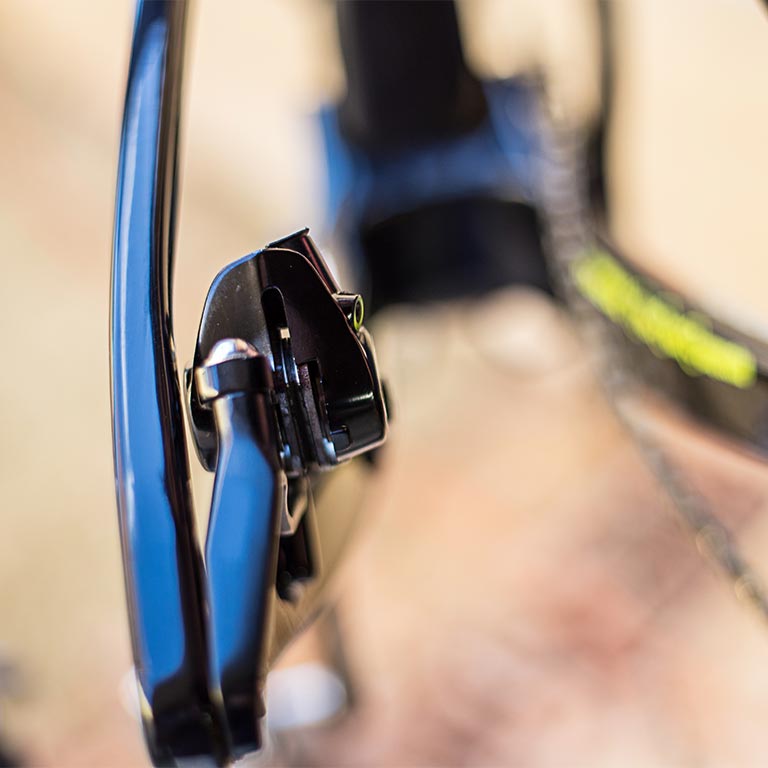
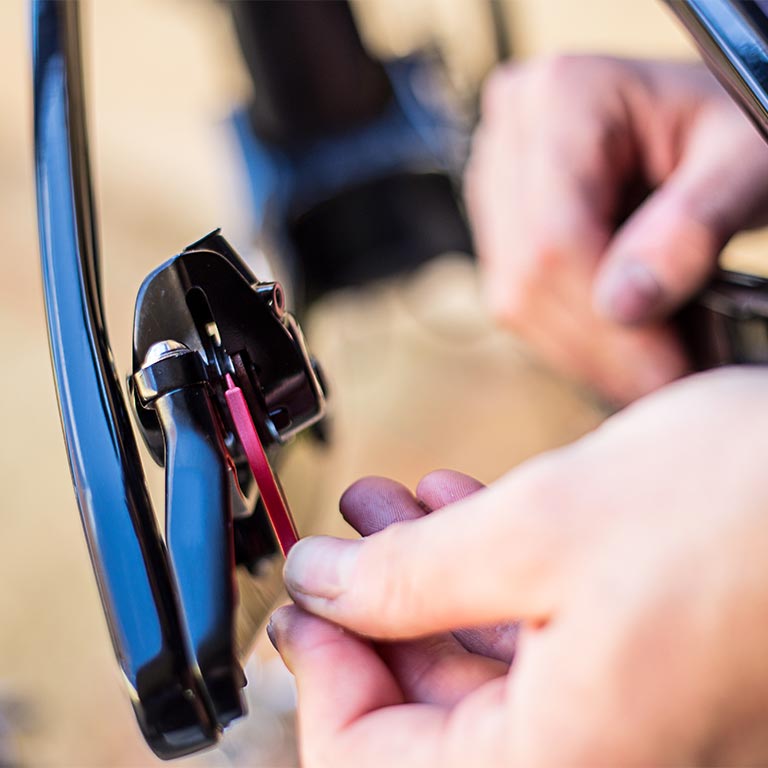
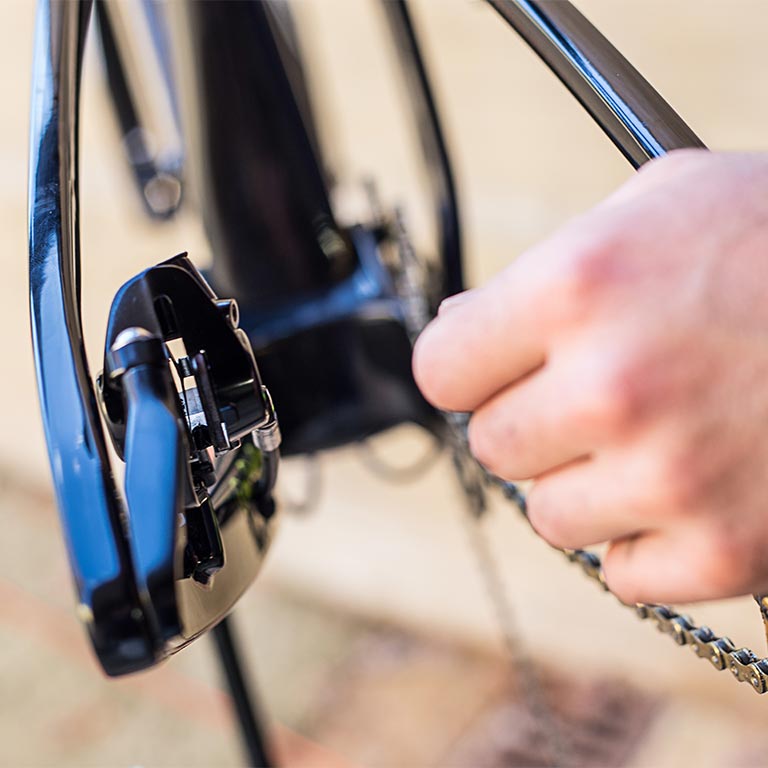
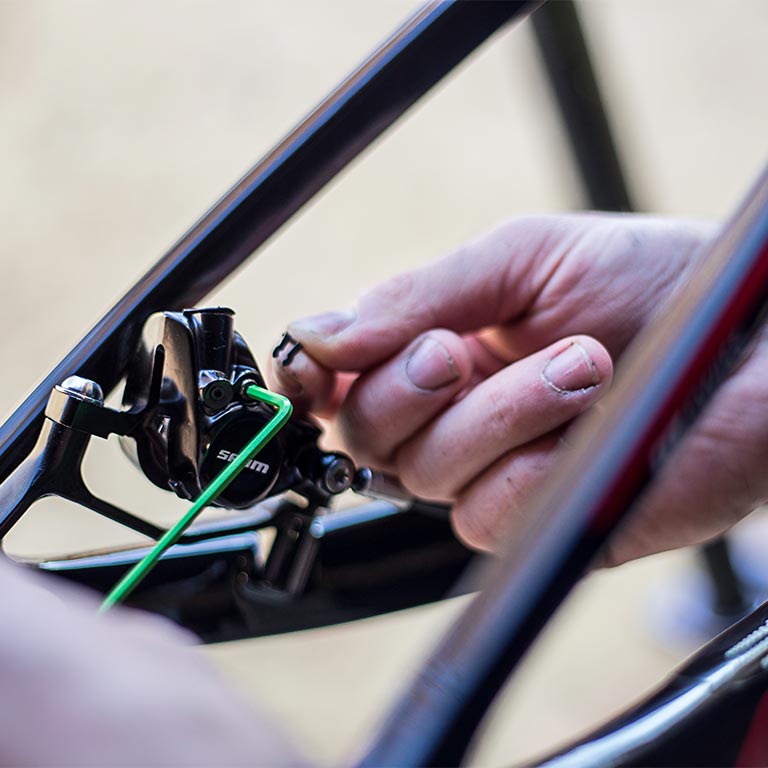
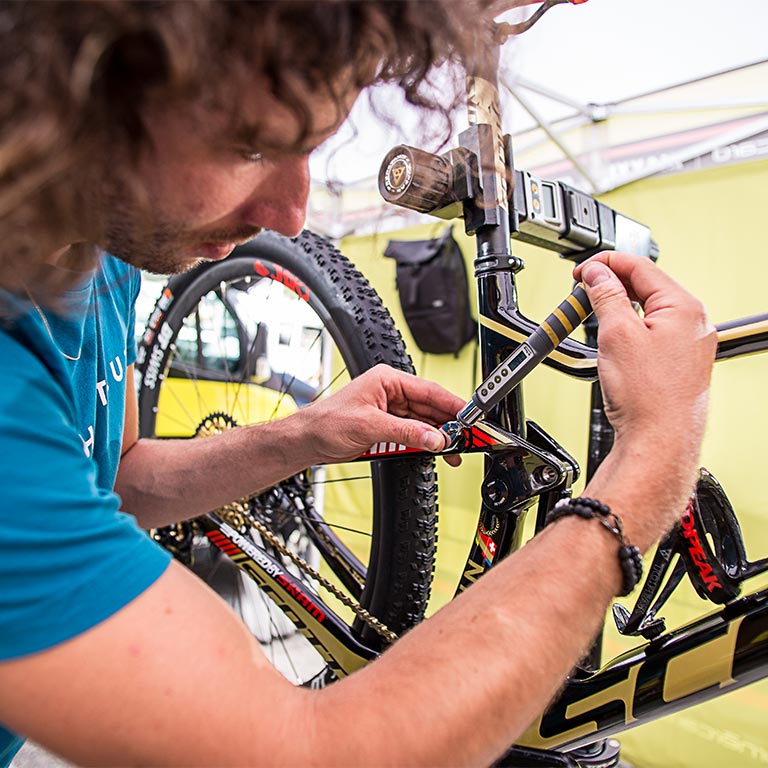
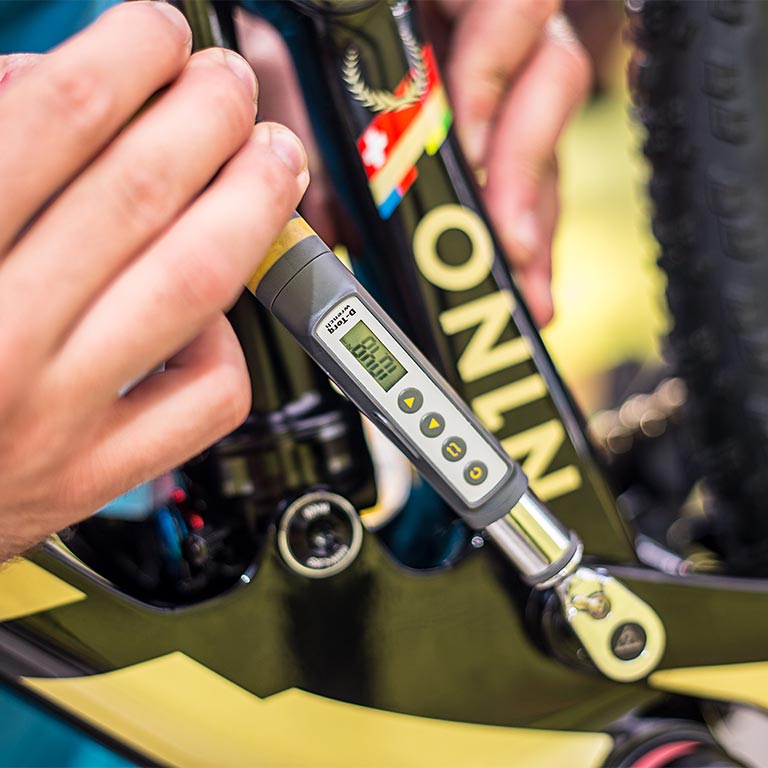
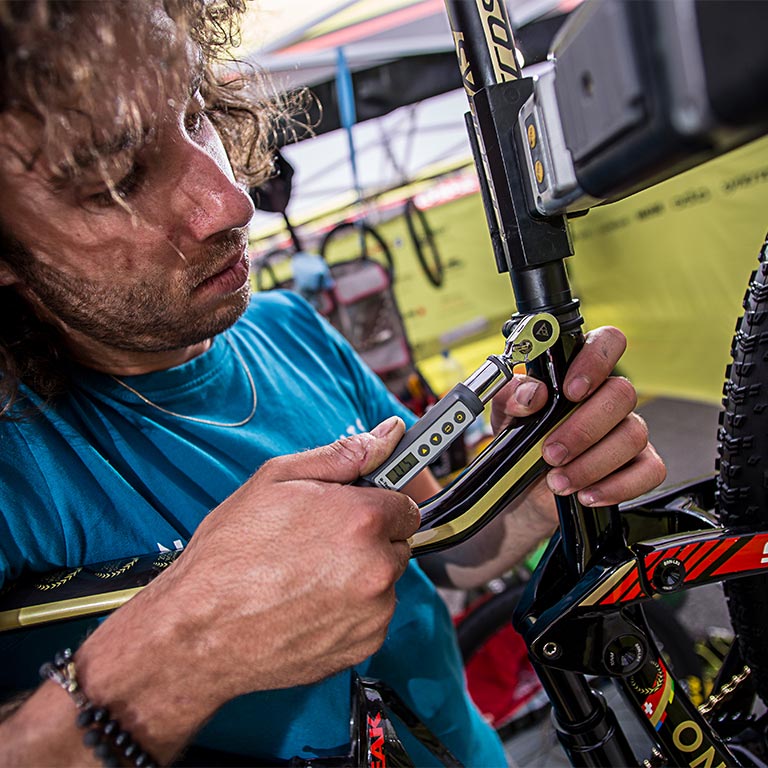
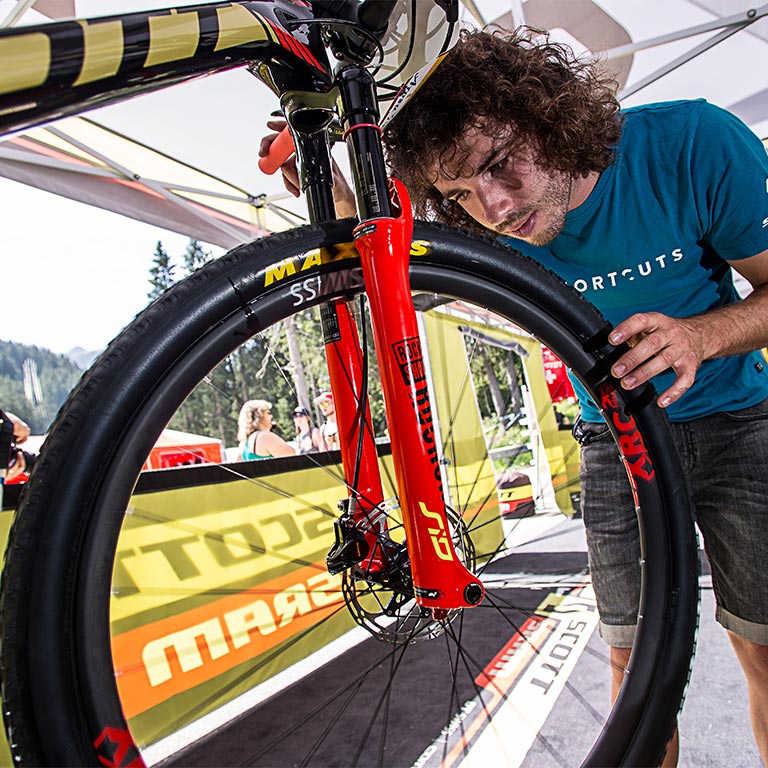
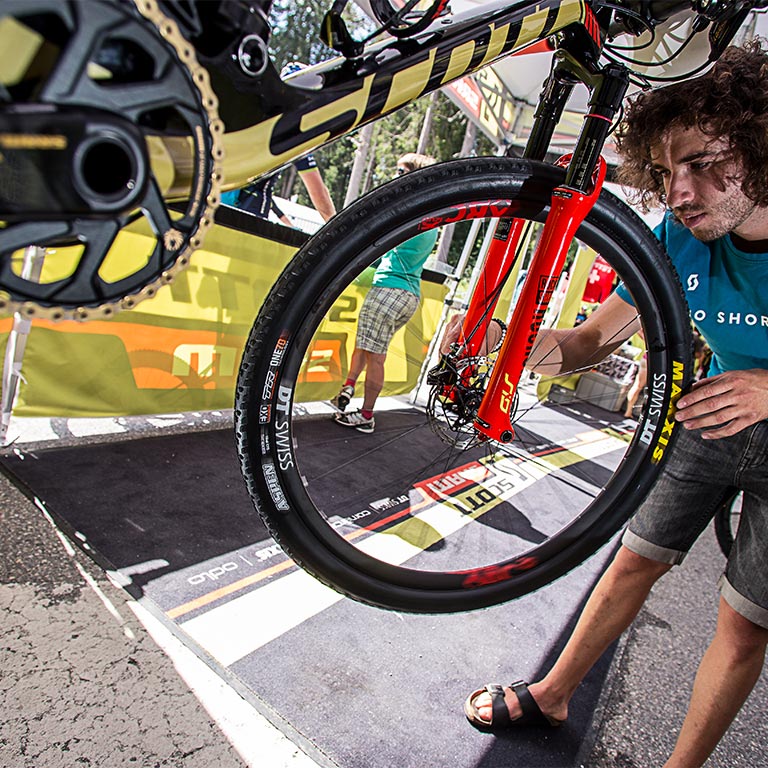
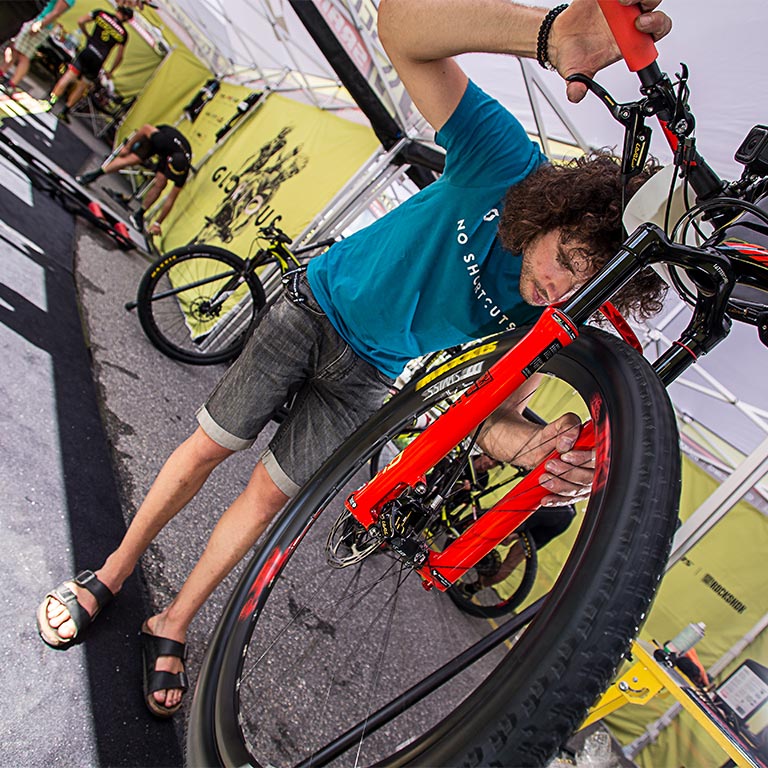
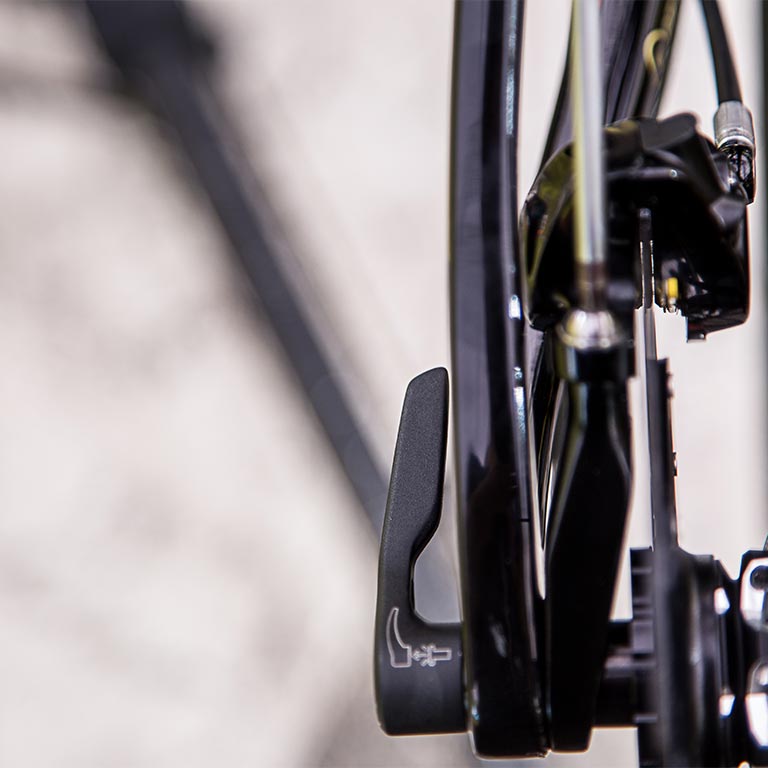
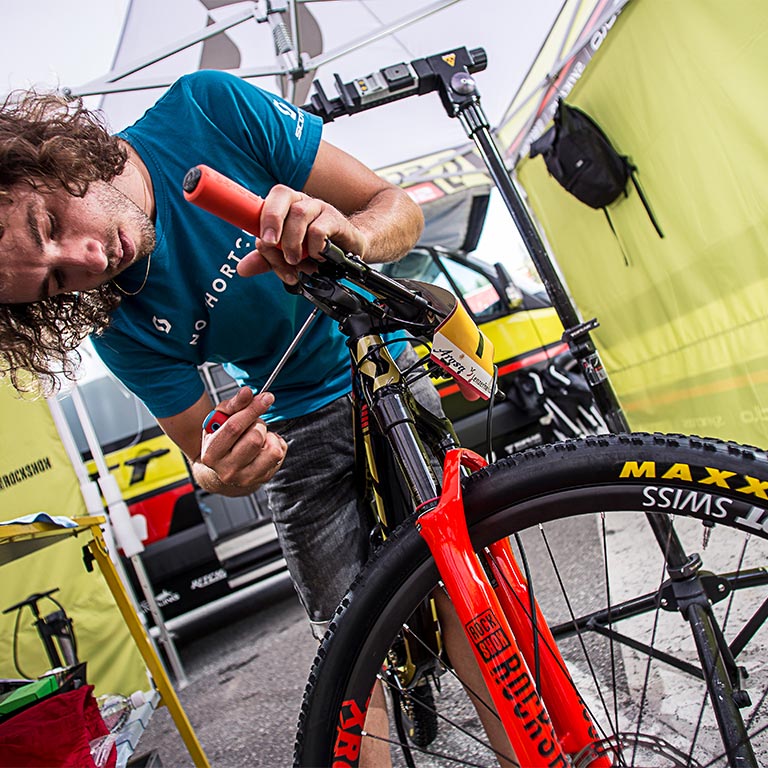
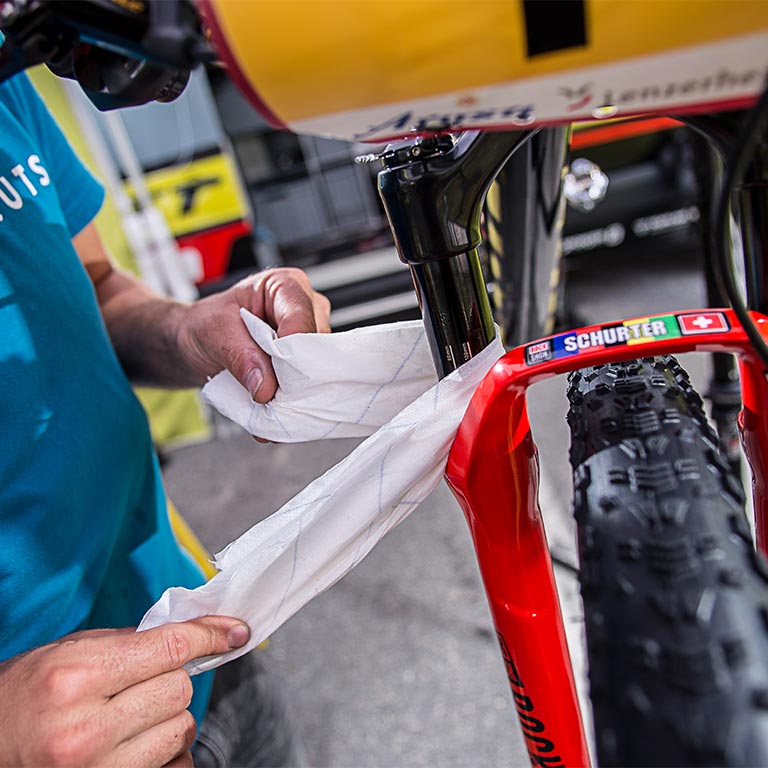
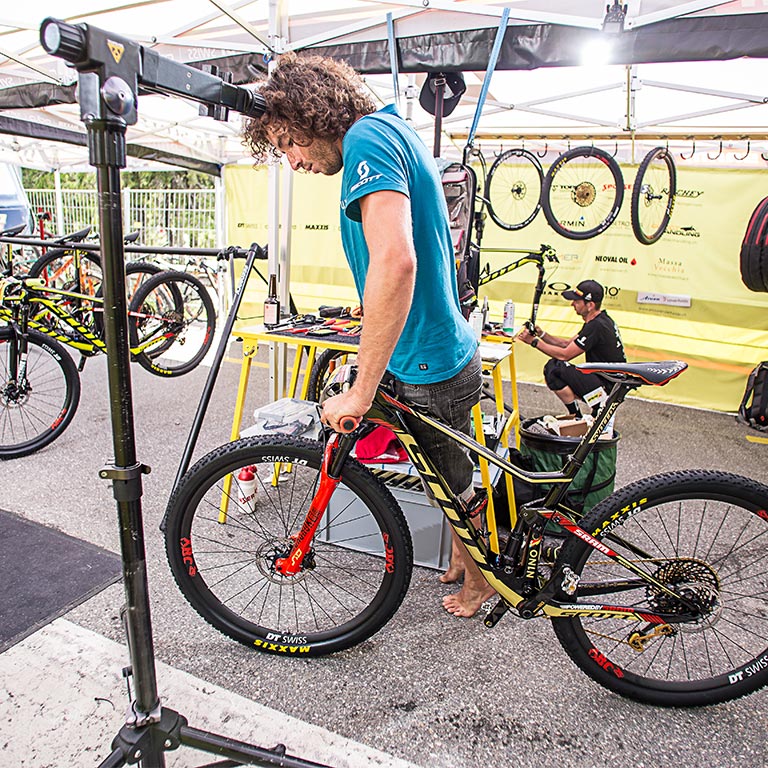
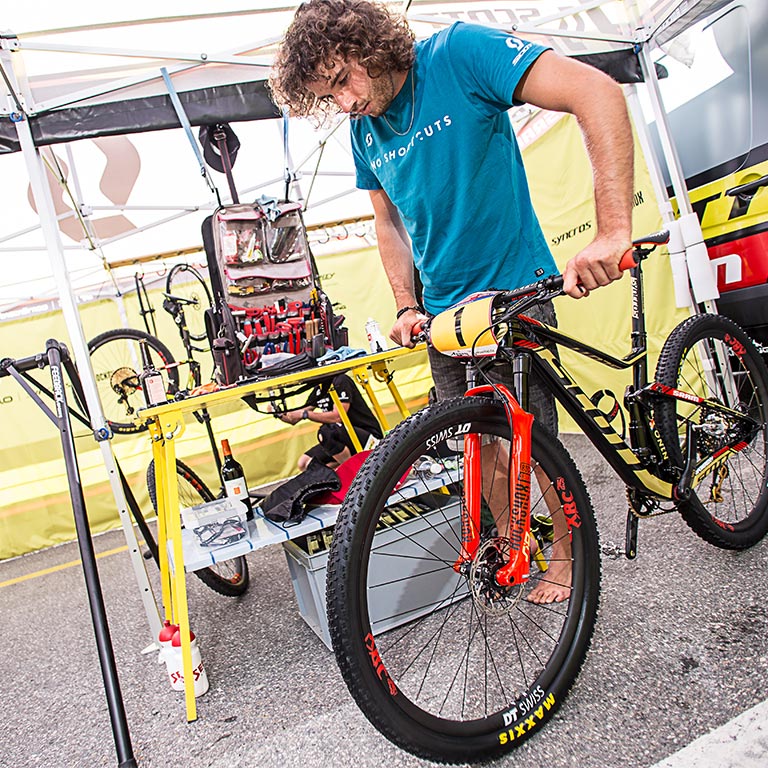
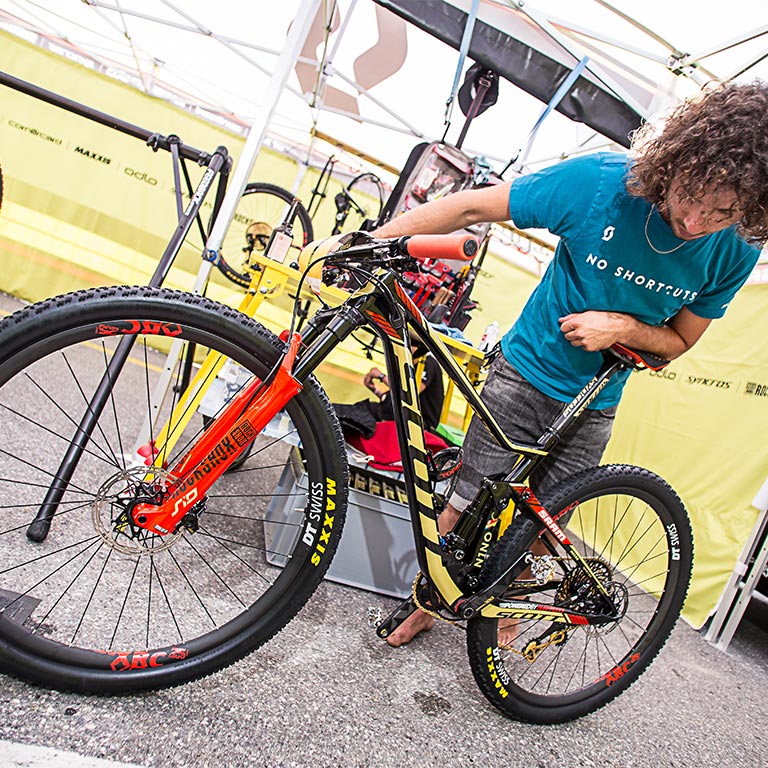
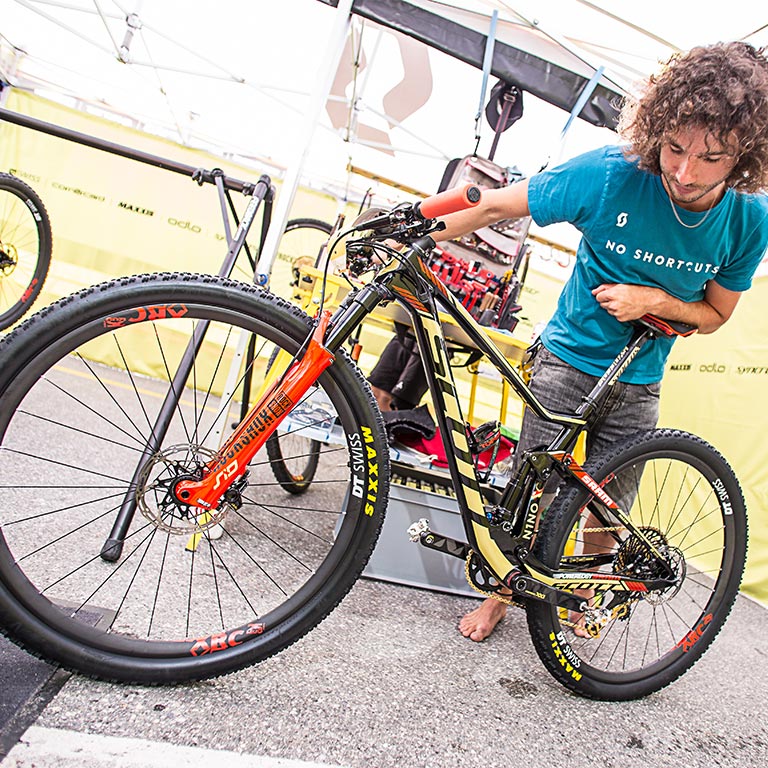
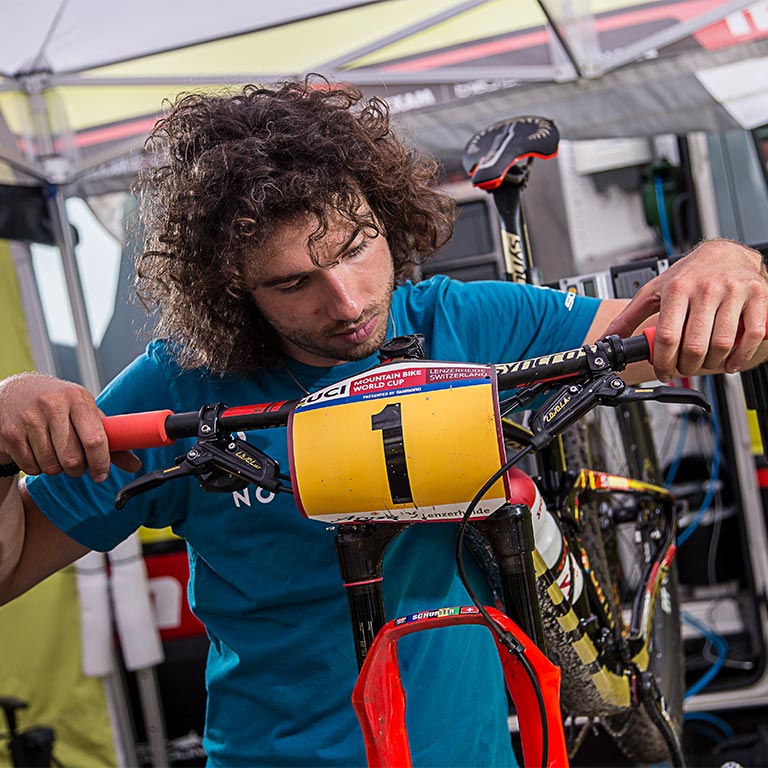
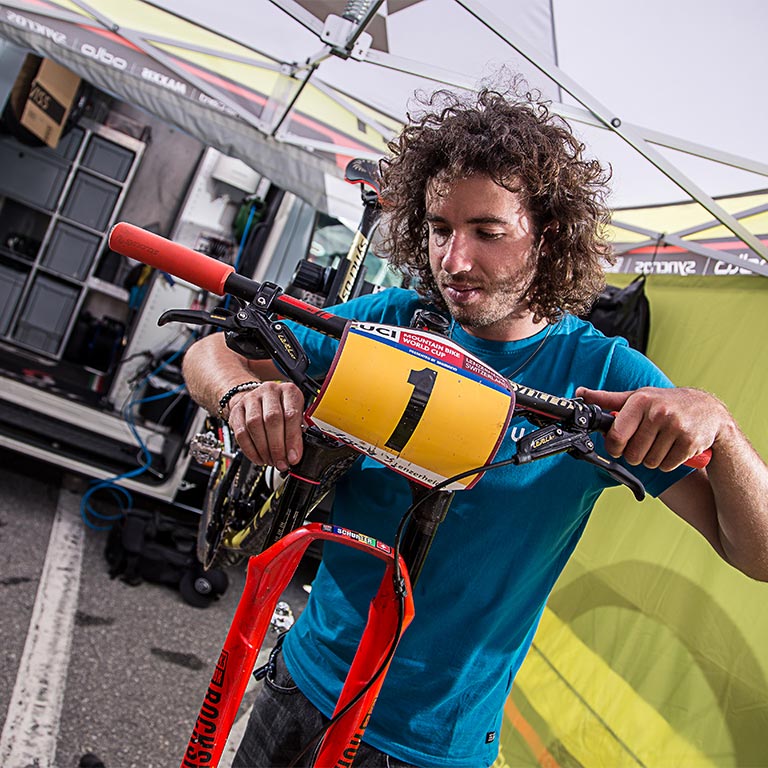
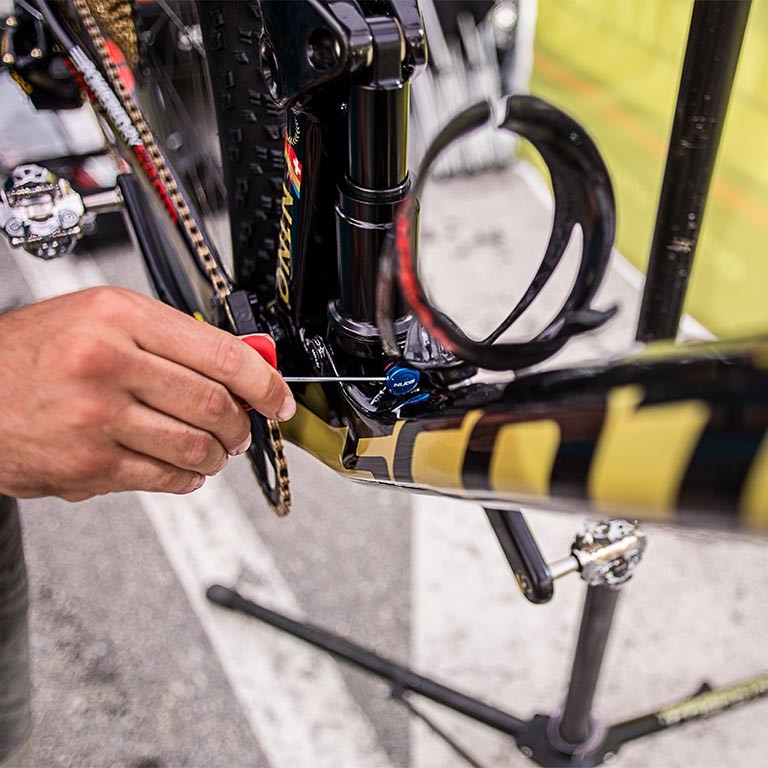
Step 8 - TwinLoc Suspension System Check

With SCOTT’s TwinLoc Suspension System (Spark) or RideLoc (scale) we have a 3 position remote lever giving us three suspension modes. Fully open, giving full travel, traction control mode, changing the geometry of the bike and resulting in less travel and a higher SAG point, making the bike sit in a perfect climbing position, or fully locked for asphalt or gravel. I check that the lever runs smoothly, I then place the bike on the floor and check that the fork and rear shock have the 3 modes. If not use the barrel adjuster to see if it’s a cable tension issue, if you’ve had to wind the adjuster out don’t leave it like this, I wind it all the way back in then out one half turn, securing it with the locking nut. I then undo the grub screw taking the slack out of the cable. Re-check the modes. If you find this hard, try doing each cable individually so you can isolate, if it’s the front or the rear that may need attention.


Step 9 - Measurement Check

I know each riders measurements exactly, I check the saddle height and tilt, I also make sure the reach, saddle to handle bar is correct. Tip! When using a tape measure, use the 100mm mark as a start point, tape measures get dropped bending the hook affecting true measurements. The saddle could have slipped back or seat pin dropped in the frame. I know how far the saddle sits behind the BB on each rider’s bike (the offset), this is done in my workshop. From this I know the reach measurement. My floor is flat and I have a 90 degree upright, like a garage floor and door frame. I wheel the bike rear tyre until its up against the upright, then I measure the door frame to BB Center followed by the door frame to nose of saddle. The difference is the offset.


Step 10 - Test Ride

Helmet on! Now I test the bike. I head out and run through the bike under load, a climb and decent making sure brakes, gears, suspension, chain, TwinLoc and steering are all 100%. Small adjustments can be made on the test ride, but if you have any doubts its back to the work stand to re-do, then re-test ride the bike until happy. The bike is now race ready!


Words : Yanick Gyger & Nick Craig
Photos : Jochen Haar
Video : Shaperideshoot / Gaëtan Rey


Nino Schurter

Learn more

SCOTT-SRAM MTB RACING TEAM

Learn more