We have a more suitable website version for you. Please confirm your country to get the right product availibility and even purchase online.

About Cookies on this site

We use cookies to collect and analyse information on site performance and usage, to provide social media features and to enhance and customize content and advertisements.

Learn more

About Cookies on this site

Cookies used on the site are categorized and below you can read about each category and allow or deny some or all of them. When categories that have been previously allowed are disabled, all cookies assigned to that category will be removed from your browser. Additionally you can see a list of cookies assigned to each category and detailed information in the cookie declaration.

Learn more


If you didn’t think that cleaning your bike was a big deal, think again. There are several little details which will make you think twice about keeping your steed in pristine condition after watching and listening what Yanick-the-Mechanic has to say about it. Check out how SCOTT-Sram’s head mechanic gets the Olympic Champion Nino Schurter’s SCOTT Spark RC 900 clean again. 


Step 1 - Prepare Your Bike Wash Area

Firstly, it is important to find a good spot to clean your bike. Try to find somewhere with good drainage. It is advantageous to use a solid bike stand so that your bike is off the ground. This way, dirt doesn’t splash back onto your bike. Ideally, your wash area is out of the wind and rain. Ensure your area is well lit and that you have enough space to work. If you think you need a pressure washer, you’re mistaken. These can end up stripping important grease form bearings and damaging your suspension – this isn’t something you want!


Step 2 - Prepare Your Equipment

Assemble your bike stand. Ideally, find one that rotates 360 degree’s which allows you to stand still while spinning the bike around. You will need a bucket, preferably one that is brightly colored which will show any oil or residue. Then, get two brushes, one soft and one firm along with a hose connected to cold water and some cleaning products. These can simply be a cheap washing up liquid. Avoid car products as these can be very strong and they also contain oils which can contaminate disc pads.


Step 3 - Rinse and Foam

Mount your bike on the work stand and rinse the bike first with cold water working from top to bottom in layers passing any debris downwards. Then, fill your bucket with warm water. Take your soft brush, make sure it’s clean free from grit and dirt to make sure to not scratch your frame. Apply washing liquid directly to the brush, using the warm water. Foam the whole bike starting at the front working down the bike from the top so you don’t get dribbles on bits you’ve already cleaned.


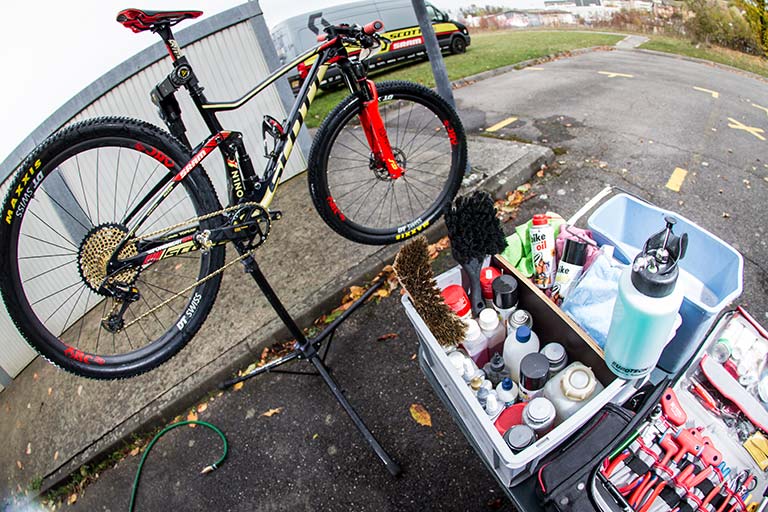
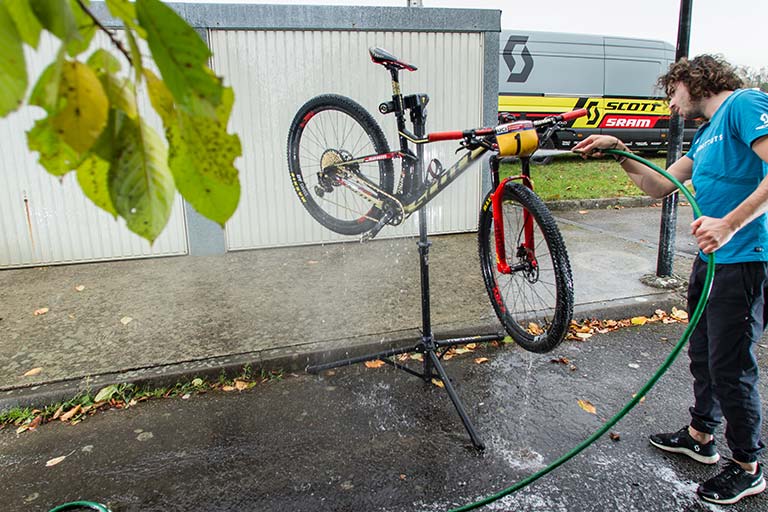
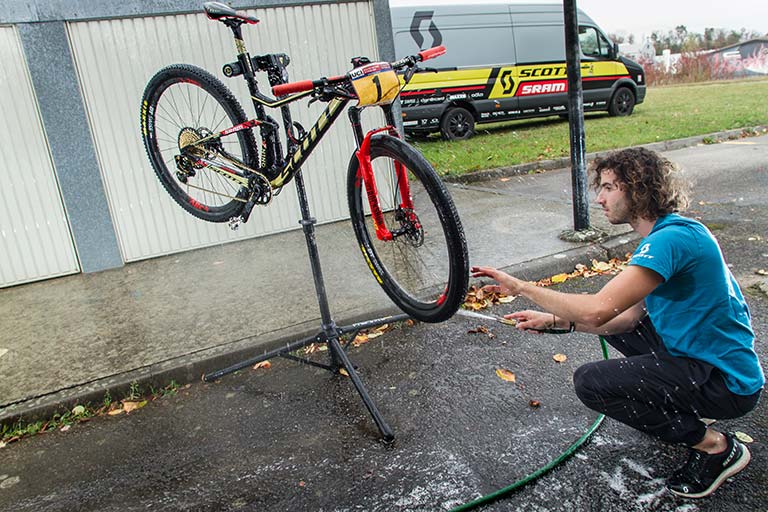
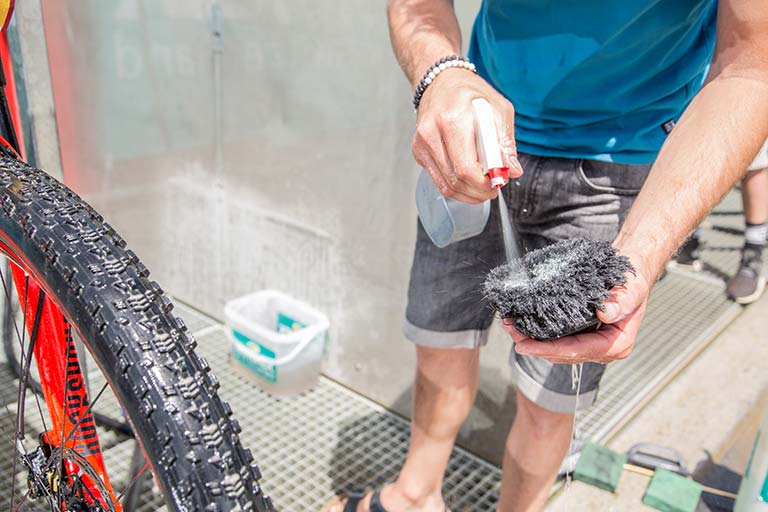
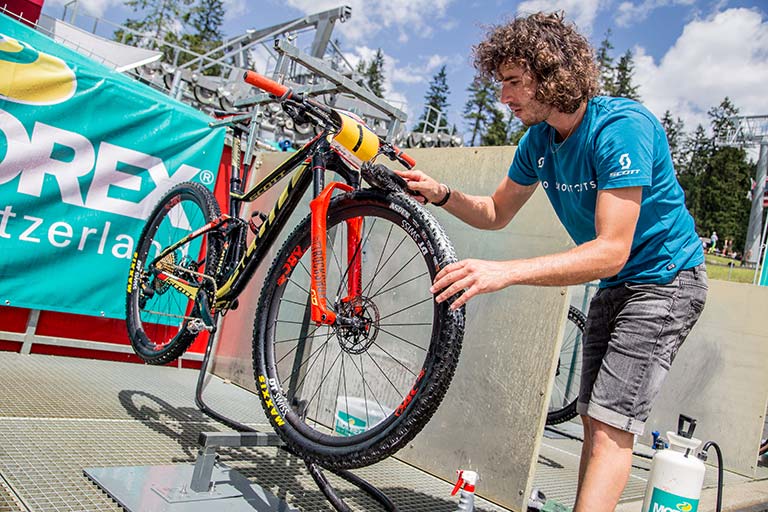
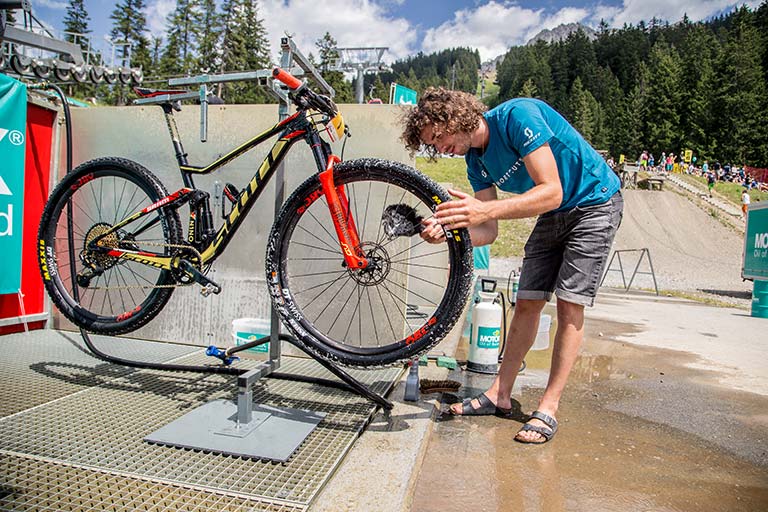
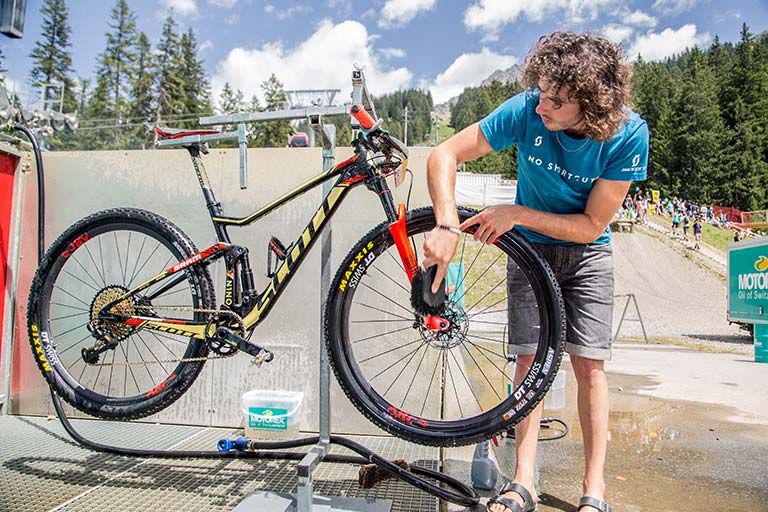
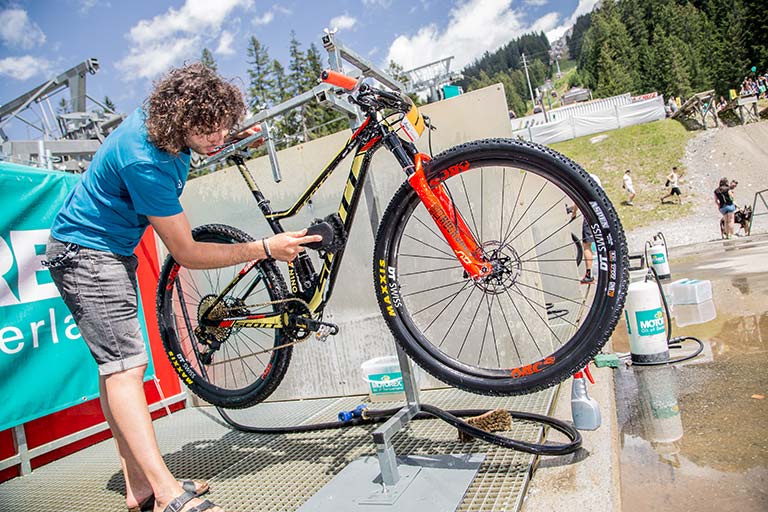
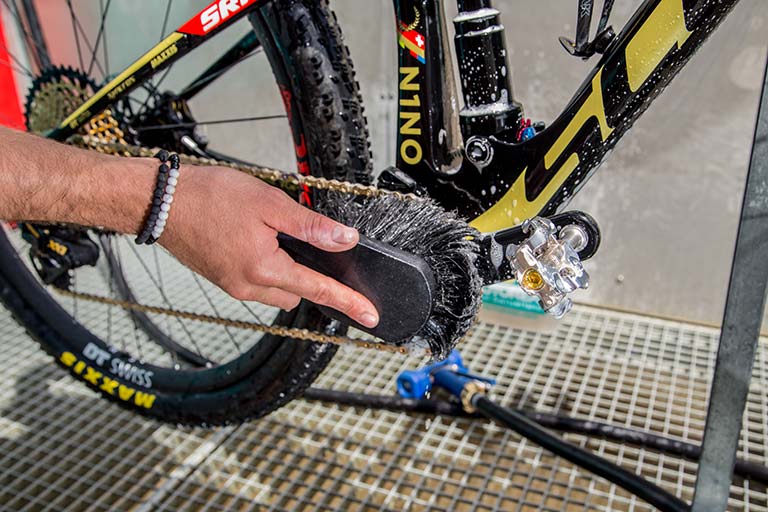
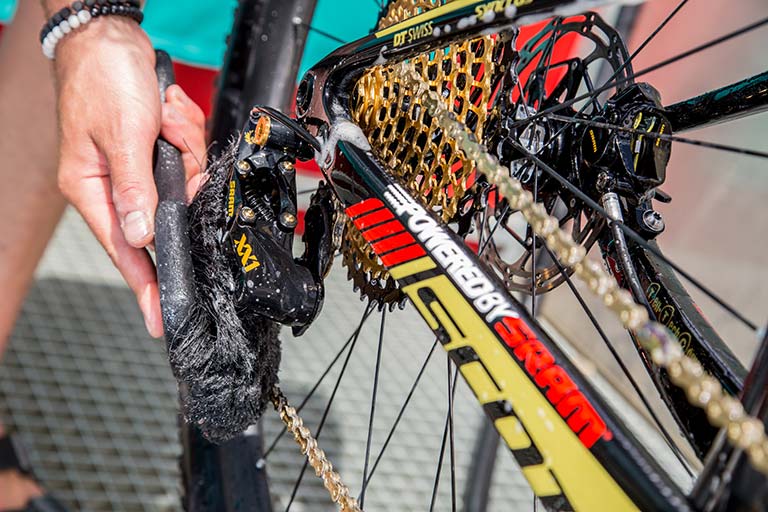
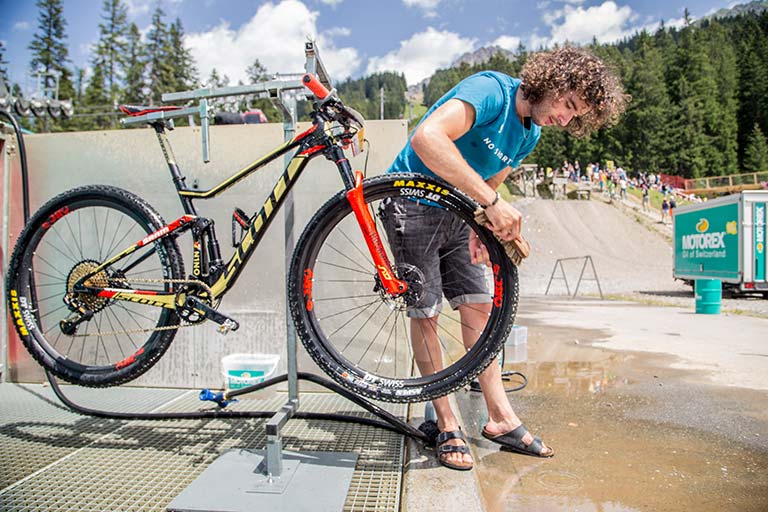
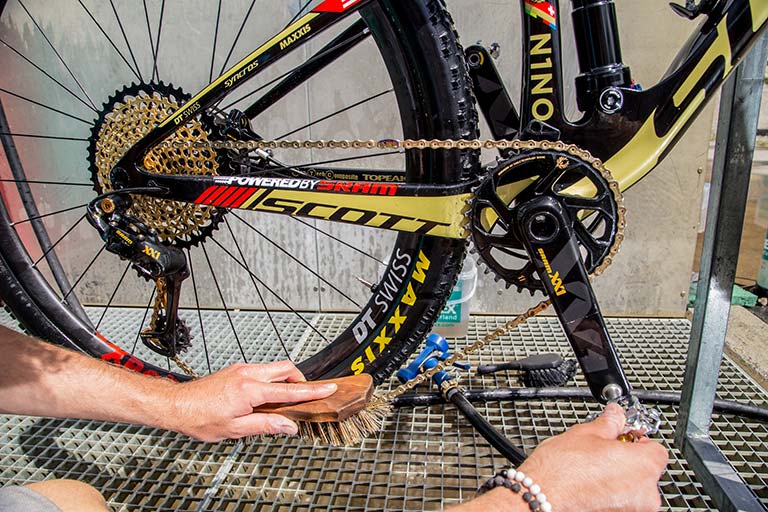
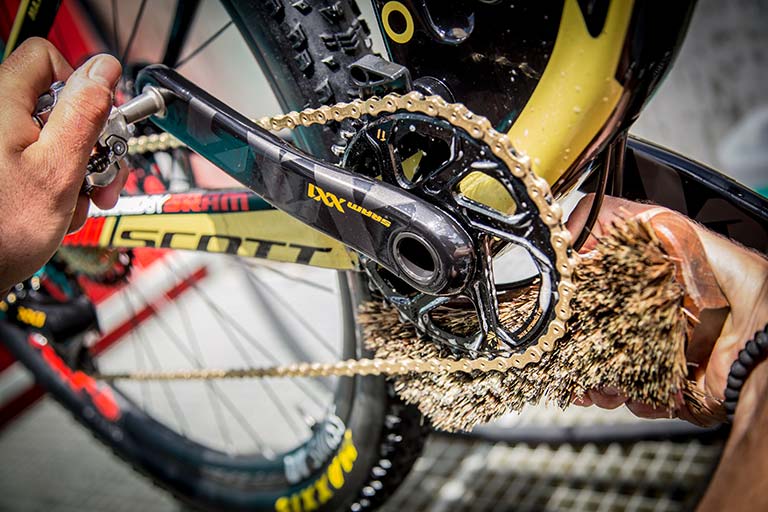
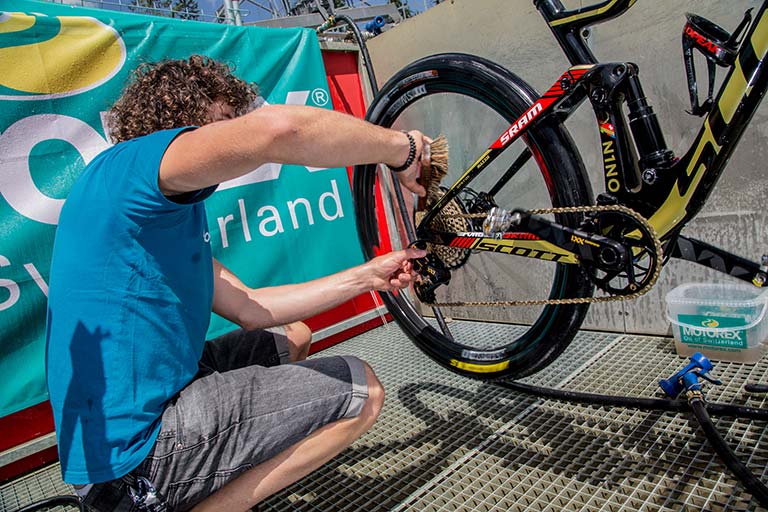
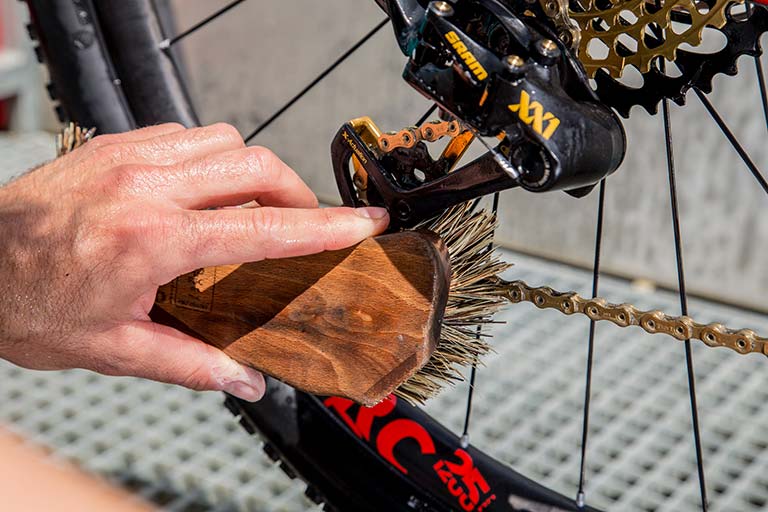
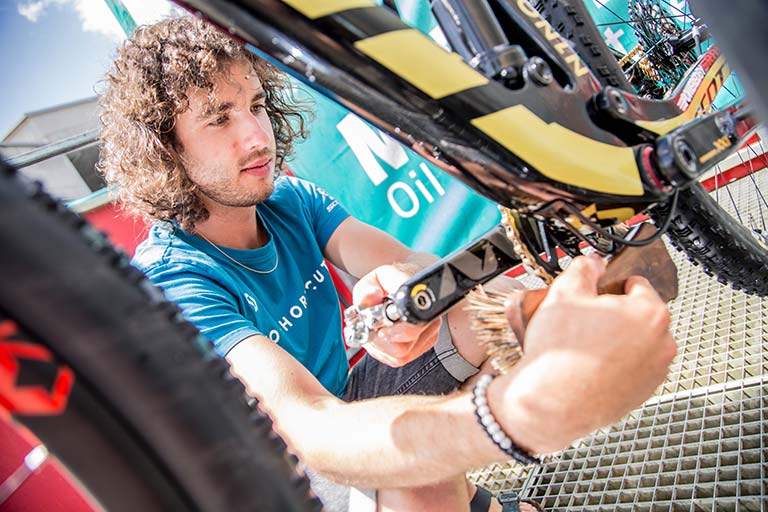
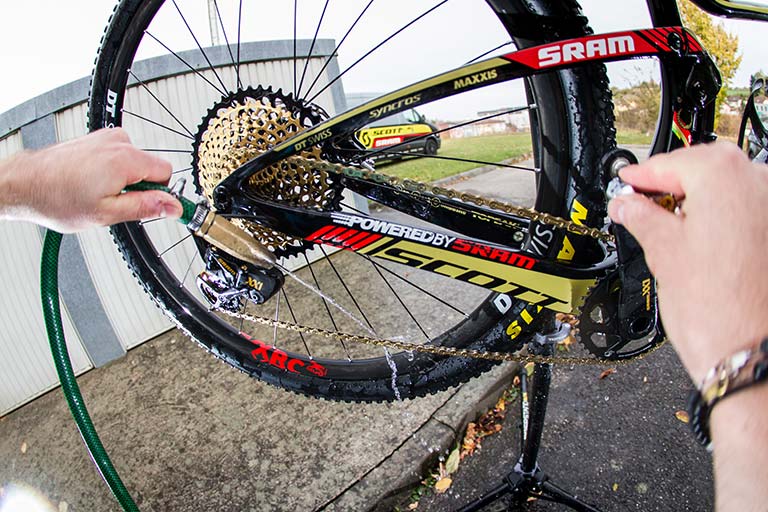
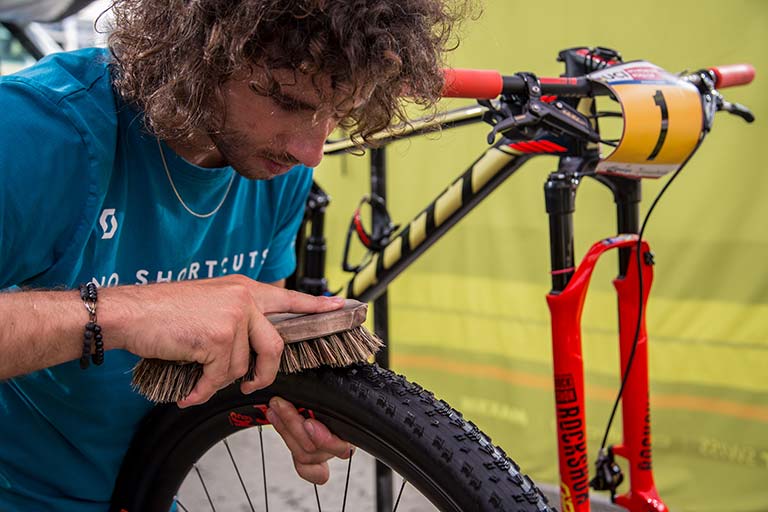
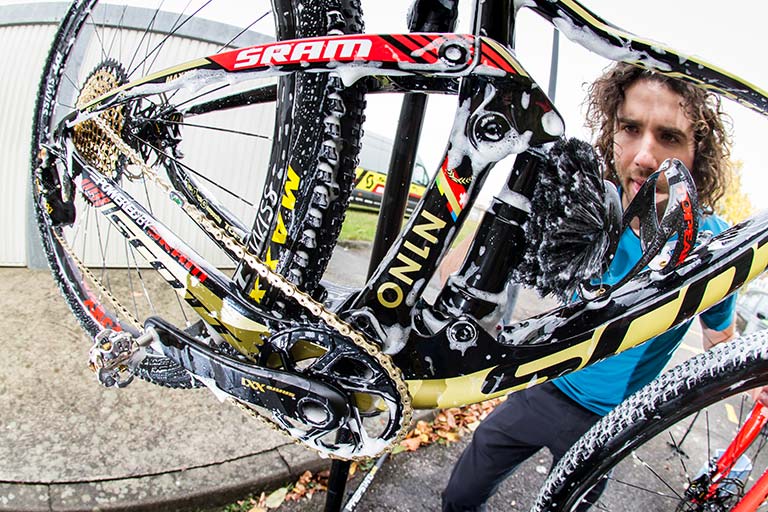
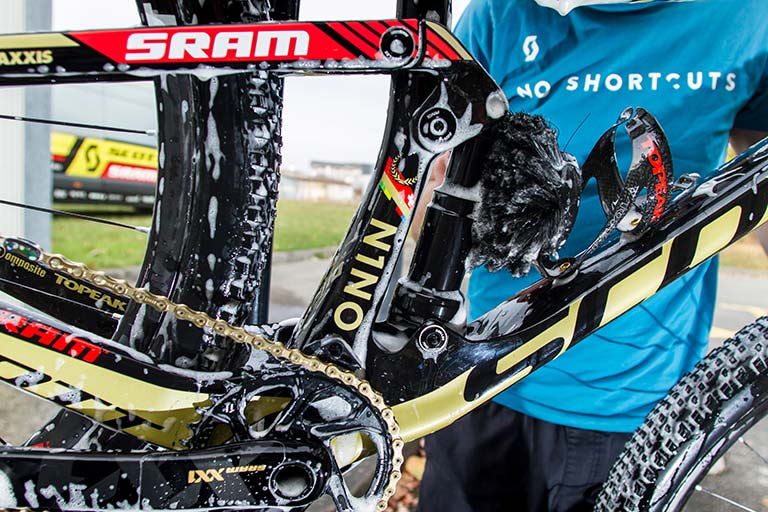
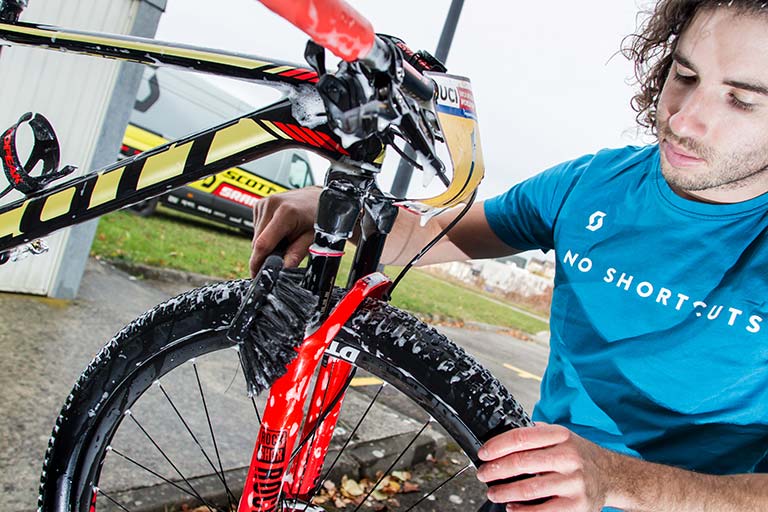
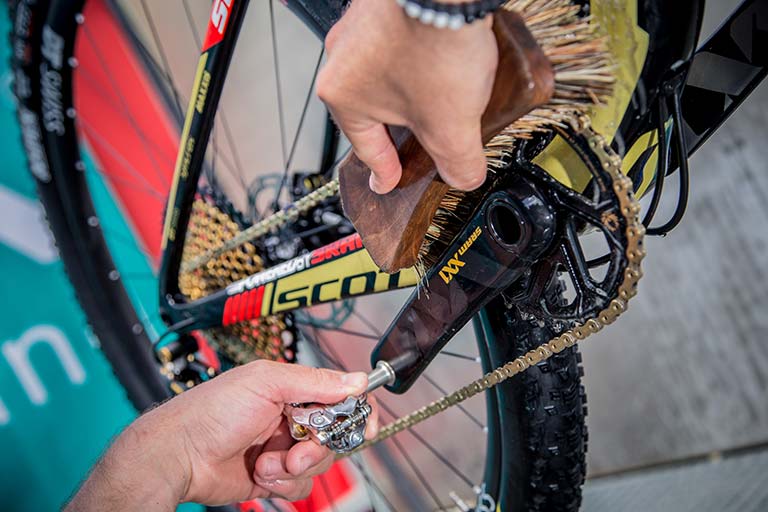
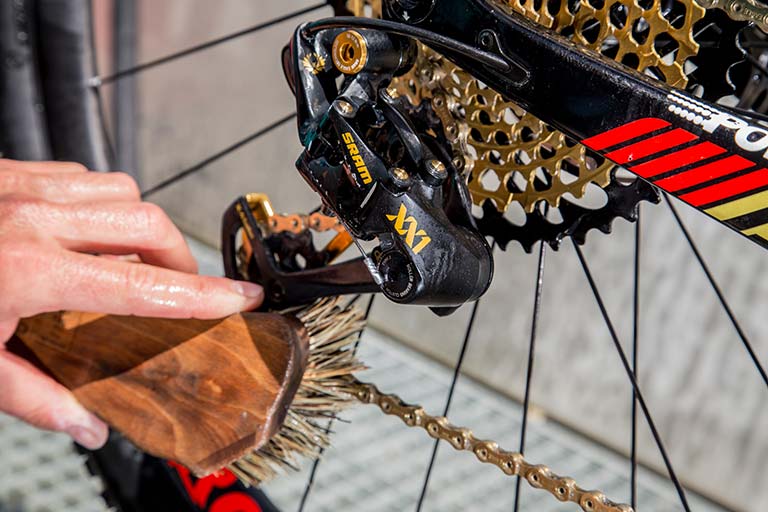
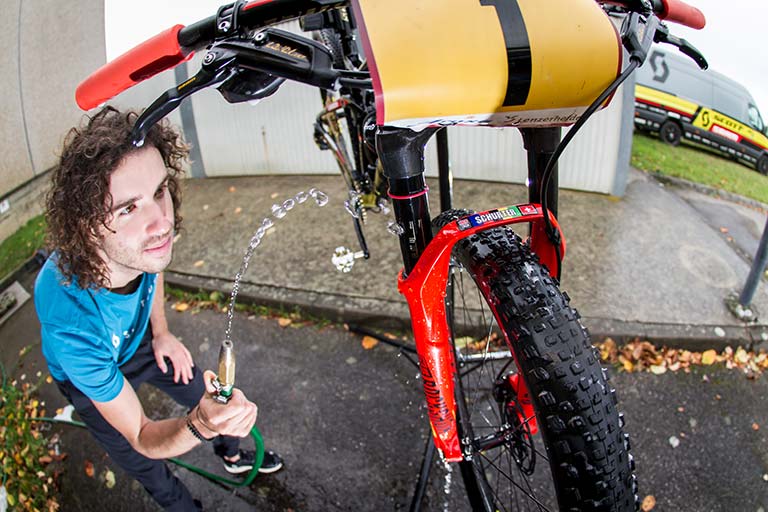
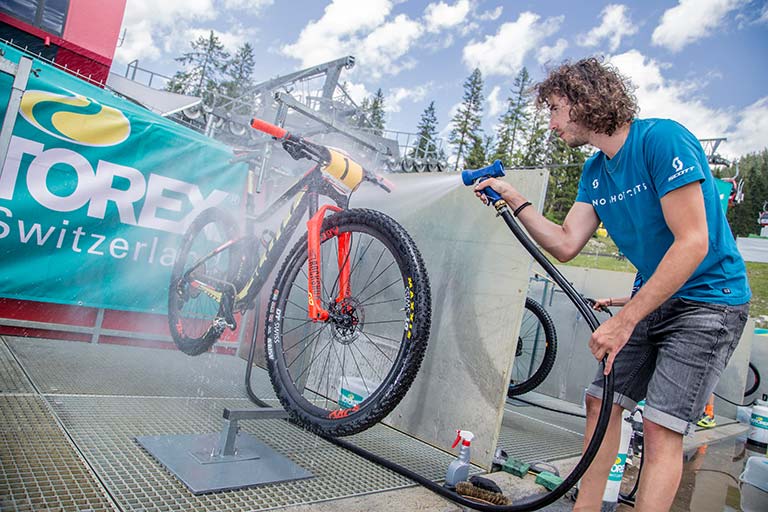
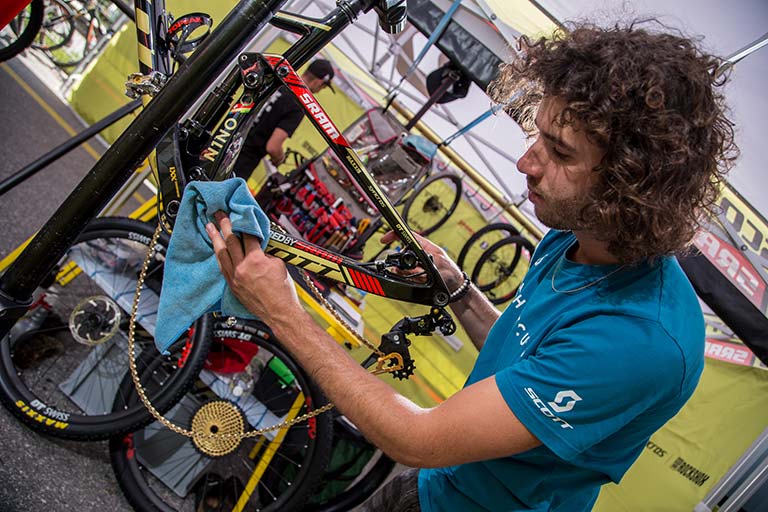
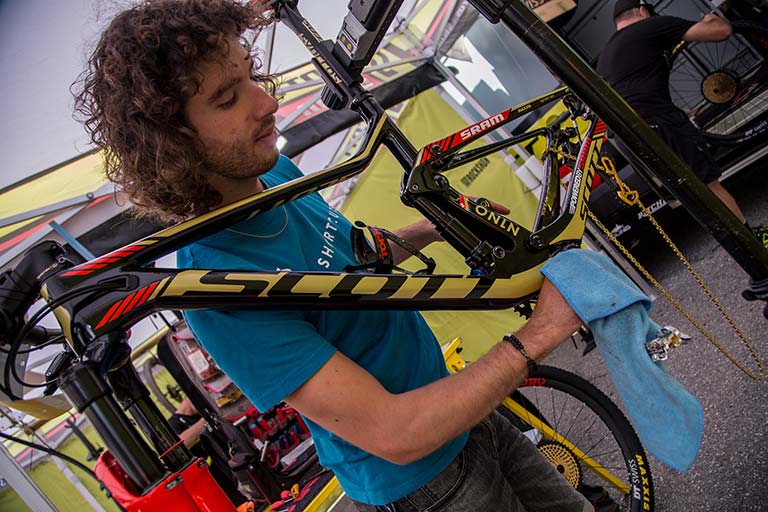
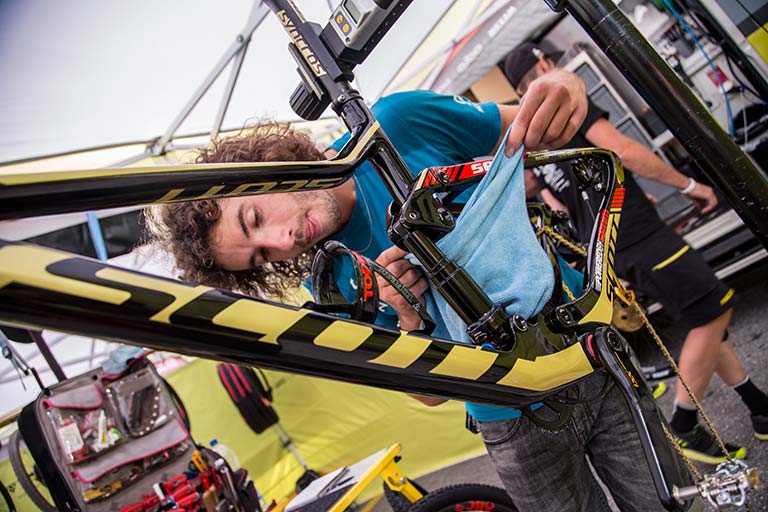
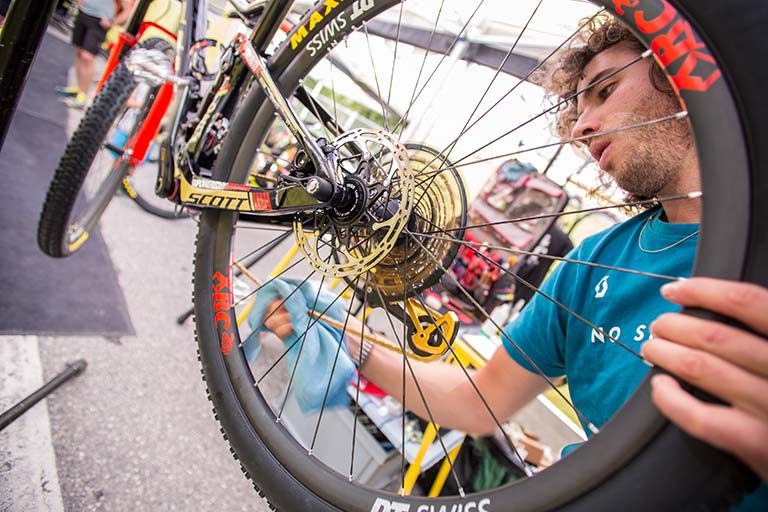
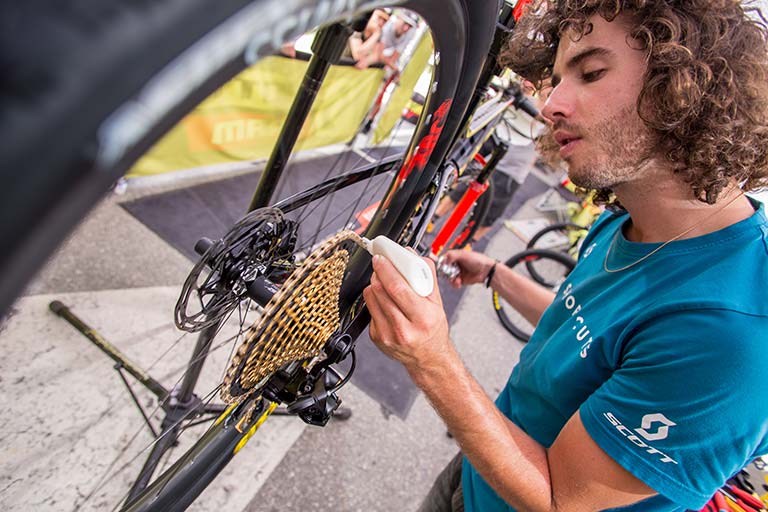
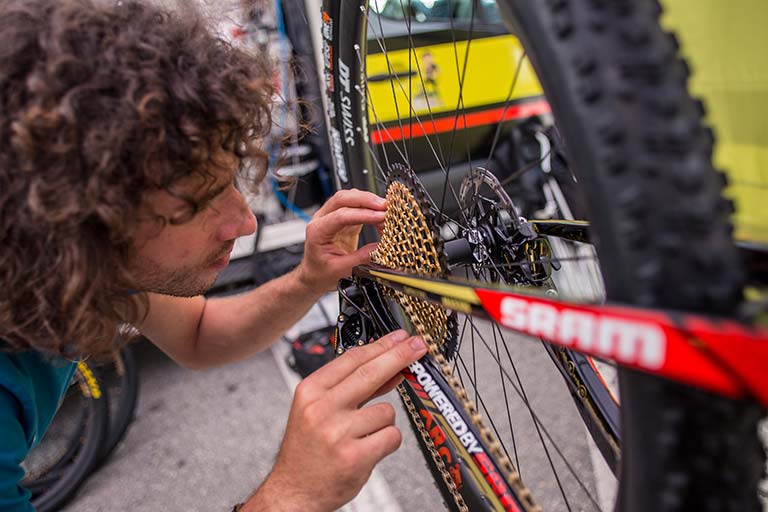
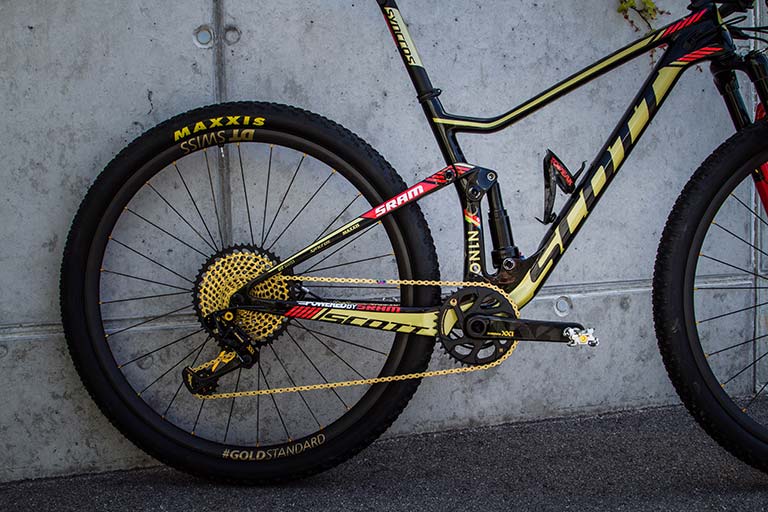
Step 4 - Tires and Drivetrain

Using the firm brush and warm water, directly apply washing liquid to the brush then scrub onto the tires removing dirt from between the tread and around the sidewall and rim. Inspect for any damage such as cuts, torn blocks or thorns as you go. Bubbles in the soap may indicate a slow puncture you wouldn’t spot otherwise. Move onto the drive train and the cassette. Remove any grass, sticks or other debris caught between cogs or stuck onto jockey wheels then scrub with the firm brush and cleaner. Tip: Do not use degreaser for this job, if your cassette is so thick in grease and the soap won't remove it you have not been caring for your drive train and the only way we recommend you use degreaser is remove the cassette from the free hub body, that way there's no risk of damage.


Step 5 - Rinse and Inspection

Rinse the bike using the hose or soft brush from top to bottom, inspecting the bike for any damage to the frame, components and wheels. Rotate the pedals at the same time allowing water to run freely through the links on the chain. A slack chain allows deeper cleaning.


Step 6 - Repeat

Depending on how dirty the bike was, the above process may need to be repeated until the bike is thoroughly clean. Remove the wheels in case the bike was extremely dirty. Pay particular attention to the jockey wheels and chain ring as they can hold compressed dirt and grime. This is important because a dirty drive chain causes added friction and wear and is more likely to lead to a mechanical. Be sure to clean carefully around the suspension seals as grit trapped here can quickly cause very expensive damage. Put wheels back in place if removed.


Step 7 – Rinse Again

Thoroughly rinse the bike to ensure soap or products are not left on as this can cause problems. This process of rinsing your bike is much better without a pressure washer as it’s very easy to remove important grease from bearings, headset, pivots, bottom bracket, hubs and jockey wheels. A free flowing water hose or a bucket of clean water and soft brush is much kinder on your bike.


Step 8 - Drying

Remove the bike from the stand. Stand the bike completely in the sun or in a dry area, preferably a warm one to allow any sitting water to free drain and dry. Also a lint free cloth or paper towel may be used for removing excess water. If available an airline can be useful. While you have your note book out inspect your brushes and bucket are clean and ready and make a note of anything you will need for next time.


Step 9 - Polish

Remove the wheels and put the bike back in the stand. Polish your frame using a silicone polish with a microfiber towel if it’s likely to be used in wet or muddy conditions as that will make it harder for mud to stick and weigh your bike down. If you’re unsure or know you’re in a dusty dry environment avoid the polish as this will attract dust to stick to your bike. Always apply polish to a lint free cloth and rub in to the frame, never spray directly as this could over spray on to your rotors and contaminate the brake pads. Cycle the forks and rear shock through their stroke to push any dirt away from the seals. Wipe it off and then lube the stanchions with a specific suspension lubricant or a dab of fork oil.


Step 10 - Storage

As soon as the bike is dry it’s really important to lube your drive chain, wiping off any excess afterwards. Coat bearing surfaces with water repellent to protect from droplets of water sitting on your seals too. Ideally hang your bike front wheel up by a hook keeping the brake levers higher than the calipers, this also allows the lubricating oil in the forks to sit on the foam seals keeping them moist for smooth action straight away. This also allows any water sitting in cables or frame pockets to drain out.


Words : Yanick Gyger & Nick Craig
Photos : Jochen Haar
Video : Shaperideshoot / Gaëtan Rey


Nino Schurter

Learn more

SCOTT-SRAM MTB RACING TEAM

Learn more