We have a more suitable website version for you. Please confirm your country to get the right product availibility and even purchase online.

The weekend is approaching, and you and your friends have this awesome ride planned. The thing you want to avoid is to show up unprepared, with a noisy, wobbly bike that’s unsafe to ride. So here are 5 easy steps to go through to make sure your bike is ready for some good time!

Ask-tessa

1.Clean your bike

Start by giving your bike a quick wipe down. You don’t always have to do the full cleaning program with water and all. If there’s only some dust and a little bit of dry mud, a dry microfiber rag is all you need to get your bike shining again. Use a bit of bike spray for the dirtier spots, and you’re good to go! As you are cleaning your bike, do a quick inspection for any damage to the frame. Everything looks good? Then go to step 2.

Ask-tessa

2.Clean the drivetrain and check your gears

Use a brush to take off all the dirt from the chain, the front chainring, the cassette and the two jockey wheels of your rear derailleur. Again, you don’t need to use water and bike spray every time. Just brush off the dust and dirt. Use a rag if needed and make sure you clean the jockey wheels properly. That’s usually where most of the dirt sticks. You might need to use a flat screwdriver or the end of the brush to peel off the old dirt from these parts.

Ask-tessa

Once the drivetrain is clean, lube the chain. Don’t go too crazy on the lube. You just want the links to be greased so that everything runs smoothly. A chain dripping with lube will only collect more dirt.

Ask-tessa

Once your chain is lubed, it’s time to check your gears. Are they all going up and down smoothly? If yes, go to step 3. If not, try to adjust the cable tension. This usually solves

Ask-tessa

To adjust your cable tension, turn the barrel adjuster located on your shifter. If the chain doesn’t run on the lower gears (big cogs), turn it a few clicks anticlockwise, increasing cable tension. If the higher gears (small cogs) don’t run smooth, turn it a few clicks clockwise, releasing some tension.

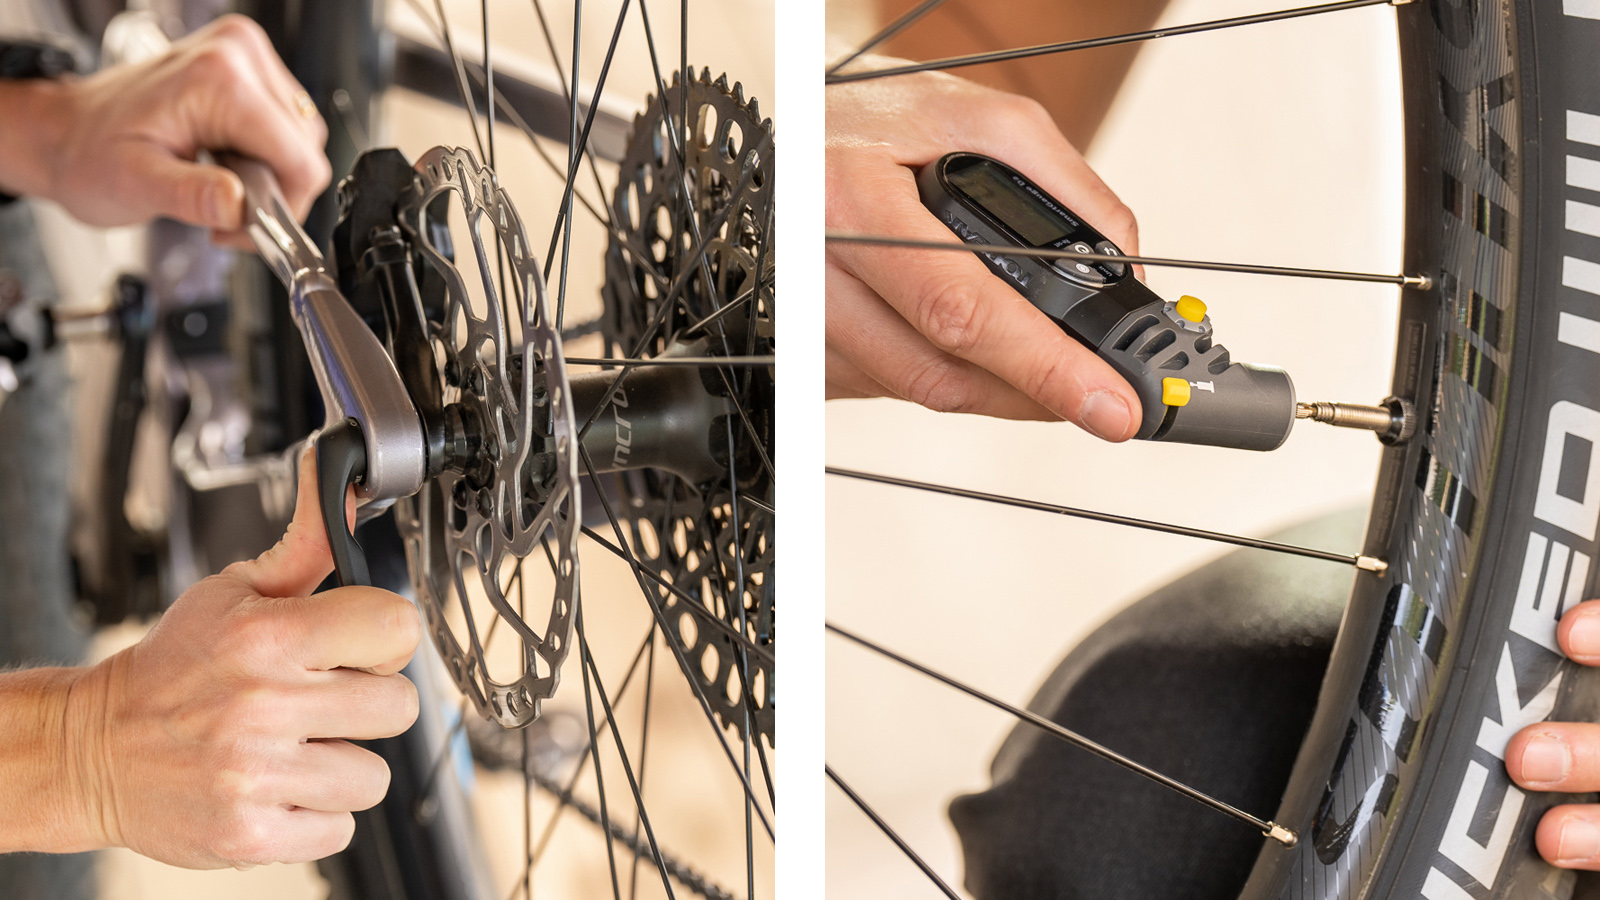
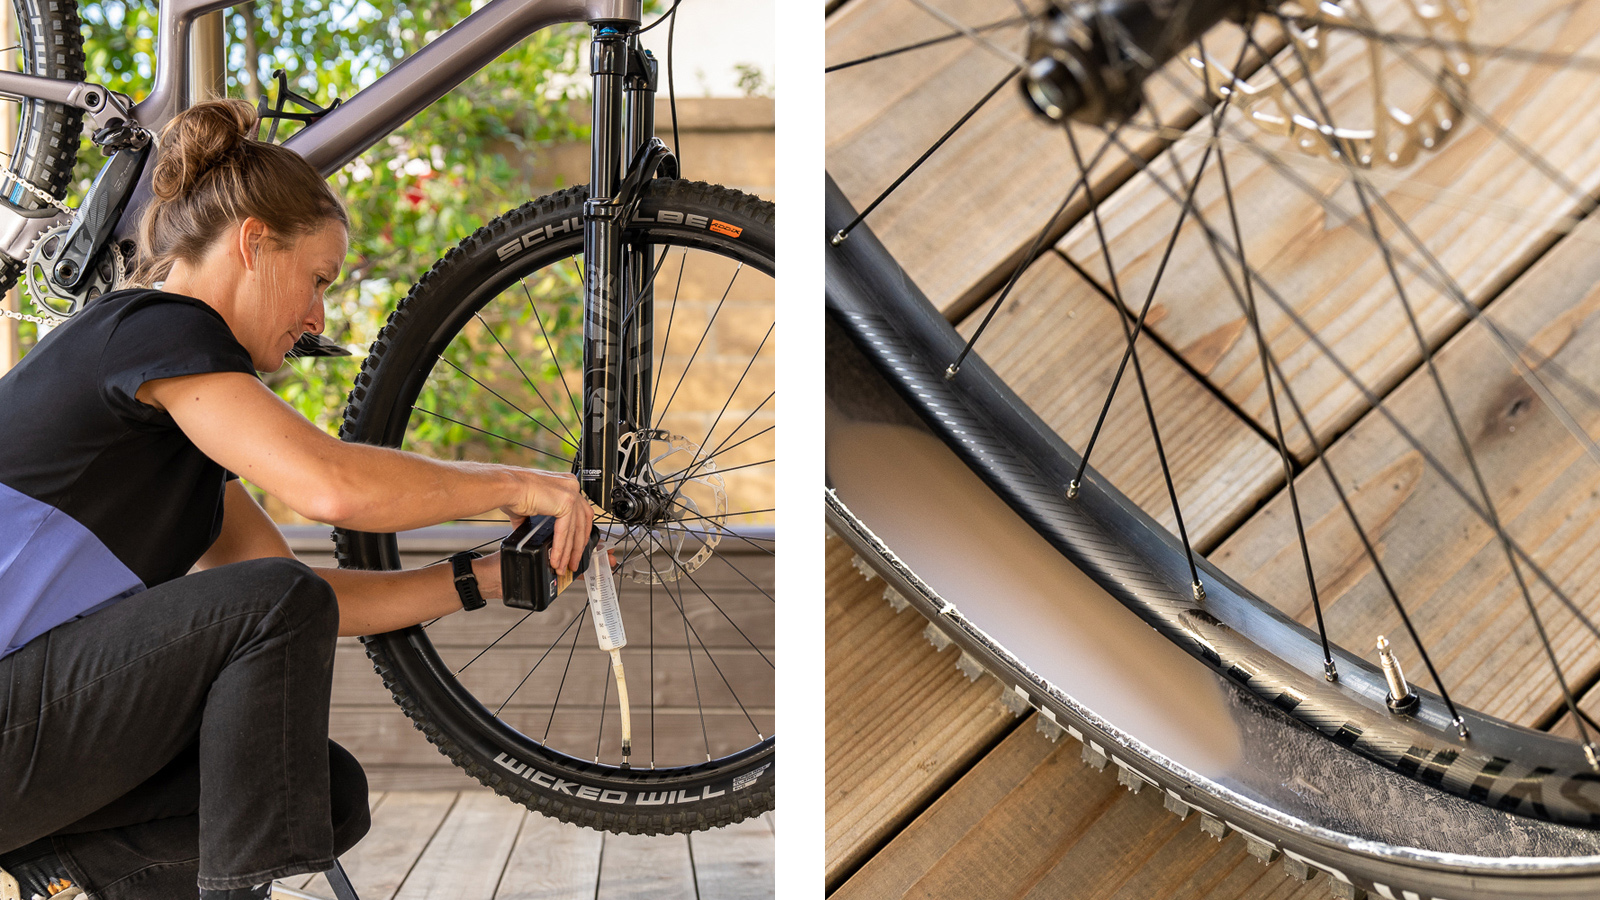
3.Check your tires and wheels

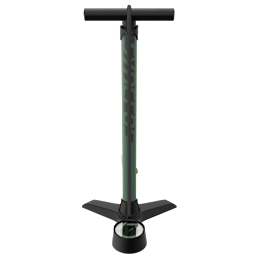
First, make sure both wheels are tight. Then, check your tire pressure. Tires always lose a little bit of air over time, so your tire pressure isn’t something that you set once and for all. You need to check it before each ride. The best is to use a tire gauge, but if you have a good pump you can also use the pump’s gauge. If you want to learn more about what tire pressure you should ride, head over to our previous article on the topic. If you know what tire pressure to run and you’ve just checked it, let’s go to the next step!

Maintenance tip: Keep an eye on your tire wear and don’t wait for them to fall apart before replacing them. Anticipation is always good!

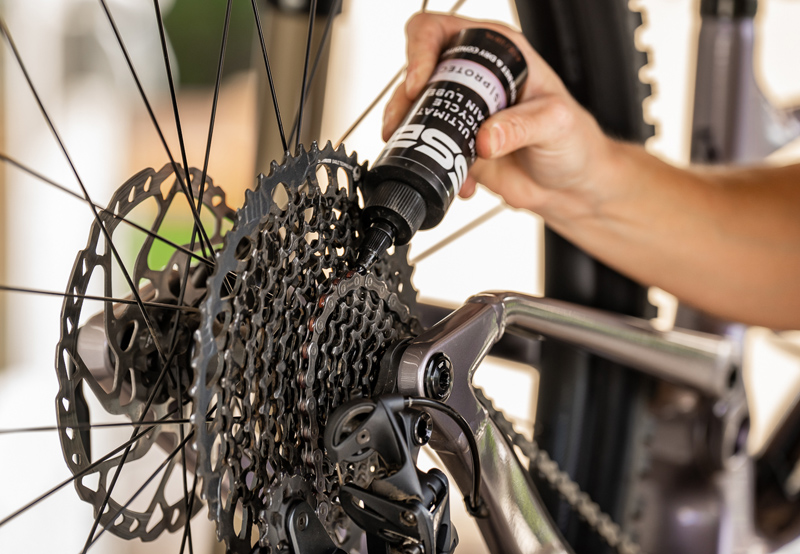
Advanced maintenance tip for tubeless tires: If you are comfortable working around your bike, you can easily take care of adding sealant yourself, usually around every 3 months, but it depends on the type of sealant you use and whether you had many punctures or not. Don’t mix sealant brands in your wheels as the different recipes might not work well together. If you know you’re adding the same sealant that’s already in your tire, you can use a special sealant syringe, which makes the process super easy and clean as you don’t have to take the tire off.

4.Check your brakes

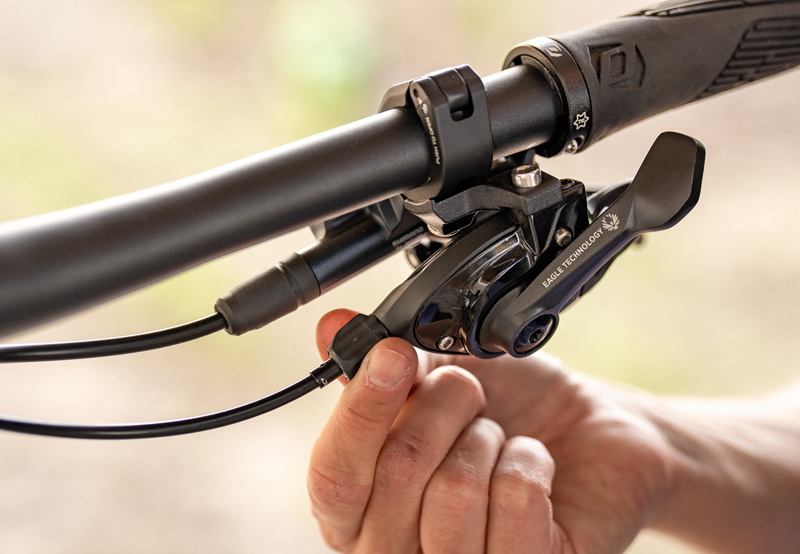
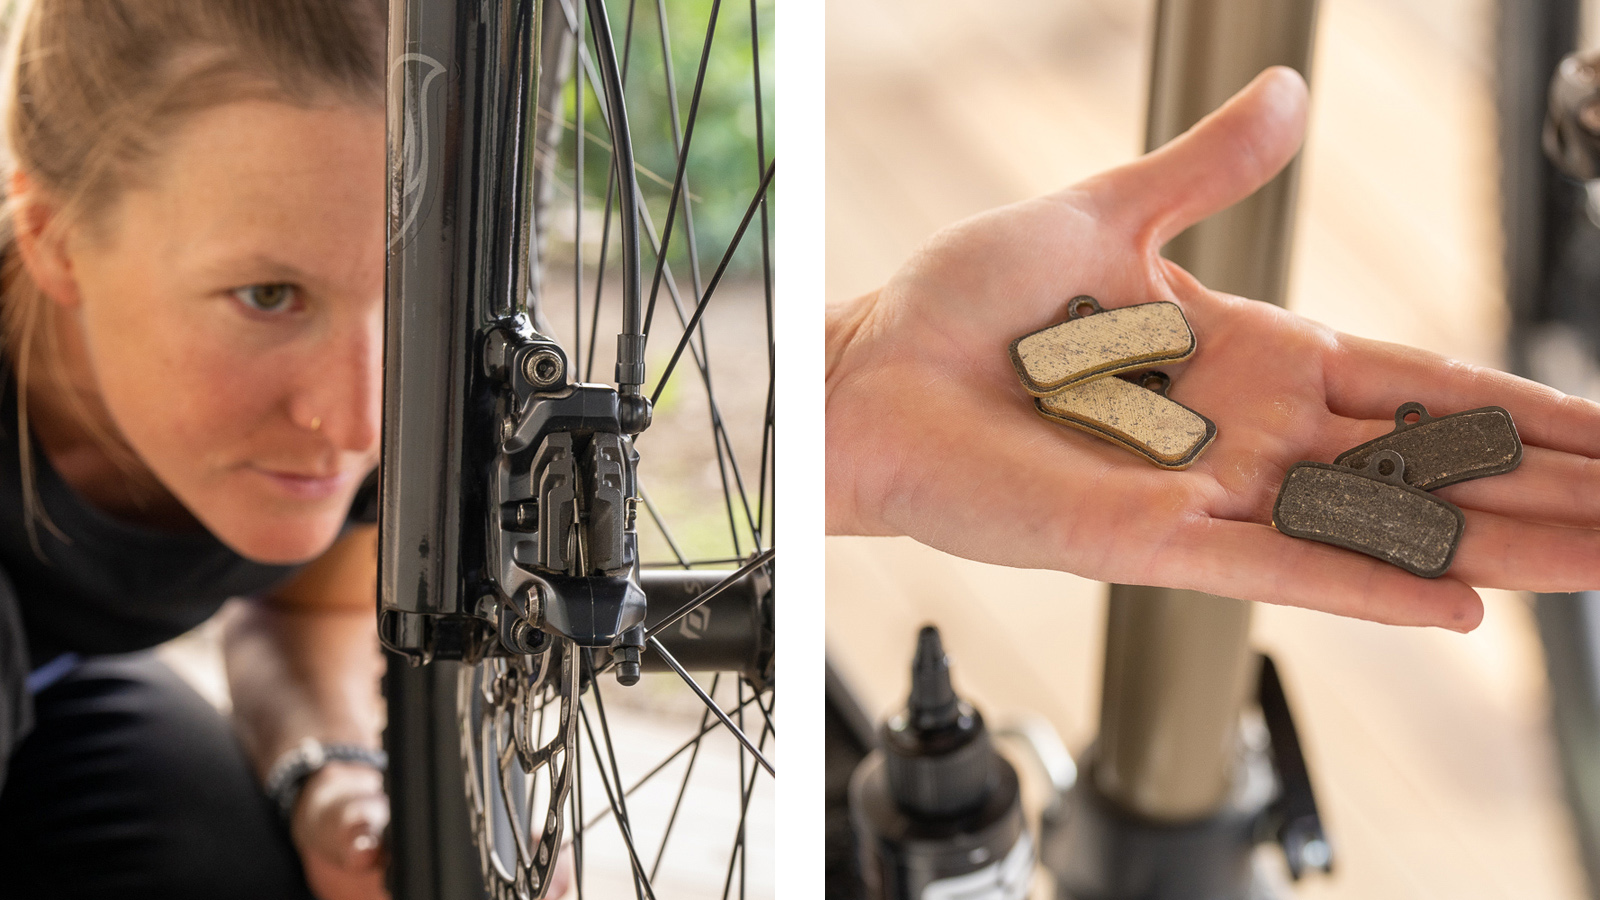
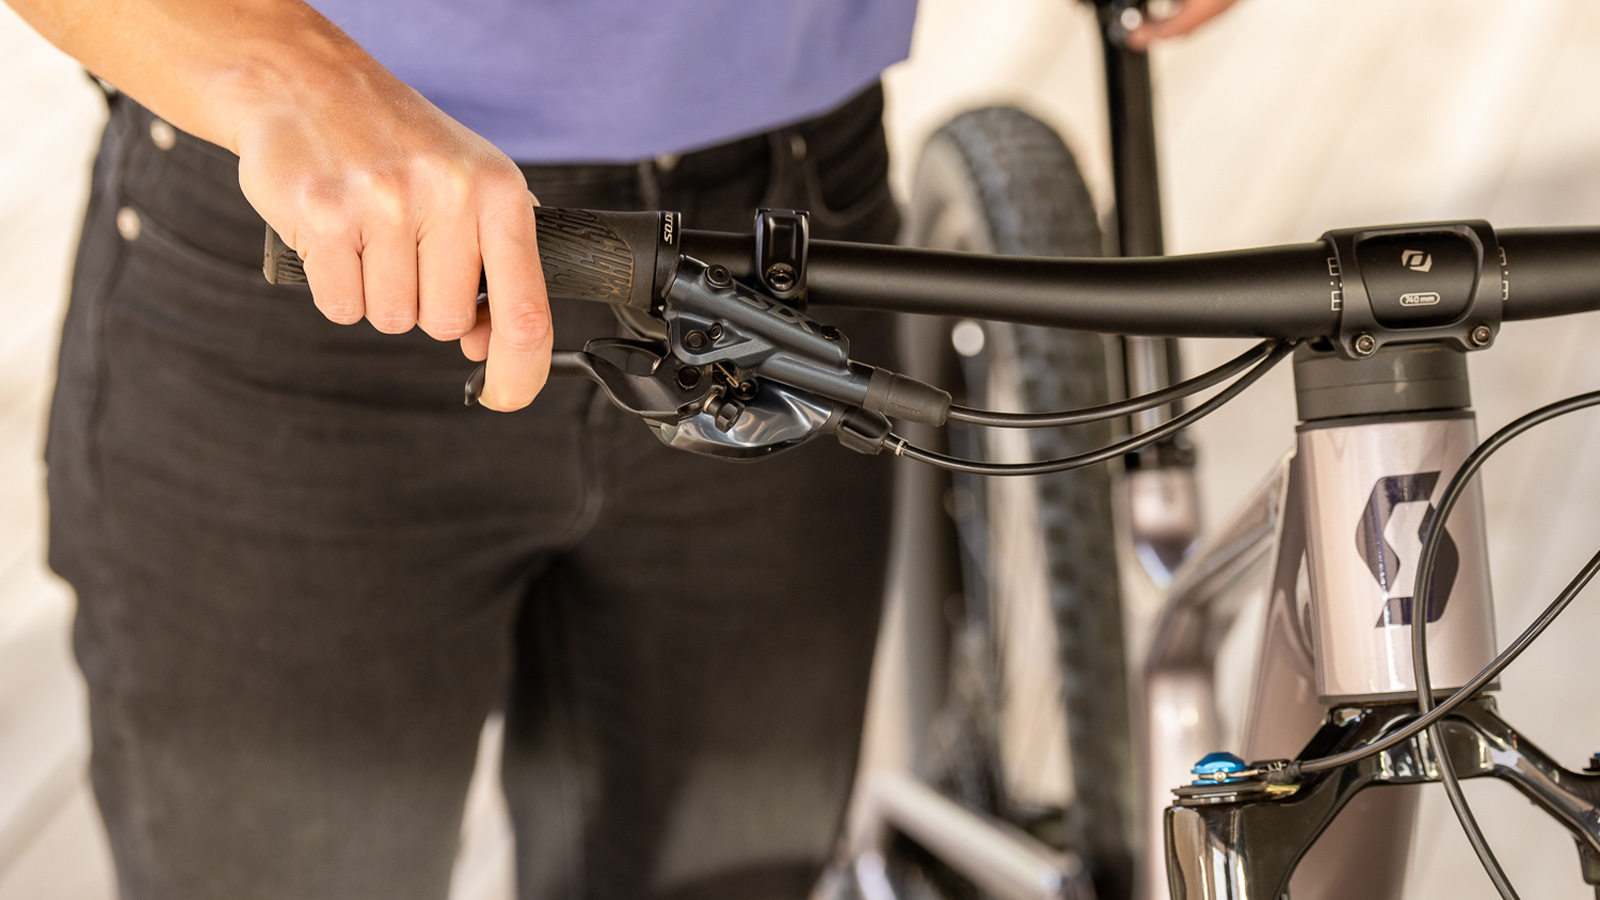
Probably the most basic and most important check to do. Ideally, both front and rear brakes should have a similar feel and of course your wheels should stop spinning when you squeeze them. Are your brakes working alright? Cool, let’s jump to step 5. BUT… if nothing happens when you pull the brake lever, that means there’s some air in the system and your brakes need a bleed. And if a lever is too hard to squeeze and your disc is rubbing against the brake pads and barely spinning, then your pistons probably need to be pushed back. In any case, if your brakes feel wrong, ask your local bike shop for some help and don’t ride with funky brakes! Safety first, please!

Advanced brake maintenance tip: The more you ride, the faster you’ll go through brake pads. Give them a check every now and then to make sure there’s still some material on the pads. It’s pretty easy to learn how to change brake pads yourself, but as always, ask your local bike shop to do it for you if you are not comfortable working on your bike yourself

Ask-tessa

5.Charge your Electronic Devices

Nowadays, there’s barely any ride without some sort of electronics. So make sure that all your devices are charged and ready to go!

That’s it! Now you’re ready to have an amazing time on your bike and make tons of great memories. Have fun out there and stay safe!

Photo credit: Monica Hammond


SYNCROS Clean & Lube Bundle
SYNCROS Vernon 3.0TR Floor Pump