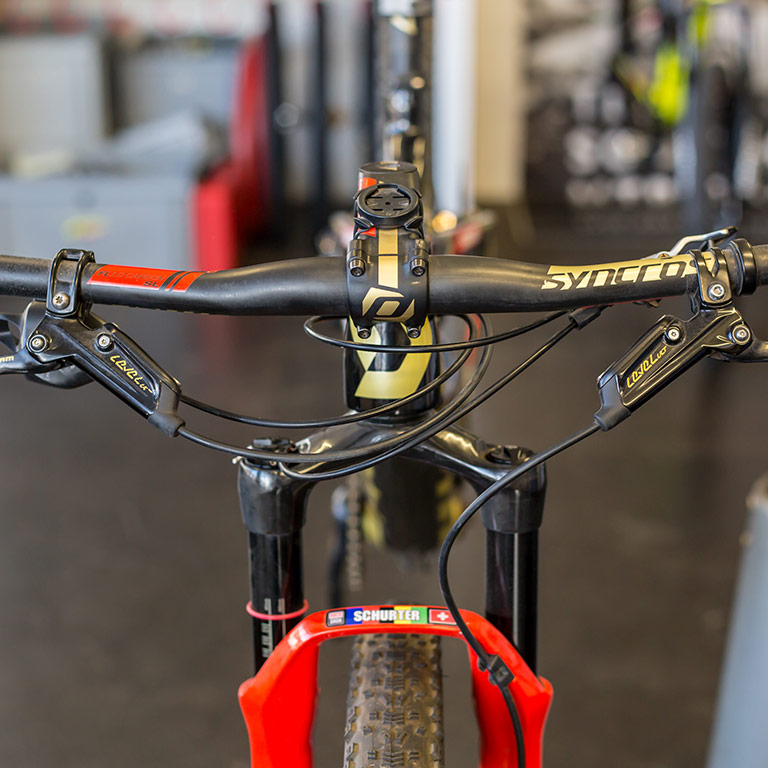
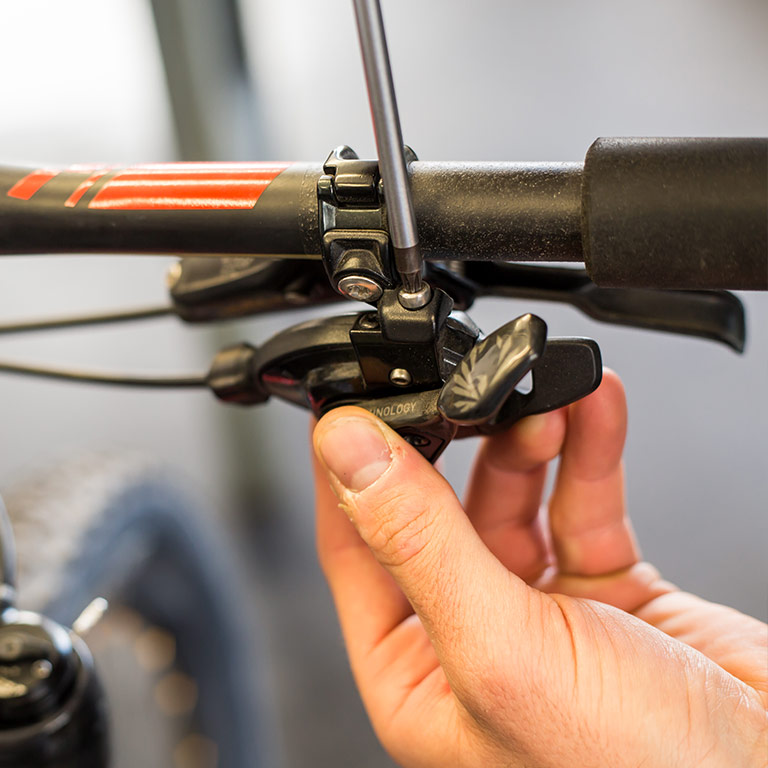
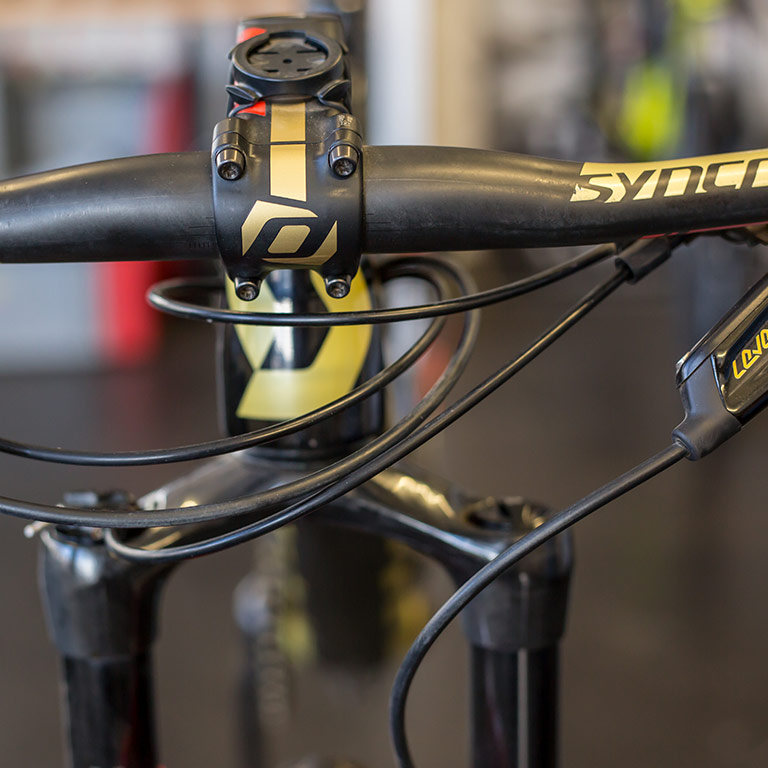
7. Câblage
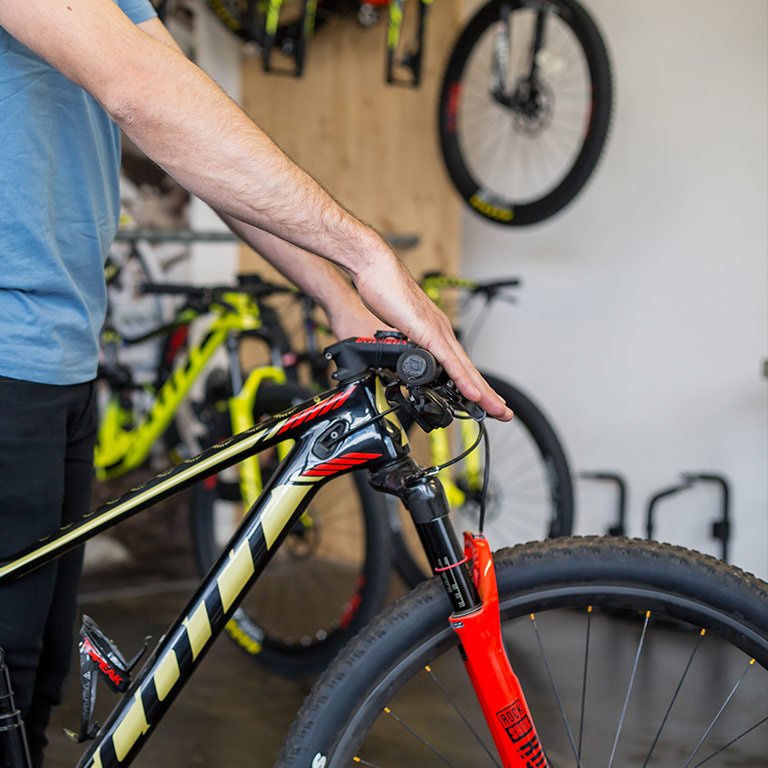
Il est important d’avoir la configuration la plus propre possible, et c’est également valable pour le câblage. J’aime quand l’avant du vélo est dégagé. Donc, je réduis la taille des câbles au maximum et j’utilise des boucles de la bonne taille.
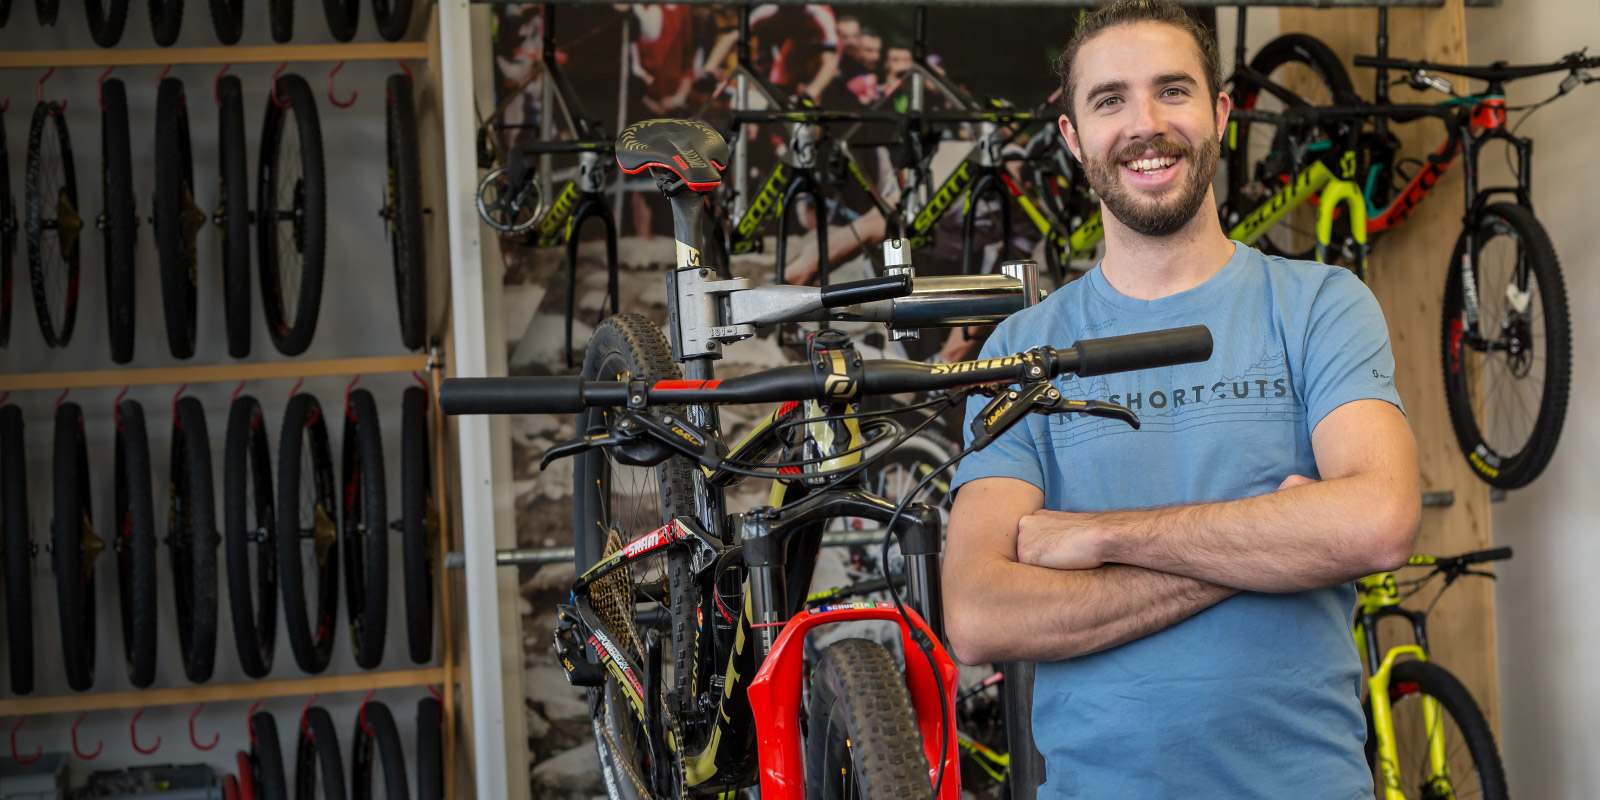
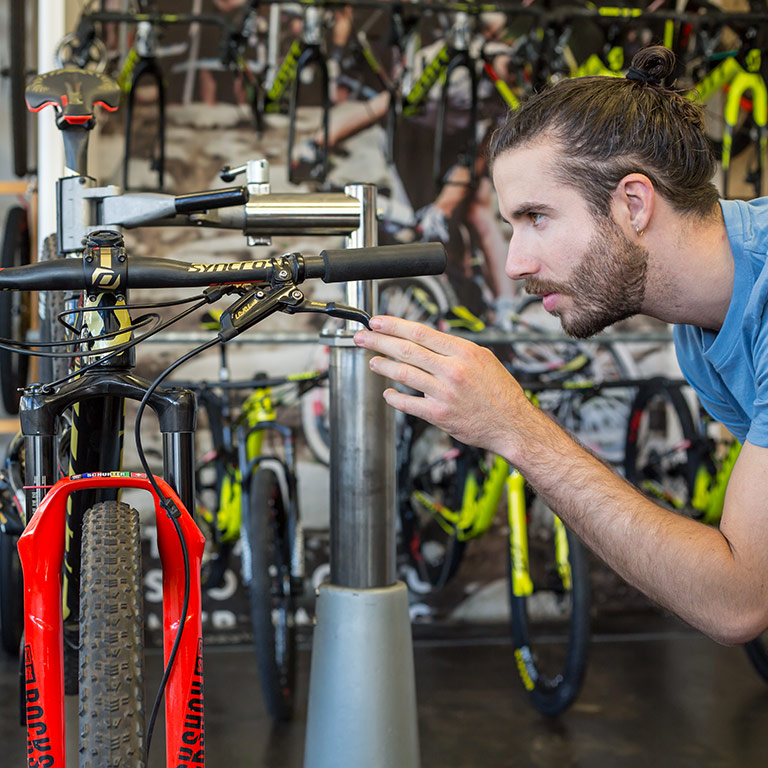
Le réglage du guidon dépend surtout des préférences de chacun. J’espère que ces conseils et astuces vous aideront à obtenir une configuration de guidon idéale qui vous permettra, en fin de compte, de profiter de votre vélo avec un confort maximal.