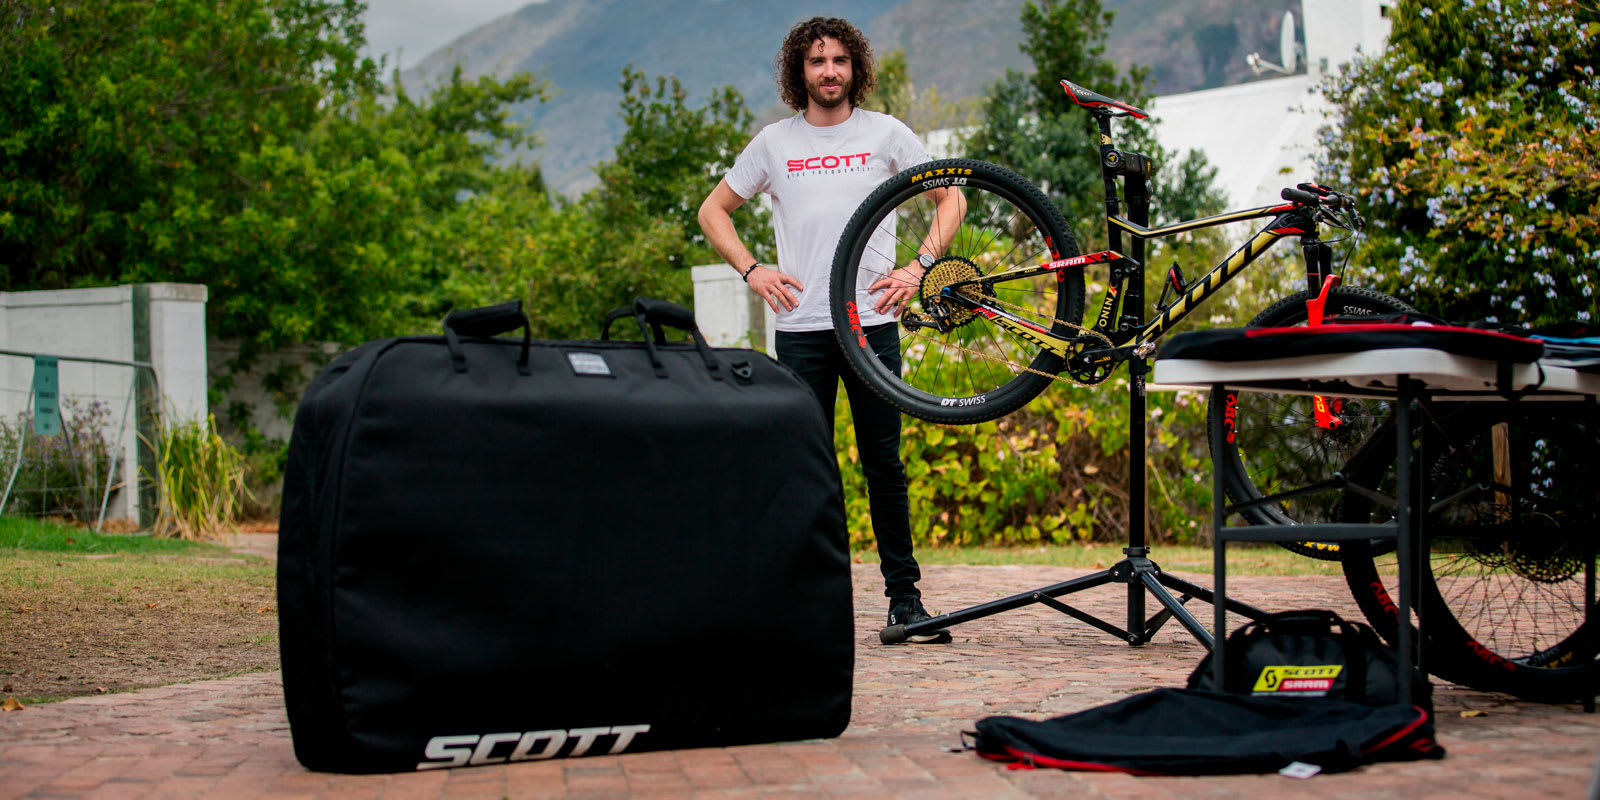
Traveling with your mountain bike involves quite a fair bit of planning, knowing how to pack your bike correctly being one of them. SCOTT-SRAM MTB Racing’s Yanick-the-Mechanic packs countless bikes every year as the team frequently travels the planet on their chase for World Cup wins. He knows what you should consider when dismantling your precious ride and wrapping it into a travel bag. Check out what tips Nino Schurter’s head mechanic has for your next bike trip.
1. Preparation
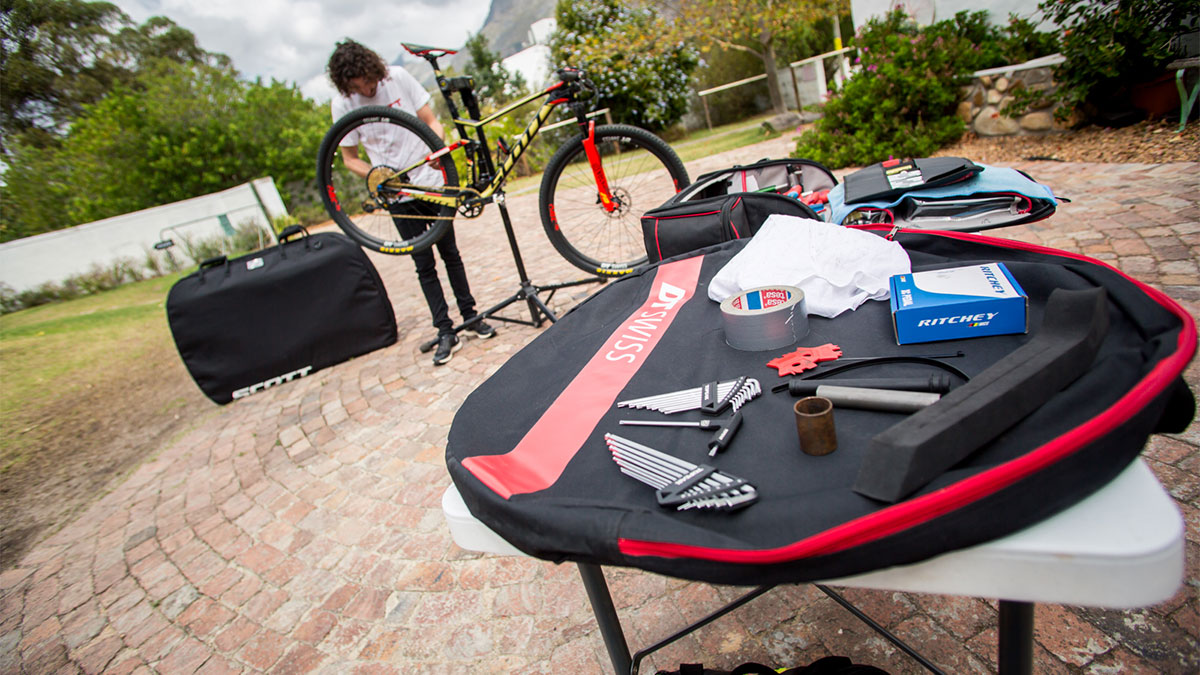
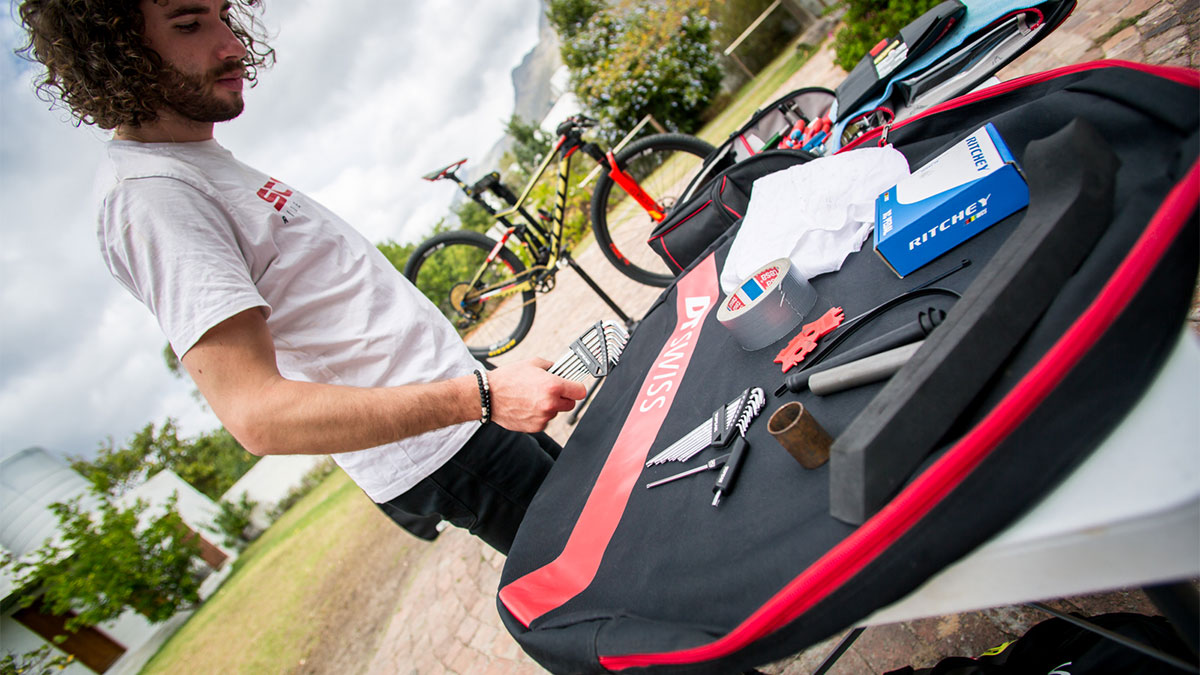
Travelling with a bike can be quite an adventure and challenging, even for our top riders. To give you a little bit of background knowledge, I want to show you how to package your bike properly. In this tutorial I want to introduce you to the artistry of storing your bike in the best possible way, without getting it damaged through the process of disassembly and travelling. It all starts with the most important step: the preparation. Before you start to disassemble your bike, you should have your equipment prepared and ready. You will need your wheel bags, axle braces, spacers for the steerer tube to hold the headset in place after removing the stem, chainring protection, frame protection, bubble wrap, some towels and cardboard.
2. Dismantling, Part 1
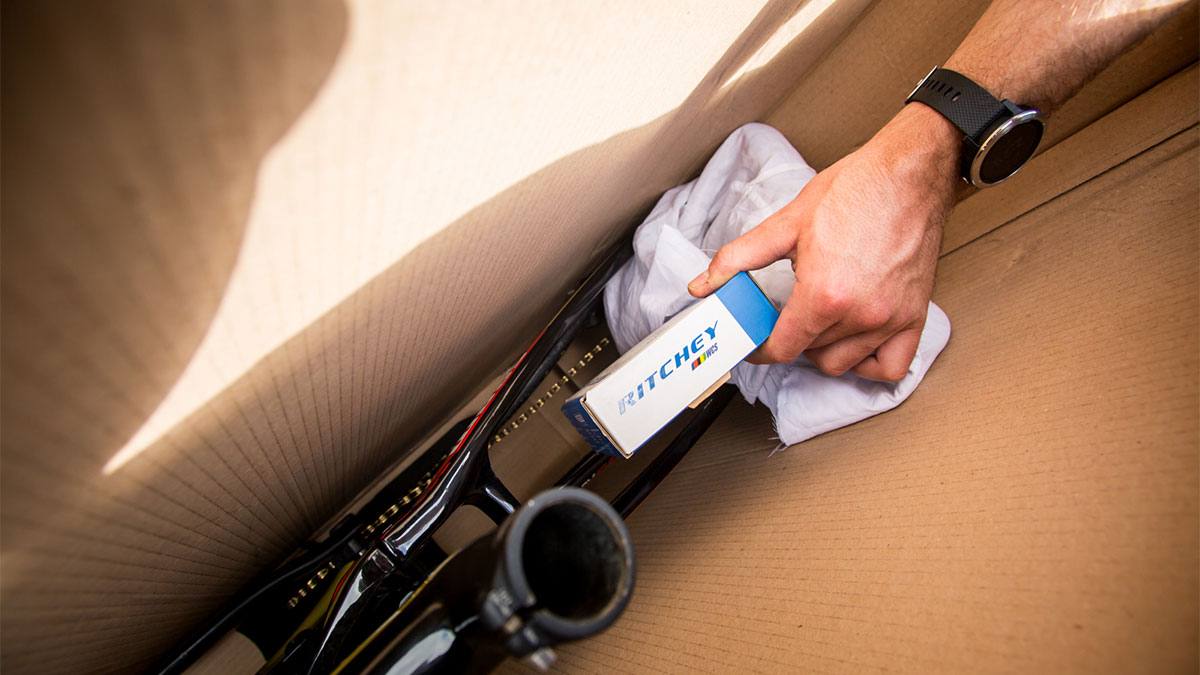
For the dismantling of your bike, you should follow this process step by step. If you feel uncertain about some steps, you can always pause and rewind the different parts of the video to get a better understanding of what we are doing. First things first, you should start by removing the pedals. This will make the whole wheel process easier. After detaching the pedals, you should store them in a cardboard box for example, if possible in their original packaging, through this you`ll add some extra free protection. Once you`re done with the removal of the pedals, you can forward to the next step: removing the wheels.
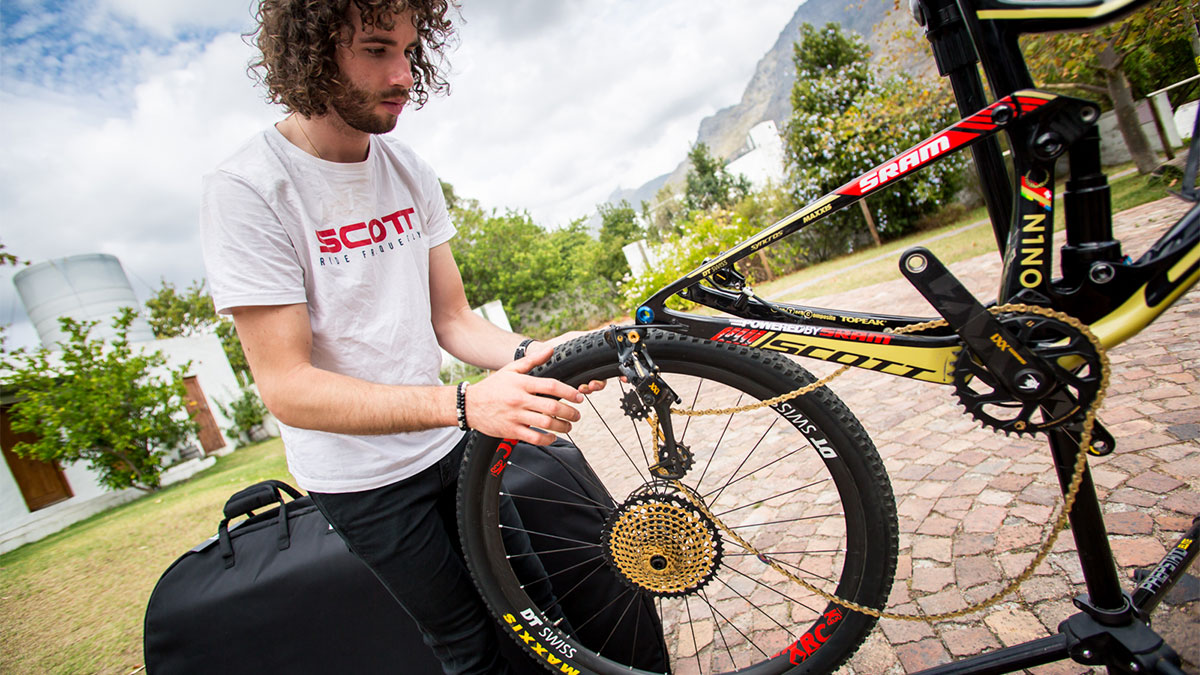
3. Dismantling, part 2
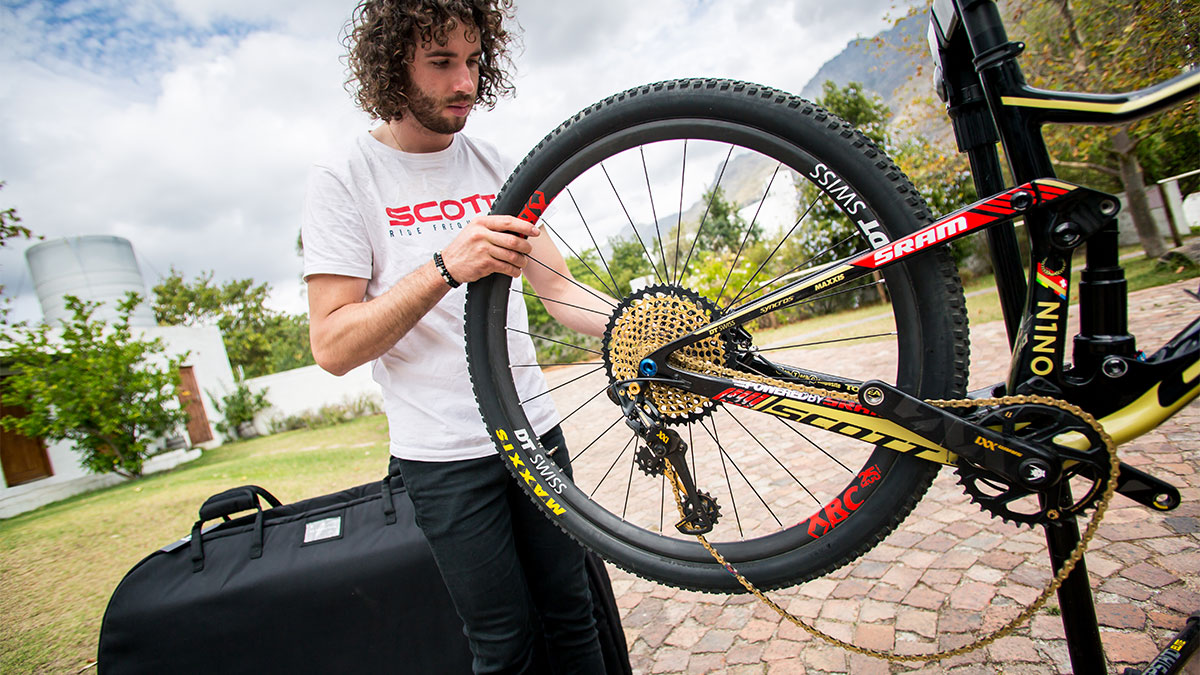
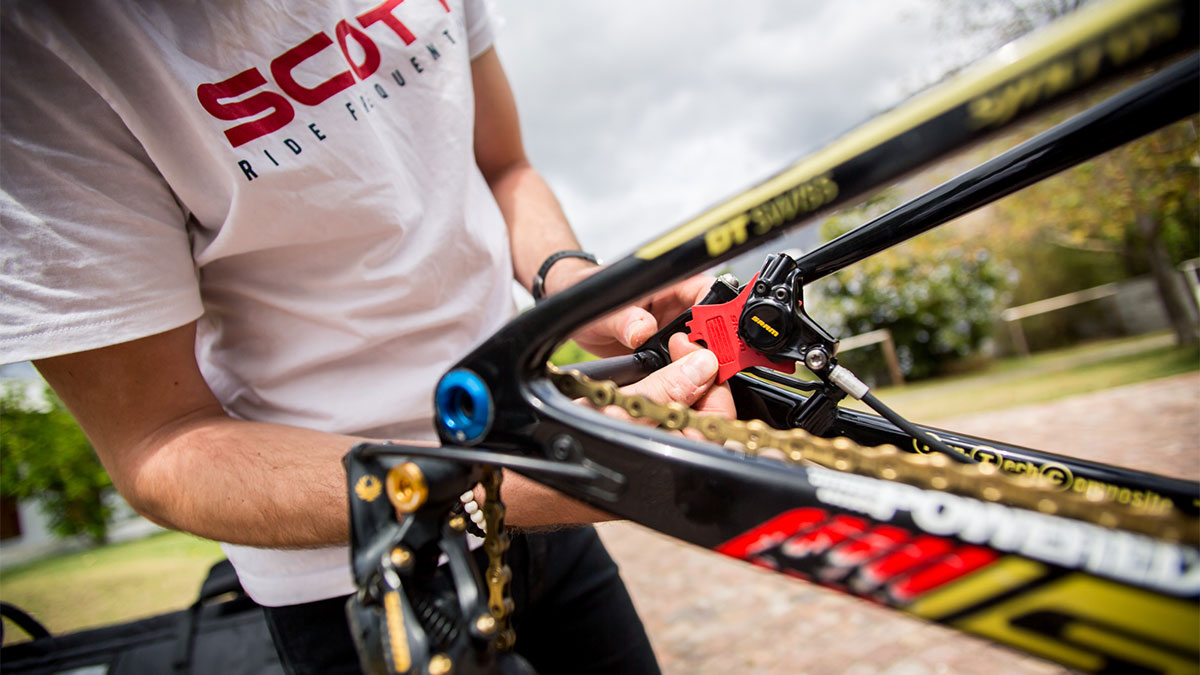
For the next step, we need to take the wheels and if needed the discs off the frame. Place the bike on the bike stand to remove the wheels. For this step you can either use the center lock or the standard tools T25 or 4mm. Then I take the axles and install them in the rear and fork triangle so that in case of an accident they won`t crack or bend. Then I put pad spacers in between the brake pads, preventing the pads from being pushed together and keeping them in a healthy clean state. It makes them less likely to get deformed during traveling.
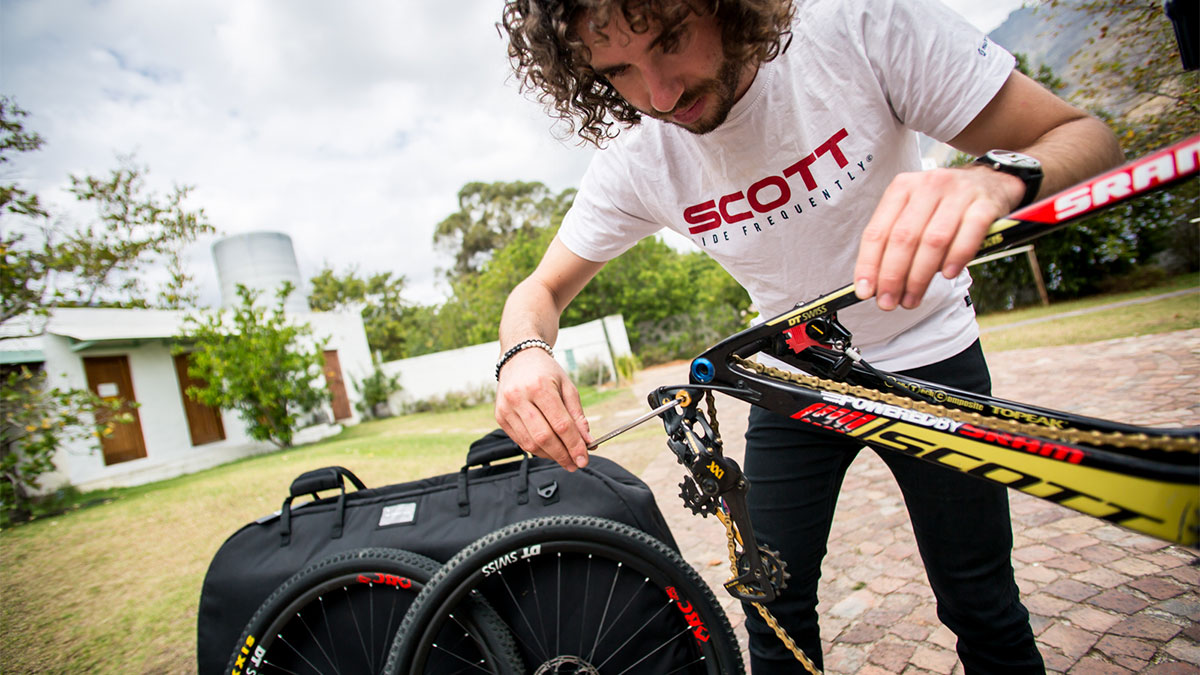
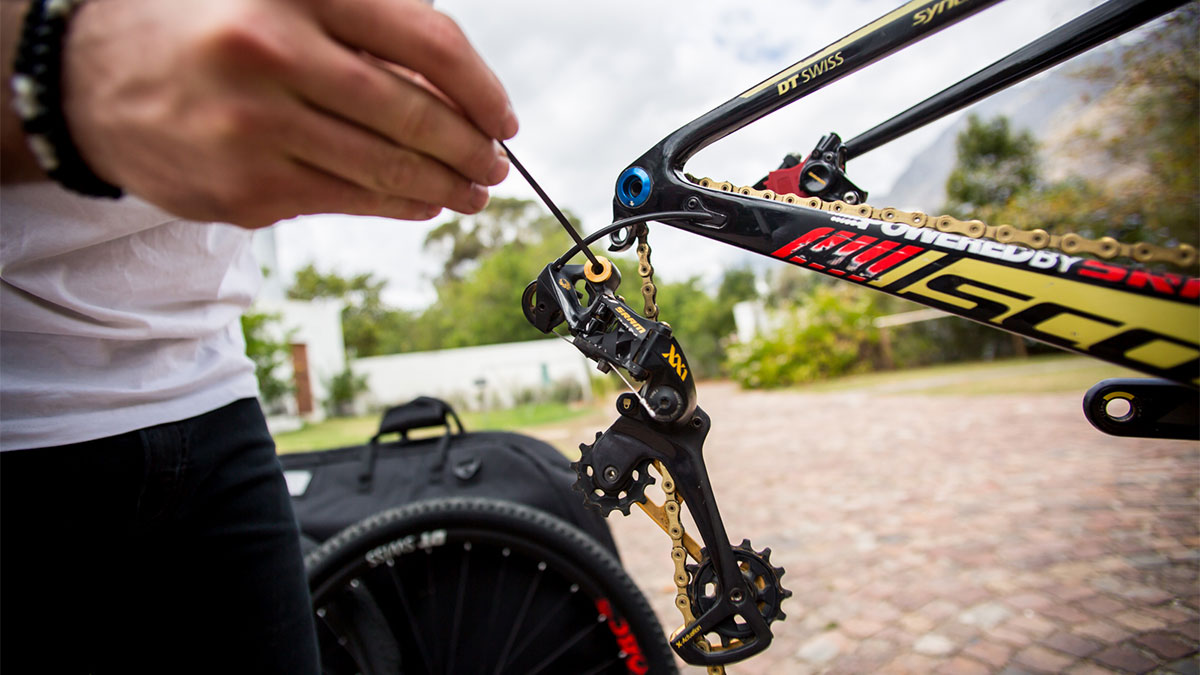
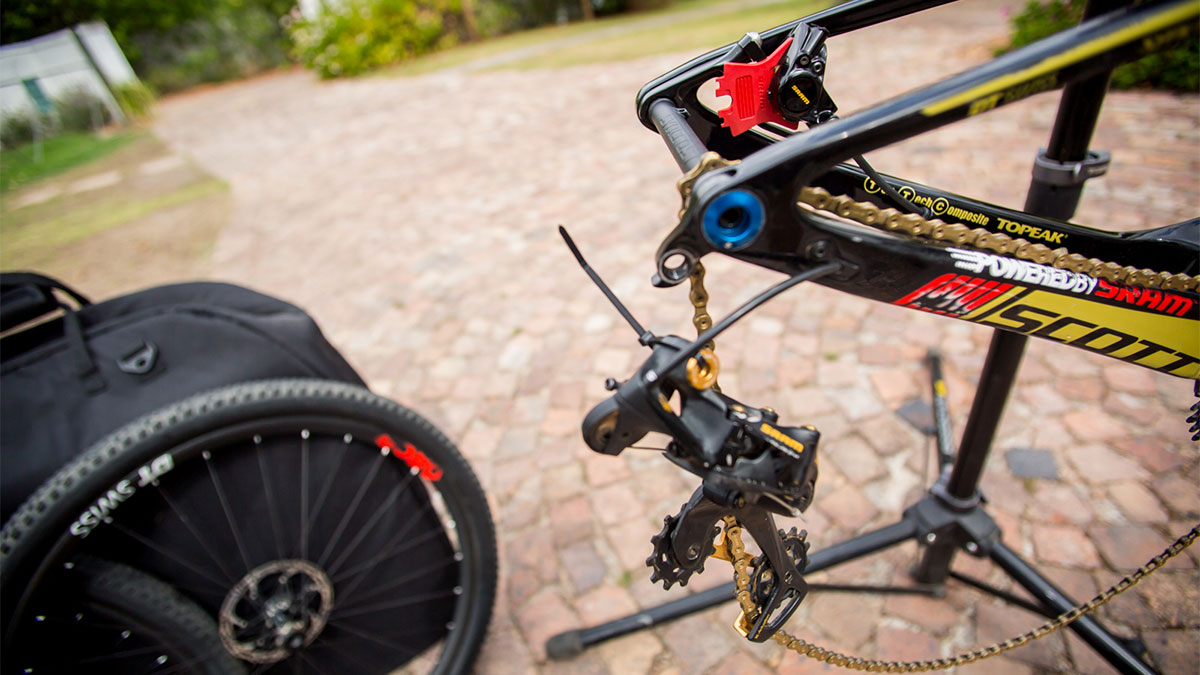
4. Dismantling, Part 3
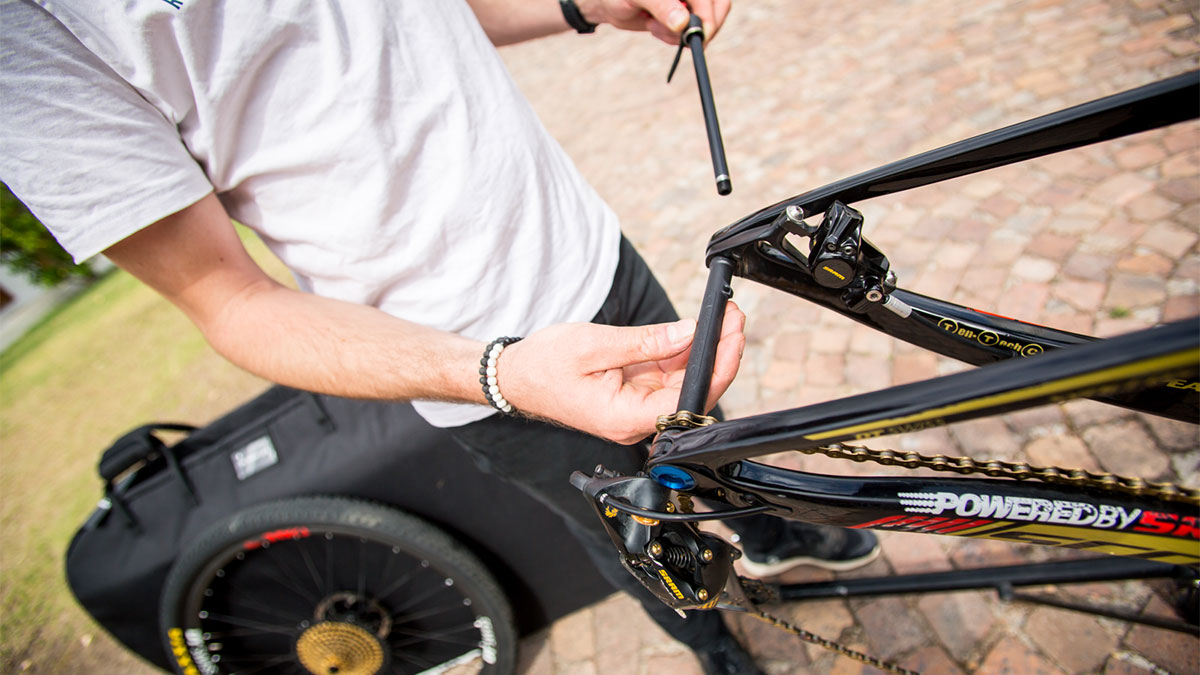
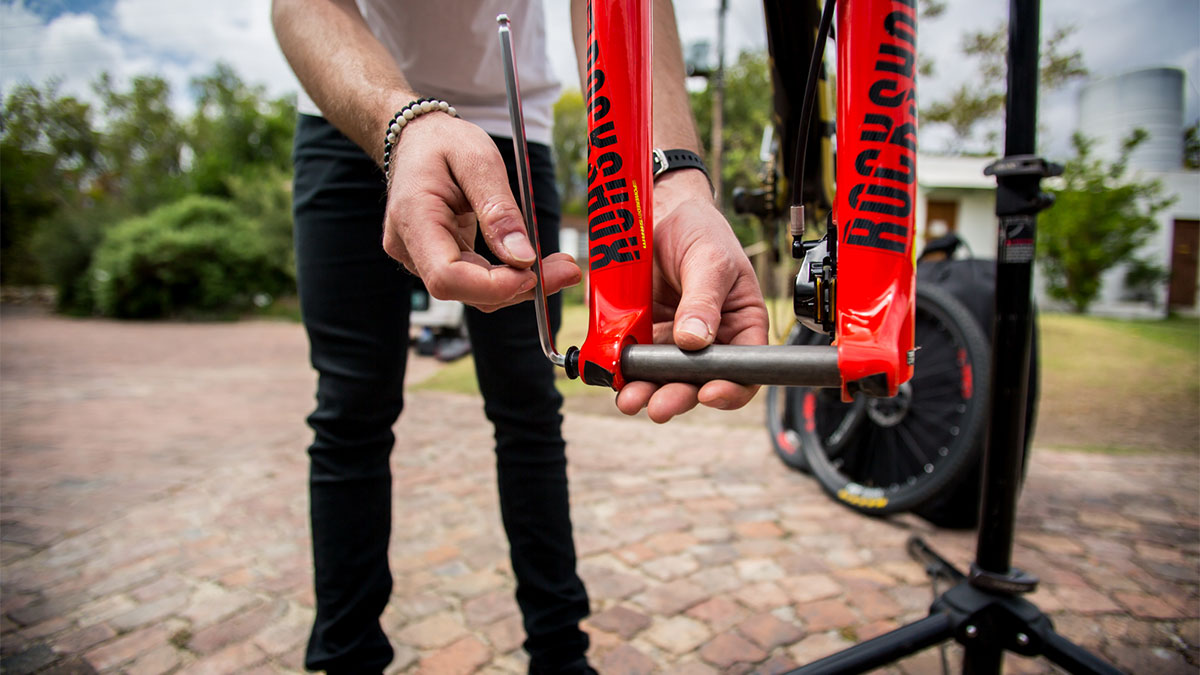
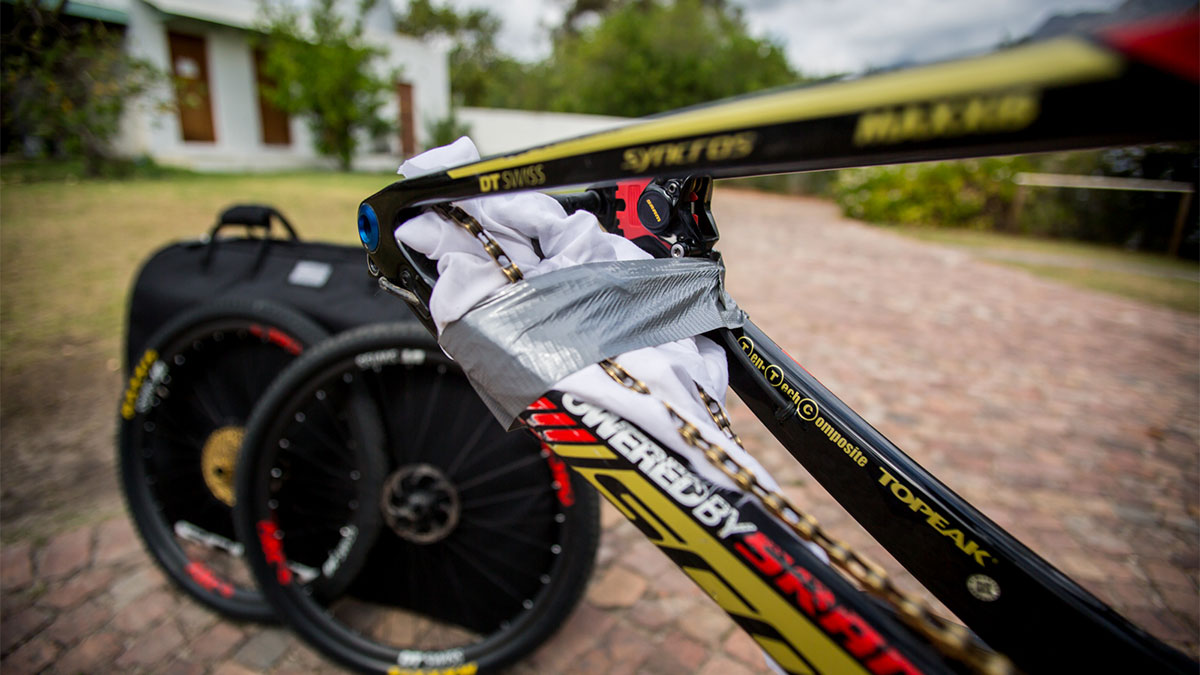
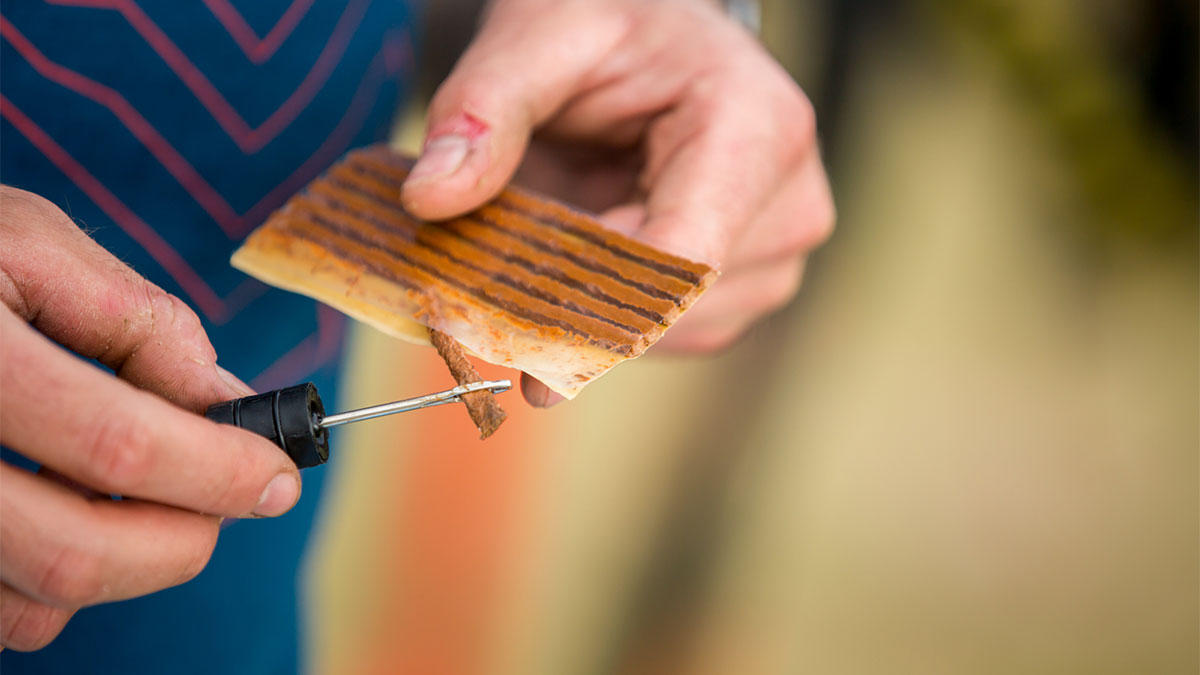
For the removal of the derailleur, I usually leave the hanger on for additional protection of the frame, I also add a zip tie between the bolt to keep it in place. Then I wrap and tape it into a towel to protect it and to have some clean utensils for the unpacking. Protect the chainring with foam padding, cardboard or even old tires to prevent bending the teeth and place the rotors in a cardboard envelope. After that you can remove the handlebar and stem off the steerer tube. It prevents unwanted moving of the cockpit setup other than alignment left to right. By doing that you also prevent having to remove the front plate of the stem. On top I add another axle so that the fork doesn’t knuckle around and stays where it’s supposed to be. Make sure you remove the seat post and saddle in one piece and mark the seat post at your regular seat height.
5. Storage
As already mentioned, place the pedals in a small cardboard box or wrap them in a towel and place them in a zip pocket inside your bag - this is important as a pedal could do a lot of damage to your frame. Use a spare wheel bag to put the bars, stem and cables in - to protect them and stop them from hitting the frame. It is also very useful to have a spare wheel bag at races for transporting and organizing on race day. Next, wrap the saddle and seat post in bubble wrap, then, using a towel wrap the rear derailleur and any slack chain tightly and place packaging tape around it.
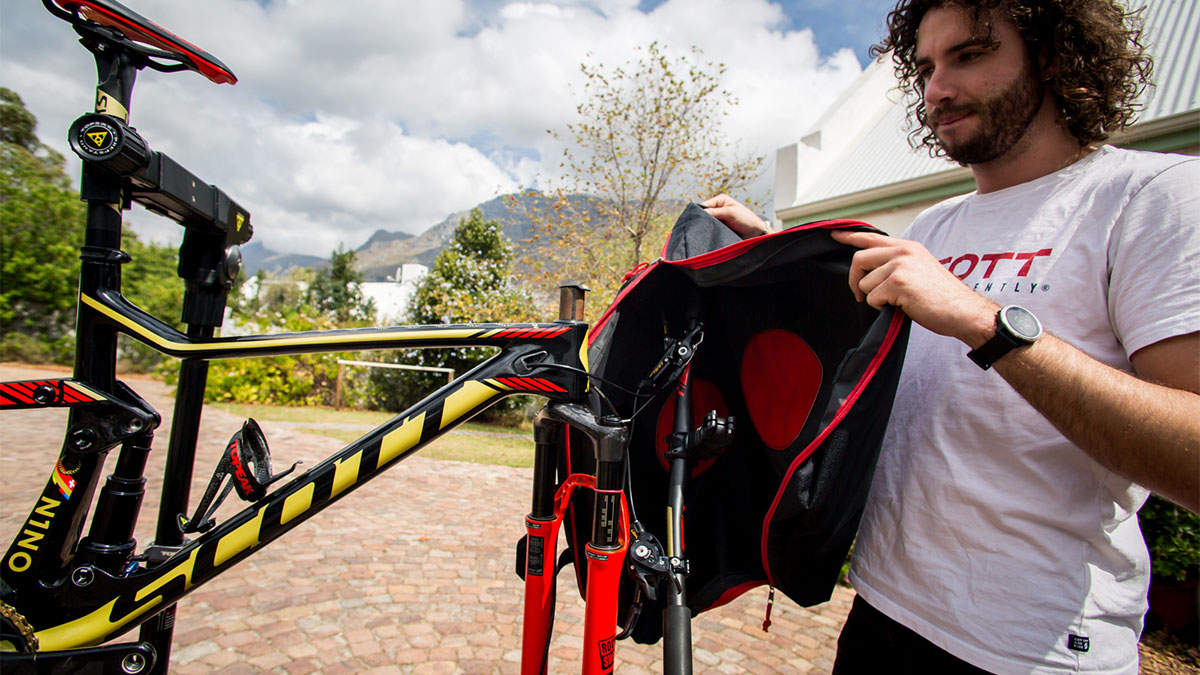
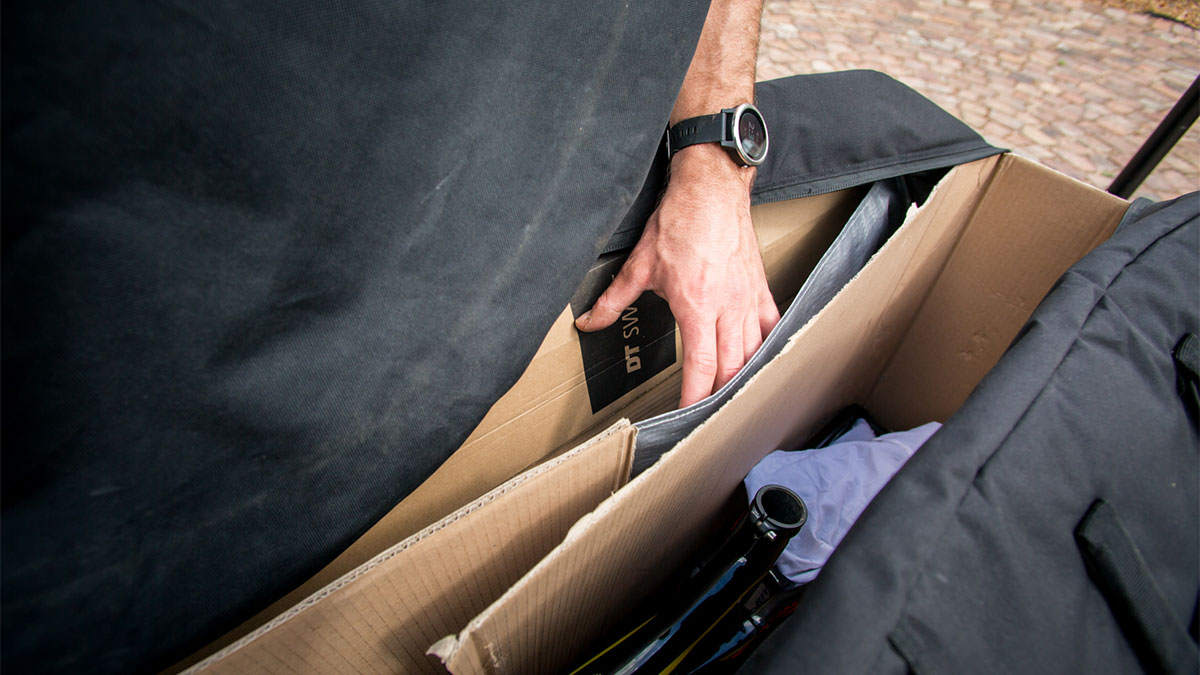
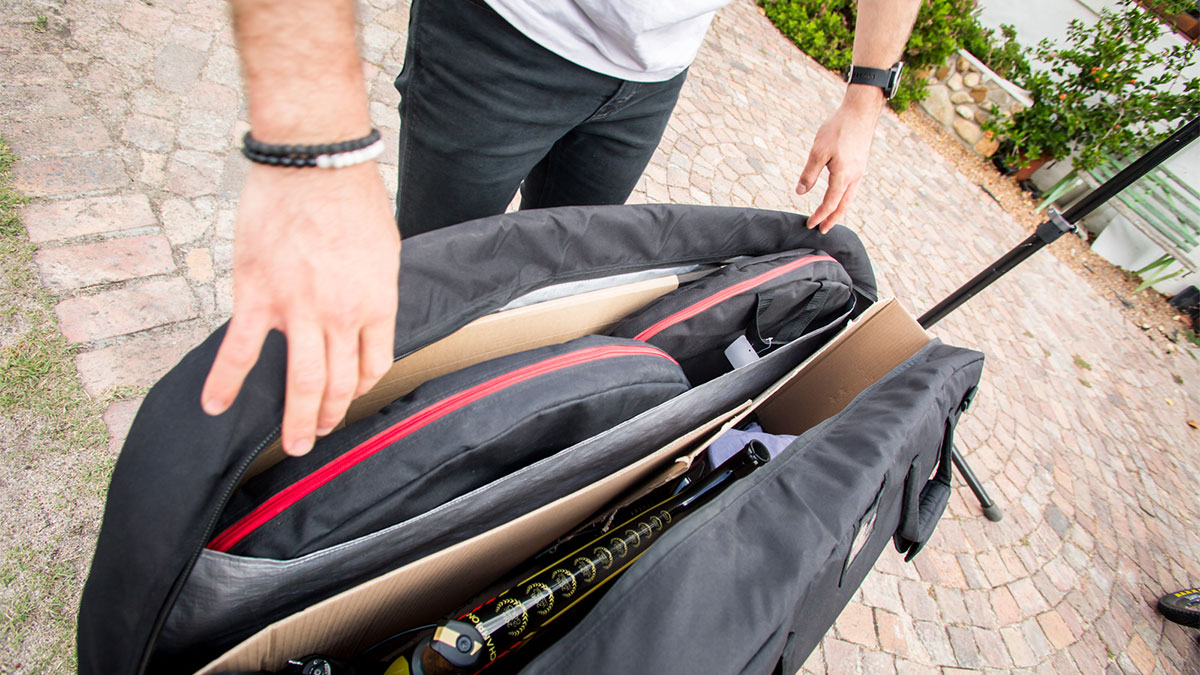
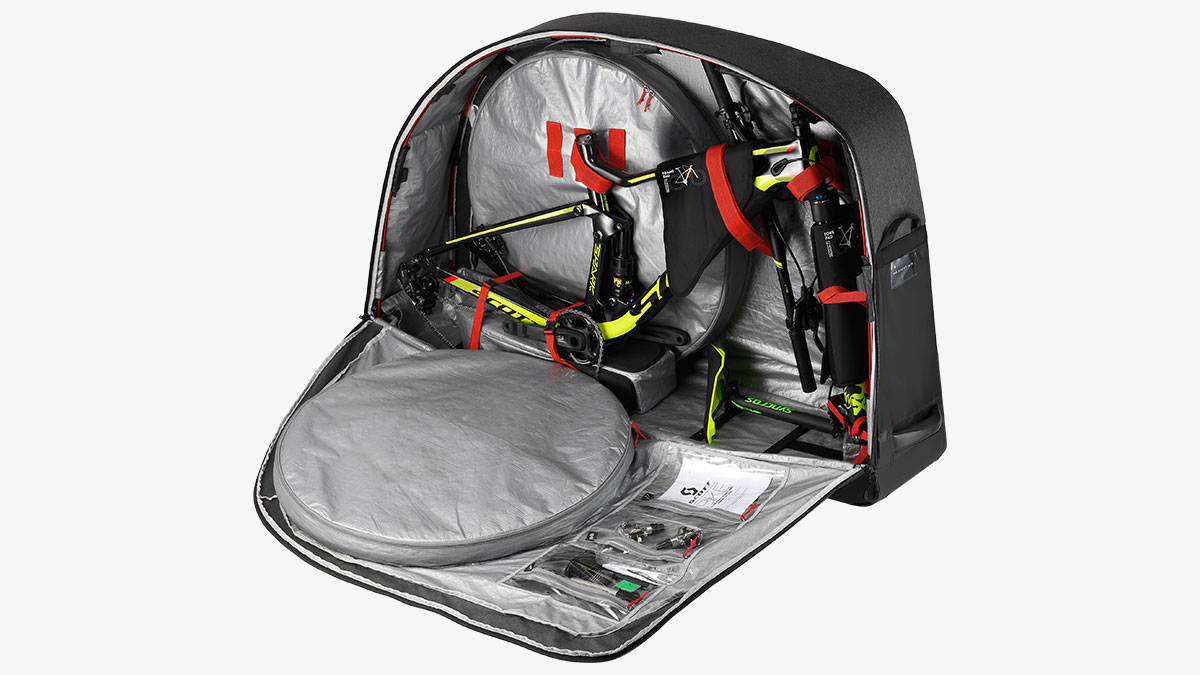
6. Packing, Part 1
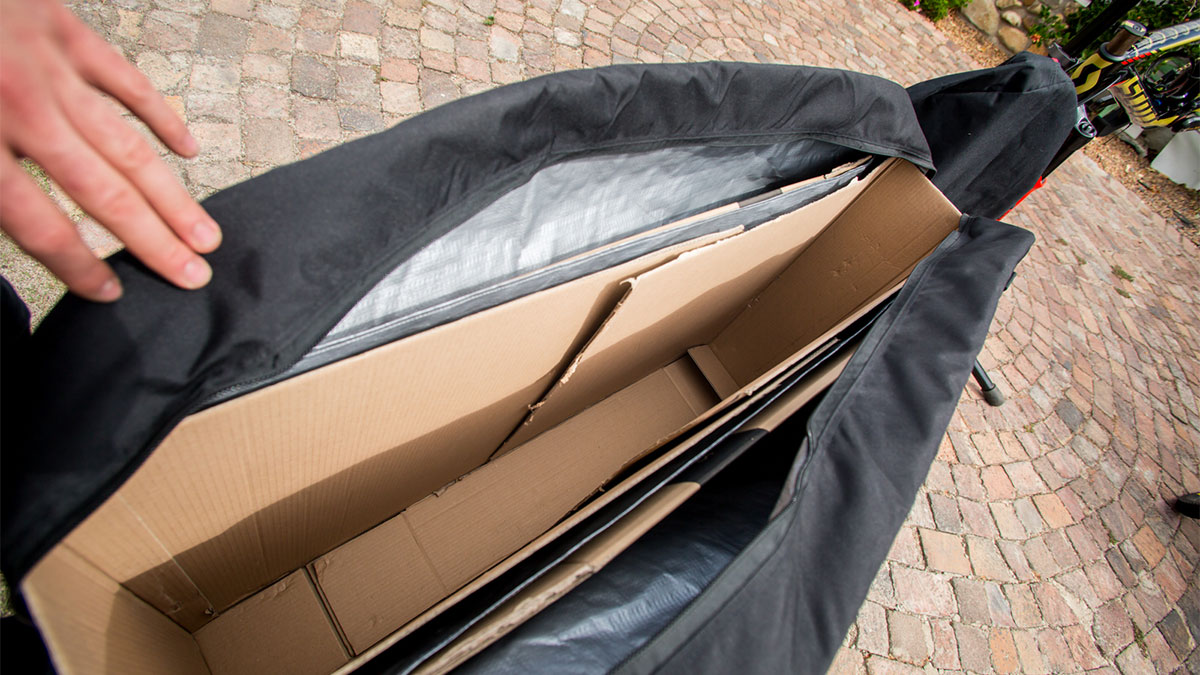
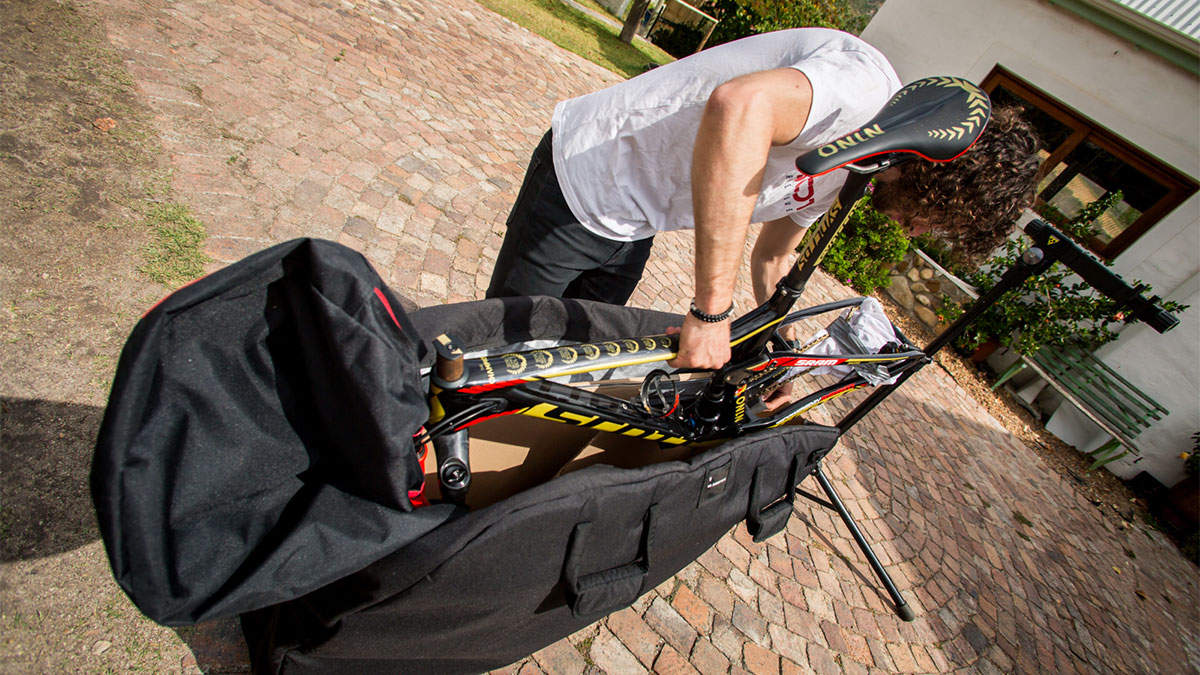
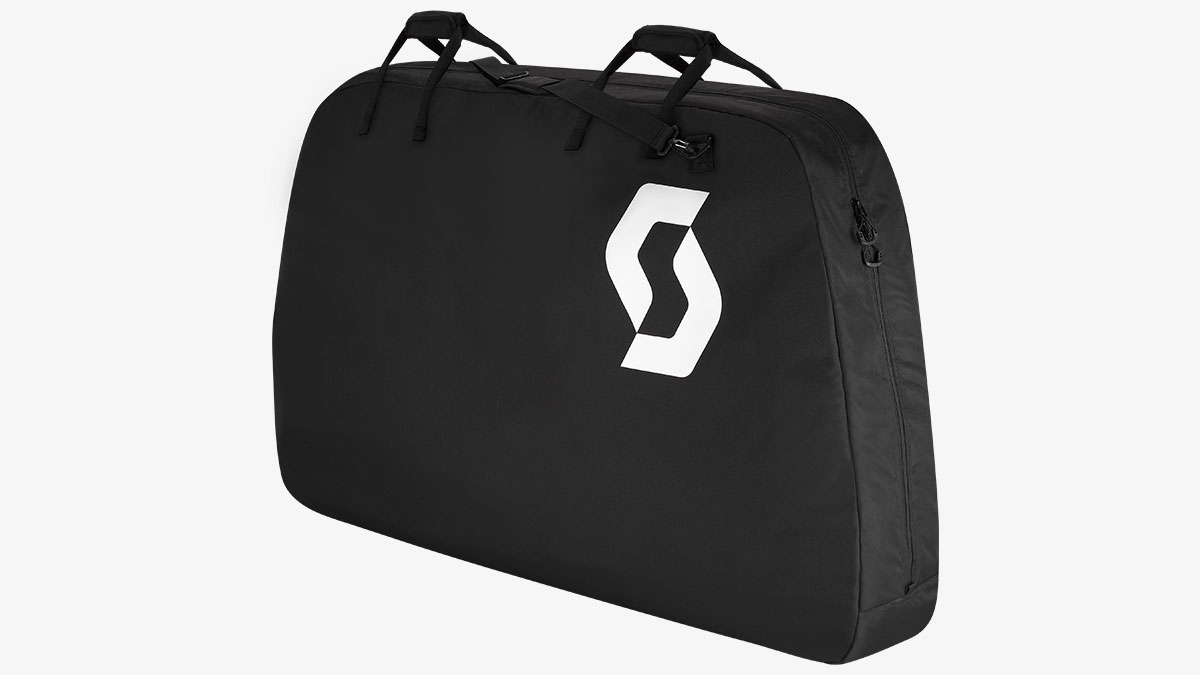
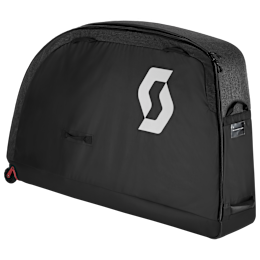
The next step is dependent on the type of bag you are about to use. In this video I use the lightweight SCOTT bag, one of the top products for safely transporting your bike. Take some bubble wrap and tape it around the lower part of the forks as well as around the rear dropouts. Check under the chain to ensure that it is fully protected. Place the frame in the center of the bag. Now place 2 pieces of cardboard on each side of the bag. The cardboard keeps the wheel bags away from rubbing the frame. The bags are already well designed to protect but having an additional layer of protection in place is important for avoiding damage. Then take your saddle and turn it so it’s inside the rear triangle and secure it with tape, make sure you stick the tape to the bubble wrap, cardboard or towel, its tough work getting left over tape off your frame or components.
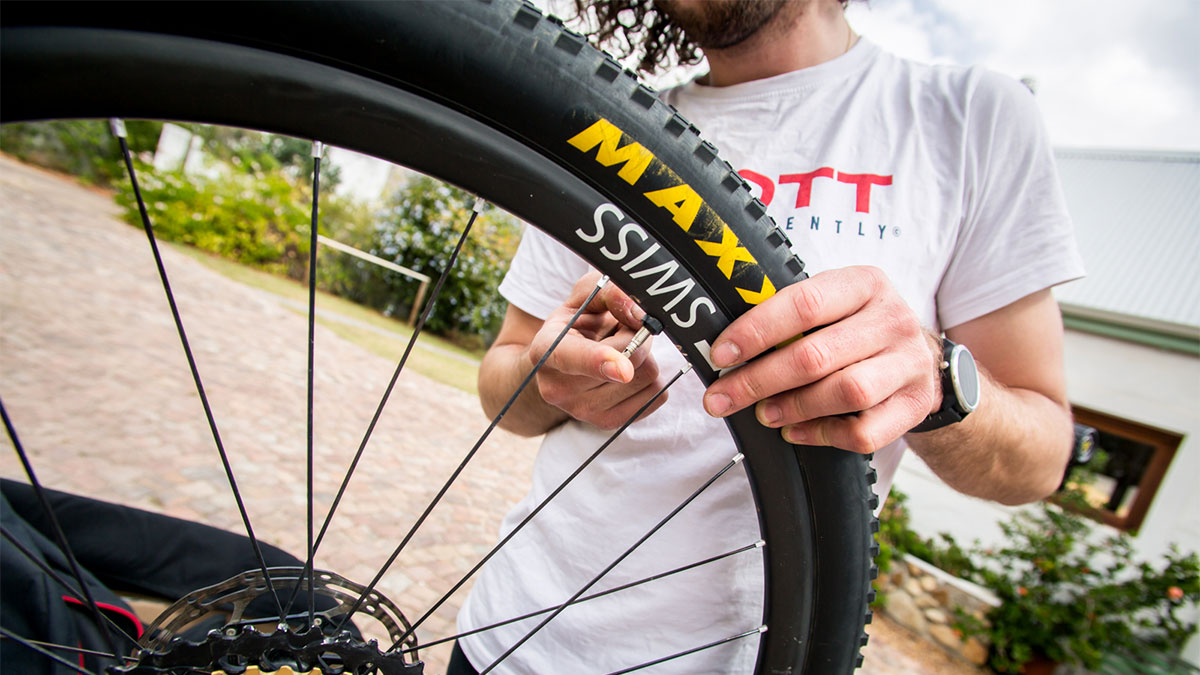
7. Packing, Part 2
Before placing the wheels in the bag, I always deflate them a little bit to lower the volume, let a little air out from the tires on the MTB down to 15psi and road down to 60psi. If you follow my advice just make sure the tubeless tires stay on the rim. I personally leave the discs on the wheels just to give the spoke some extra protection on one side. Store the wheels in two separate wheel bags and place the front wheel on one side in the void and then the rear wheel on the other side - with the cassette facing outwards. This positioning is even more important now that they have grown in size with SRAM Eagle having an outer sprocket of 50 teeth that could potentially cause significant damage. Wrap the seat and seat pin and place into the rear triangle.
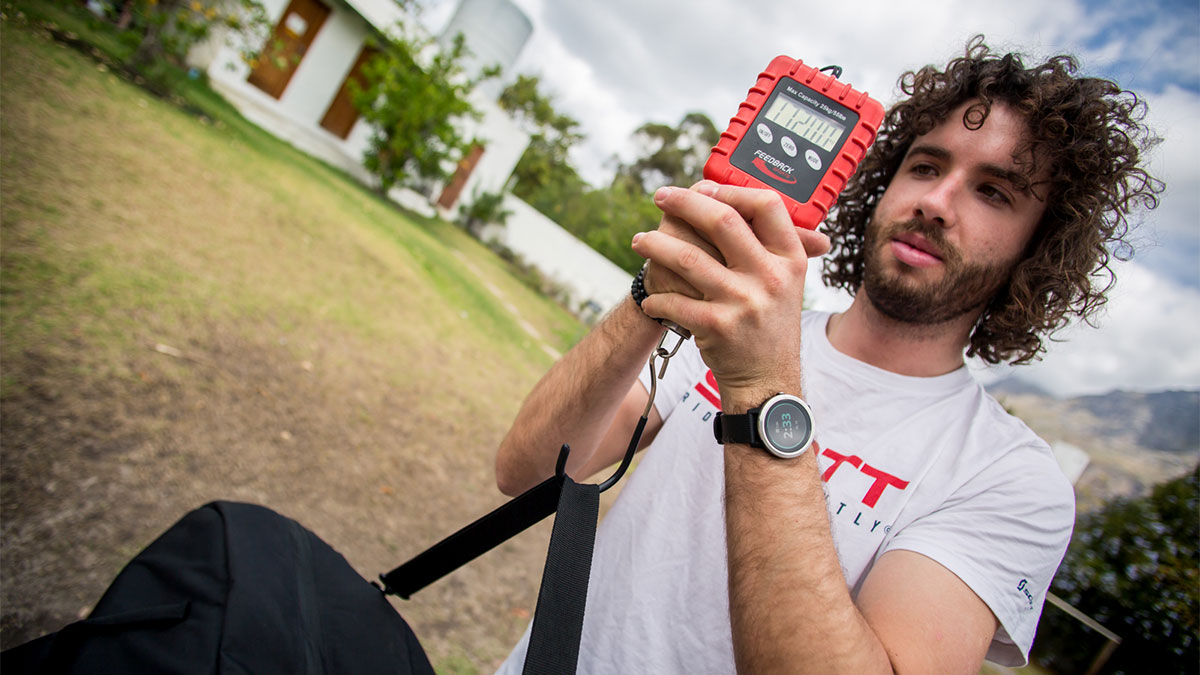
8. Weight Check
It’s best to check the weight before you start adding other items to the bag - this isn’t easy so stand on the scale making a note of the weight and then stand on again holding the bag and take note of the weight again. The difference between the numbers is the weight of the bag. Always check the airlines guideline you are using and country you are visiting for any further restrictions. If you are nearing the weight limit you will need to re-distribute some items between your other luggage. Think about what you put where as there are restrictions, for example, oil is not allowed in hand luggage and sometimes not in the hold. Also, tools are not always allowed in hand luggage. In case of underweight it’s a good idea to put your spare tires and tubes in the bag, pushing them in to places which will add protection. Also, if you are like our guys and need a foam roller and stretching yoga matt they are lightweight and will add even more protection.
9. Spares
Think about what you might need on your trip, even if you think it won’t be difficult to buy tubes or common parts, it can still be a hassle to find the right shop and it also takes precious time from your holiday or and training time. Also, consider specific parts that are not so common, such as: rear derailleur hangers, shock bolt etc. You will need a small pump, shock pump, all the tools to build your bike and a multi tool, chain lube, gorilla tape, zip ties and your center lock tool if needed. Make sure to take sample size or small bottles with you, those are always a good idea as some security screenings may mean you have to throw larger containers away at check in. Don’t forget bottles and energy boosters - always double bag powders as it’s a messy job if one bursts!
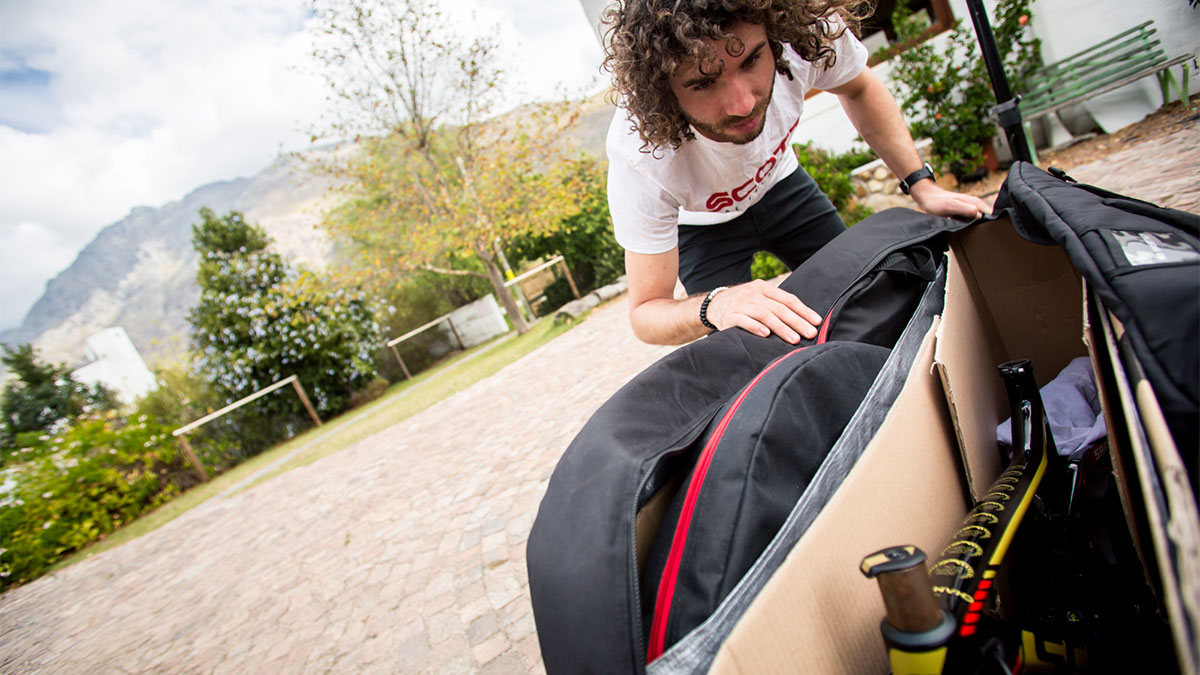
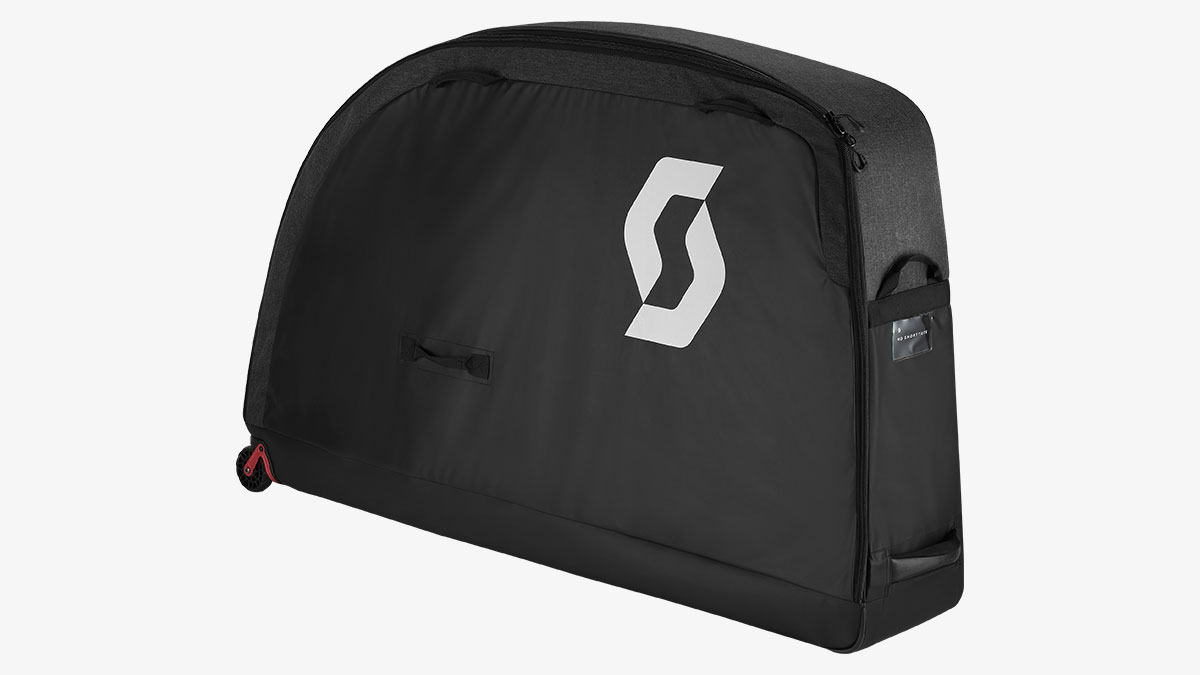
10. Transport Bags
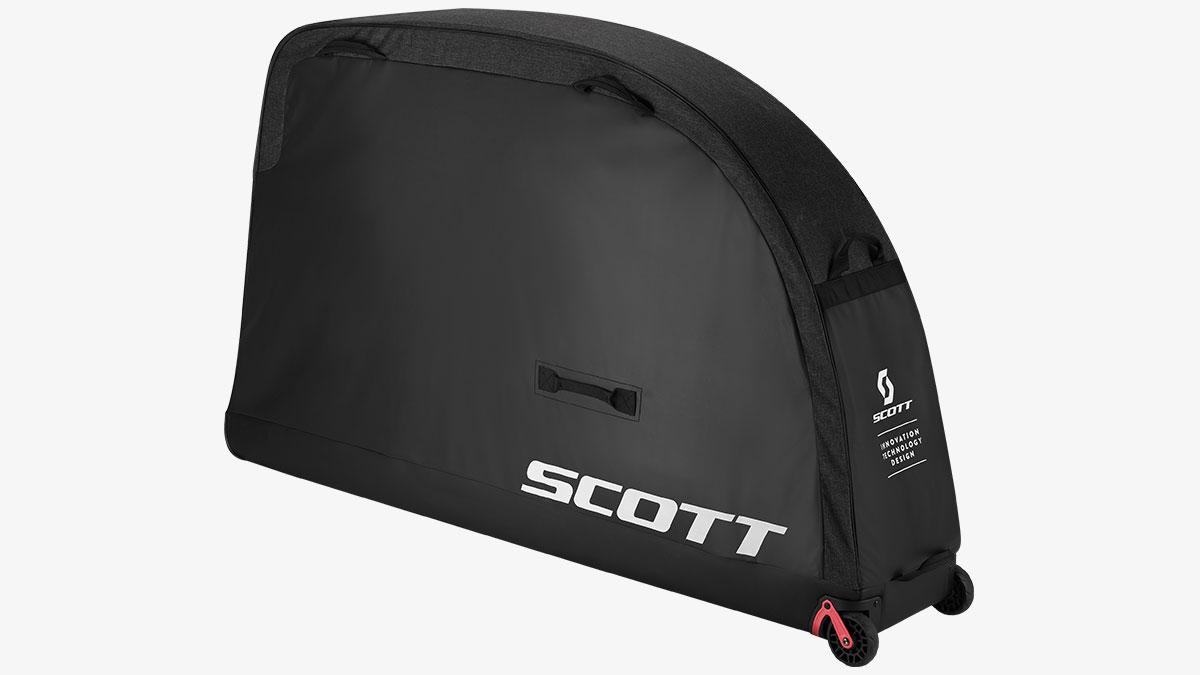
There are many types of bags. In this Video, we used a lightweight foldable SCOTT Bike Transport Classic bag. We must consider storage of the bags in our accommodation. Additionally, we must be careful of the weight as there is an international bag weight limit of 32kg. We know a hard case will protect your bike for going on holidays but racers have to travel, not only with their bike but with spare wheels and other parts. We pack our bikes very carefully and as a result, have never had a broken frame by following these packing steps. Alternatively, consider SCOTT’s Bike Transport Bag Premium 2.0, which offers more protection plus it does have wheels!
Words : Yanick Gyger & Nick Craig Photos : Jochen Haar Video : Raineduponmedia