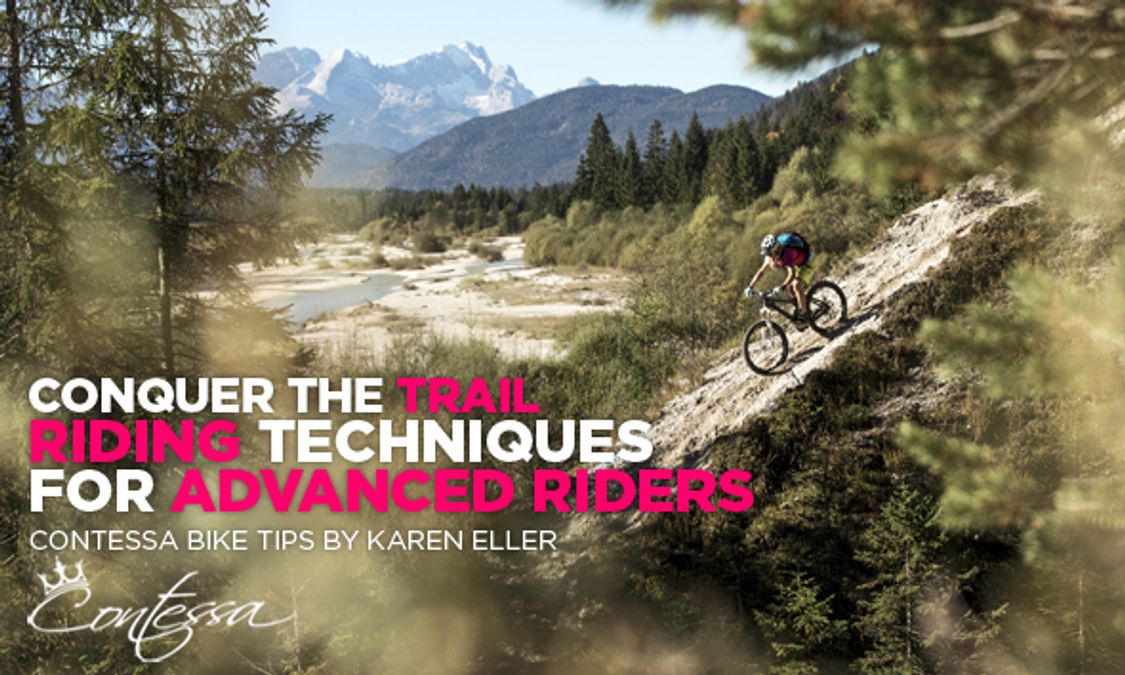
Conquer the Trail - Riding Techniques For Advanced Riders
You have already mastered the basics of braking and shifting gears, you have perfectly integrated concepts such as positioning yourself well on the bike and balancing. So now is the time for you to trust yourself on steeper slopes and to train for hairpin turns.
Step 1: Master steep climbs
The biggest enemy of any rider besides punctures and chain cracks are steep and technical climbs, those on which at first glance you already picture yourself pushing your bike to the top. It is therefore necessary to get into these passages quietly, at your own pace and with the right technique. By starting this way, you will get less tired than if you were to get off your bike, push, and then struggle to get back on. The right mindset is that every climb will somehow become flat again, no matter what!
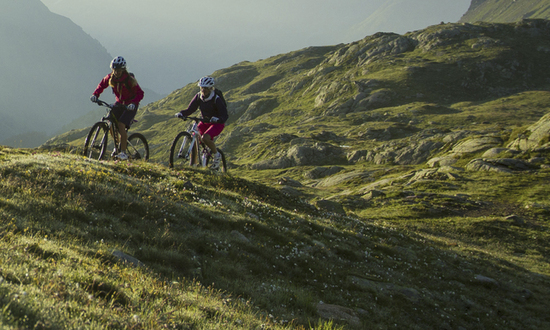
During long climbs, concentrate on your breathing and pedaling rate. At this point, it doesn’t matter who is in front or behind you. Simply ride to your tempo without pushing yourself too hard. Keep in mind that the slope can become even steeper. Pay attention to your gear and do not choose too low of a speed at the start of the climb. Ideally, you should ride comfortably with a well-dosed force. Normally, the sitting position is the one you should aim to finish these long climbs with. However, the standing position (dancer) can relieve back muscles and help to avoid tension. For that, you need to shift to a harder gear in order to avoid pedaling in the air.
In any case, remember this: an MTB is not a road bike. When needed, you are allowed to and are encouraged to move and change position. If the climb is long, place the weight of your body periodically in the front of the saddle, sometimes at the back. When the slope is extremely steep, the front wheel can eventually take off. In this case, your bodyweight should be placed further forward. The best way to do this is to drag yourself to the tip of the saddle and to bring your elbows down towards your body while bending forward. To overcome roots and rocks, just increase your pedaling rate and build a little momentum. You will roll easily over the obstacles. If you still need to get off your bike on a challenging single trail, always lean towards the mountain and first unclip the leg on this side. You'll avoid falling down to the bottom of the valley.
Tips for riding steep climbs:
- - Only use the standing position if the soil is tacky. If the ground is slippery, it is better to sit.
- - When the front wheel is threatening to take off from the ground, drag yourself to the front of the saddle and lower your elbows, bringing them close to your body.
- - Even steep sections become flat again at one time or another. So start calmly with a positive mindset. It is better to arrive slowly to the top than to give up and get off the bike.
- - Increase your pedaling rate and take momentum to go over roots and other obstacles. Keep your focal point high.
Step 2: Steep downhill sections and step-downs
Extremely steep sections are not very frequent. However, a steep step-down is sometimes enough to get you into trouble. In all cases, you must know how to deal with these obstacles. The moment the front wheel tips forward makes most biker’s hearts skip a beat. Remember to keep a positive perspective: every steep section becomes flat again at one time or another. So keep looking far ahead, where the terrain becomes pleasant to ride again. This will help you overcome your fear. In addition, you have to trust your equipment. Mountain bikes can come over extremely steep and technical trails. Determination and self-confidence are also frequently required on a mountain bike. Those who fully brake at the first hurdle and refuse to try will never get very far.
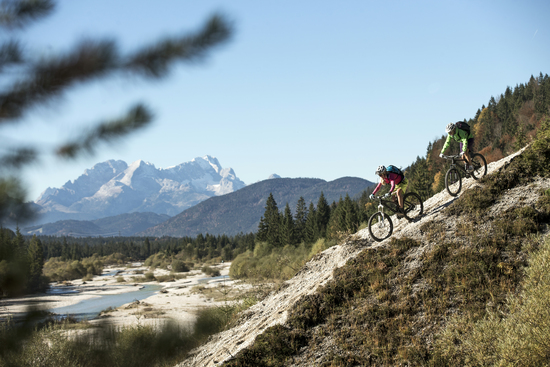
On steep downhill sections, you should proceed as follows: stand up on your bike and look far ahead as you approach the key passage. In this position, it is easier to anticipate, to react flexibly and to place your bodyweight behind the saddle at the right time. The pedals are in the horizontal position and your supporting foot is forward. With your saddle down, it is often much easier. As soon as the front wheel tips forward, move to the back of the saddle in one fluid motion. Stretch your arms so that your elbows are almost straight. If the step is very steep, place yourself far behind the saddle, almost as if you wanted to sit on the rear wheel. Keep your handlebars straight and avoid unnecessary movements. With two fingers on the brakes, measure out your speed according to the way you are feeling. Warning- always keep your wheels rolling! The threat of an OTB (over the bars) only appears if your bodyweight is too much at the front of the bike, if you pull the front brake at the wrong time or if your front wheel stays blocked by an obstacle. That being said, it is better to brake with the rear on steep sections. However, it often happens that the rear wheel slips away on very steep slopes, a fact that can rarely be avoided. If the rear wheel is completely blocked and starts to skid, open the brakes a little while keeping the handlebars straight. It is only when the trail becomes flat again that you can gently bring your hips back to the front of the saddle.
Tips for riding steep downhills:
- - Put your saddle down before steep descents
- - Practice on flat ground to master different positions and to learn how to move fluidly
- - Have your pedals in the horizontal position before starting the descent. It is from this position that you will then be able to place yourself enough at the back of your bike.
- - Always keep one or two fingers on the brake levers, ready to brake.
- - Practice on flat ground to learn how to place yourself well behind your bike until almost touching the rear wheel.
- - On steep sections, preferably use the rear brake. Use the front brake with moderation!
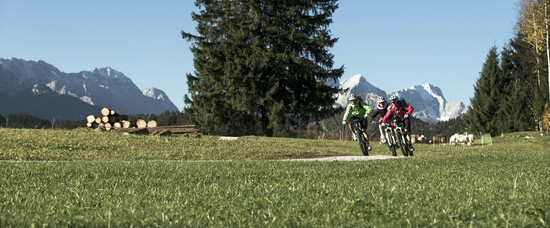
Step 3: Turning on gravel roads
These curves can frighten any rider who at one time or another had a bad experience falling on gravel. With the right technique, it is possible to manage clean curves and to gain confidence. Being able to turn on gravel roads therefore also means mastering your bike. With a little practice and some good tips, you will be able to ride even the most slippery turns. The keys to success are anticipation and reading the ground. Your gaze should be directed at the inside of the turn, not on the outside of the road, nor on the ditch or on the railing. A gravel surface is particularly invaluable and above all, it is unforgiving. In addition, rain ruts often make the ideal line simply impossible to ride. Therefore, you should choose a line that looks comfortable to ride and then tackle the turn with the right speed in order to turn well without having to stop. Of course, this requires some experience. Once you've found the right speed, you have to focus on your eyes and your handlebars. Turning and braking at the same time often does not give good results, just like when you are driving your car.
When you slow down to start to turn, use both brakes. To increase the efficiency of the rear brake, place yourself slightly behind the bike, but remain standing above the saddle. It is only in this position that you will have the most freedom of movement and traction. At the entrance of the turn, the pedals are horizontal. Your eyes will then guide your turn. Look inside of the bend, where you want your bike to go. After slowing down a bit, put your outside foot down. This creates more pressure on the tires and keeps you from falling down. While doing so, stay above your saddle, because if you are too far forward or too far behind, the front wheel will lose its grip and you will slide. For maximum control, leave both feet on the pedals.
Your tires’ profile and pressure, as well as the way you shift your bodyweight on the bike, define your grip on the ground. You can increase this grip by putting weight on your outside foot by placing it down and pressing inner leg towards the top tube and saddle at the same time. Keep your arms soft and relaxed, with elbows outwards for more stability. Put like this, it may sound difficult, but it is not at all. Just try it!
The ideal line- a frequently cited concept
The ideal line of a curve means that you take the turn on the outside, leaning inwards towards the center of the curve. From there, you then open your trajectory to find yourself the outermost possible when coming out of the turn. It sounds easy, but the ideal line is actually not so easy to follow, even if only for traffic safety reasons. This is why you should always leave a safe distance between you and the edge of the road, in order to have enough space for an emergency maneuver.
In case you are still too fast while approaching a turn on a gravel road, slightly bring your bike up and brake cautiously with the rear brake. Again, the best way to train your technique is by practicing on asphalt. Go on a parking lot to train where you should look while turning, to improve your positioning on the bike and to learn how to apply pressure on your tires.
Tips for turns on gravel roads:
- - A slightly lower tire pressure improves grip.
- - Reduce your speed to feel more confident. It is better to start too slowly than too fast.
- - Increase your grip by pressing with your inner leg towards the top tube and saddle.
- - Ride actively and do not wait passively for your bike to react.
- - Emergency braking only works with the rear.
Step 4: Master hairpin turns
All interesting and challenging singletrails contain hairpin turns. For die hard riders, this is what spices up the bike tour. It can indeed be great fun!
Hairpin turns require precise mastery of handlebars and brakes. You also have to be able to ride very slowly, which requires good balance. You can safely train this on flat ground. To do this, place a bottle on the ground, as a benchmark. Ride in circles increasingly tighter around the bottle and try to stop from time to time. Don’t forget to keep the pedals in the horizontal position and to use your brakes, as explained in last episode’s balance exercise. Notice where the rear wheel rolls compared to the front wheel- it is slightly offset. You should also pay attention to this when you are riding on rugged terrain.
From parking lot to trail
Before you jump on a track with hairpin turns, do not forget to lower your saddle. Put yourself in basic position: horizontal pedals and one finger on each brake. Slow down the pace a bit and place yourself behind the saddle. The steeper the turn, the further back you should be. Turn the handlebar completely and look towards the inside of the curve, i.e. with your eyes following the trail. Your arms should almost be straight, but do not pull the brakes completely because you will only have a good stability if you keep moving. Use your front brake sparingly. The sensitive issue with hairpin turns is when you enter the turn and start going down the slope. This is where you will need to trust yourself. Be self-confident and have a little bit of courage. In order to take these turns, go to the outermost possible point so that your rear wheel has enough space to turn. When your front wheel has passed the turn, release the brakes and pedal to go out of the curve and to stabilize your bike.
Tips for hairpin turns:
- - Lower your saddle.
- - Ride at a reduced and controlled speed.
- - Position yourself above and behind the saddle, but not too far behind. The front wheel should turn easily.
- - Put your pedals in the horizontal position, otherwise the inside pedal could cling.
- - Use the rear brake preferably and only use front brake sparingly.
- - After the turn, release the brakes and pedal.

Karen Eller
Episode 1: How to choose the right bike
Episode 2: Right Preparation for the season
Episode 3: How do I set up my bike correctly?
Episode 4: What equipment do I really need?
Episode 5: Skills come with practice