We have a more suitable website version for you. Please confirm your country to get the right product availibility and even purchase online.

About Cookies on this site

We use cookies to collect and analyse information on site performance and usage, to provide social media features and to enhance and customize content and advertisements.

Learn more

About Cookies on this site

Cookies used on the site are categorized and below you can read about each category and allow or deny some or all of them. When categories that have been previously allowed are disabled, all cookies assigned to that category will be removed from your browser. Additionally you can see a list of cookies assigned to each category and detailed information in the cookie declaration.

Learn more


There is no secret to setting up your mountain bike’s suspension correctly. Once dialled, your suspension will make the difference on the trail! SCOTT-SRAM MTB Racing’s Yanick-the-Mechanic fine tunes World Champion Nino Schurter’s suspension regularly. Check out what tips and tricks Yanick has for getting your bike up-to-speed.


1. Pre-adjusting Rebound, Compression Stroke and Damping

The first step is to neutralize your suspension. To set the suspension unaffected, the setup must be reset. Before you start, please remember that you should be as careful as possible when working with small parts. Especially for beginners, all these technical terms can be challenging themselves, so if you feel uncertain about a special part, just watch the respective video sequence again and read carefully. Prepare a clean surface where you can line up all your bike parts, that will also help you to keep track of your progress. With the right organisation and with cautious handling you’ll succeed step by step. First, turn the rebound dial counter-clockwise until it stops. Then set the lowest possible compression level with the rotary control. Some forks offer three modes (open, middle, blocked), others a seamless adjustment. The damper should be set to “neutral” for the perfect set-up. To do this, set the compression and rebound to the most open position = counter-clockwise.


2. Pump Up fork and shock

With a special pump, put pressure in the air chamber. Many manufacturers print tables with pressure values relative to rider weight on the fork or in the instruction manuals. SO, generally you can reference your body weight to a specific pressure – do this and pump in the specified amount of PSI. Remember to set your sag with all your riding kit: helmet, shoes, backpack or hydration pack- these can weigh a fair amount and can alter the pressure needed for a perfect set up. Having the right amount of sag is critical! Too much sag and you will sit too low in the travel; this will cause the shock to bottom and increase the chances of the pedal striking the floor. Too little sag and you will not get as much grip. You will have a steeper head angle and a rougher ride.


3. Set-up the SAG

Sag is the amount of travel used when the bike settles with the rider on board. Remember to set your Sag with all your riding kit: helmet, shoes, backpacks, these can weight a fair amount and therefore alter the pressure needed for a perfect set-up. Too much Sag and you will sit too low in the travel, too little Sag and you will not get as much grip. You are setting the air spring which is weight sensitive. This is very important, especially when the rider can weigh up to five to six times the weight of his bike. Take care to dismount your bike without bouncing or shifting your weight forwards or backwards. The distance between the O-Ring and the dust seal is the amount of Sag. Measure the gap, 20mm with a 100mm fork is 20% Sag. If it’s a longer fork for light trail use, 25% can work well. In the rear, its often recommended between 25 and 30% Sag.


4. Add Spacers for a Better Ride

The more aggressive the rider, the more tokens or spacers you can add to ramp up the end of the stroke and avoid bottoming out. The other benefit of tuning the air volume for every token added is that you can run five to ten PSI less pressure. This increases small bumps sensitivity while also providing support making for a smoother, grippier ride.


5. Set Compression Damping and Fine Tune

This affects how quickly oil can travel through the system. This can be adjusted to firm up or lock out your fork and rear shock. On our SCOTT Sparks we have a system that gives full control by the push of the handle bar mounted TwinLoc lever. The TwinLoc Suspension System is a proprietary SCOTT Suspension System that allows a rider to control a bike’s suspension performance and geometry simultaneously. In its fully open position it gives the rider full travel. One click into traction control mode increases the compression for the front, making it firm for climbing while retaining sensitivity and grip. The clever part is that it also affects the rear shock reducing air volume increasing the firmness but also lifting the Sag Point making climbing technical trails so much more efficient.


6. Set the Rebound and Fine Tune

This is the speed at which the suspension returns to its sag point after compression. I personally love the Rockshox symbols, a turtle for slower and a Jackalope for faster. If your fork is set to fast it can feel like you’re riding on a spring board or a pogo stick. Now you will need to test it. Ride on a flat road, compress the suspension and notice how fast the front and rear return back to sag point. You are looking for a balance between the front and rear rebound. If anything, the front could be slightly faster than the rear. It is important to know your shock pump. Every pump is slightly different. Take your shock pump with you on your first few rides so that you can make any necessary adjustments until you are happy.


7. Maintenance

Keep your forks and rear shocks clean and lubed. Take a silicon lube or a specific suspension product. Apply the lube to a paper towel and then wipe onto the seals. Push the suspension through its travel several times and then wipe clean any excess. This will keep your suspension in a healthy state. Always consider a full service of the internals of your suspension after 80 to 150h or yearly.


8. Nino Schurter’s Preferences, Part 1

Nino prefers a dual suspension bike because it gives him more control on a trail. He recovers better and he can choose faster and more technical lines. He prefers a supple and progressive suspension set-up. We have as many air volume spacers in the fork as possible, which allows us to lower the pressure a little bit. This creates a lot of suppleness and sensitivity for small bumps but ramps up deeper in the stroke to handle the big jumps, especially when he is doing his tricks in the air. The rebound is on the faster side and the compression is fully open. In addition, the suspension is very balanced so the fork and the shock work pretty much equally. Well balanced suspension increases the performance of the bike by placing the rider between the wheels, creating maximum grip and control.


9. Nino Schurter’s Preferences, Part 2

Nino’s settings for his fork start at 78psi with the maximum amount of volume spacers and his rear shock starting at 135psi. For rougher tracks with more roots he prefers more pressure but for smoother tracks he prefers less pressure. Thanks to the TwinLoc Suspension System we can optimize the open mode for aggressive lines, control and grip. Every 10 to 15 hours, I open the fork and shock to clean everything and keep things running smoothly. I also add a bit of lube on the seals to have the best possible setup for the race.


10. SCOTT’s Patented TwinLoc Suspension System

World Champion Nino Schurter has used the TwinLoc Suspension System for many years now, claiming multiple World Championships, World Cup Overalls, and individual World Cups among numerous other titles. Below you’ll find some statistics from a World Cup Cross Country lap in Lenzerheide showing just how often Nino is switching between modes in relation to the type of terrain he is using. Spending a majority of his time in Traction Control mode, Nino switches to Descend mode often, gaining time on his competitors with every meter. When the climbs smoothen out, or when there is an option to really put the hammer down, Nino opts for the Lockout mode guaranteeing efficiency in power transfer.


Glossary

Bike Parts Adjustments Advantages of increasing
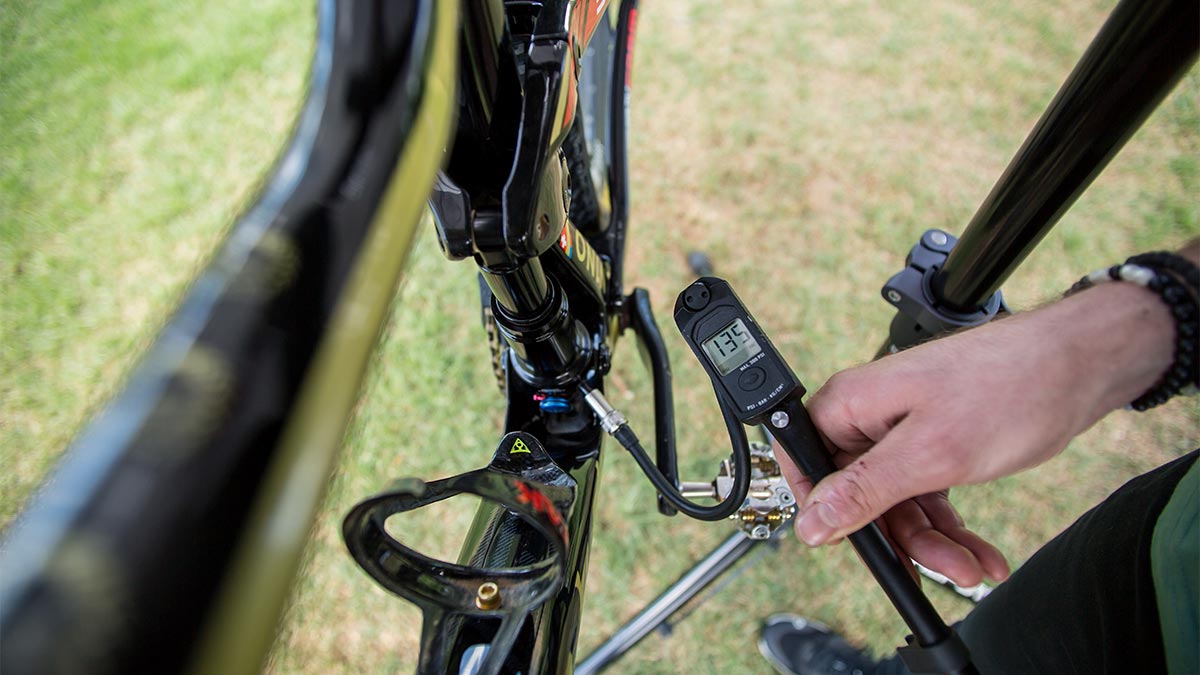
Sag Point Sag is the amount of travel used when the bike settles with the rider on board.
  • Increase ride height and pedal clearance.
  • Increase support from the suspension.
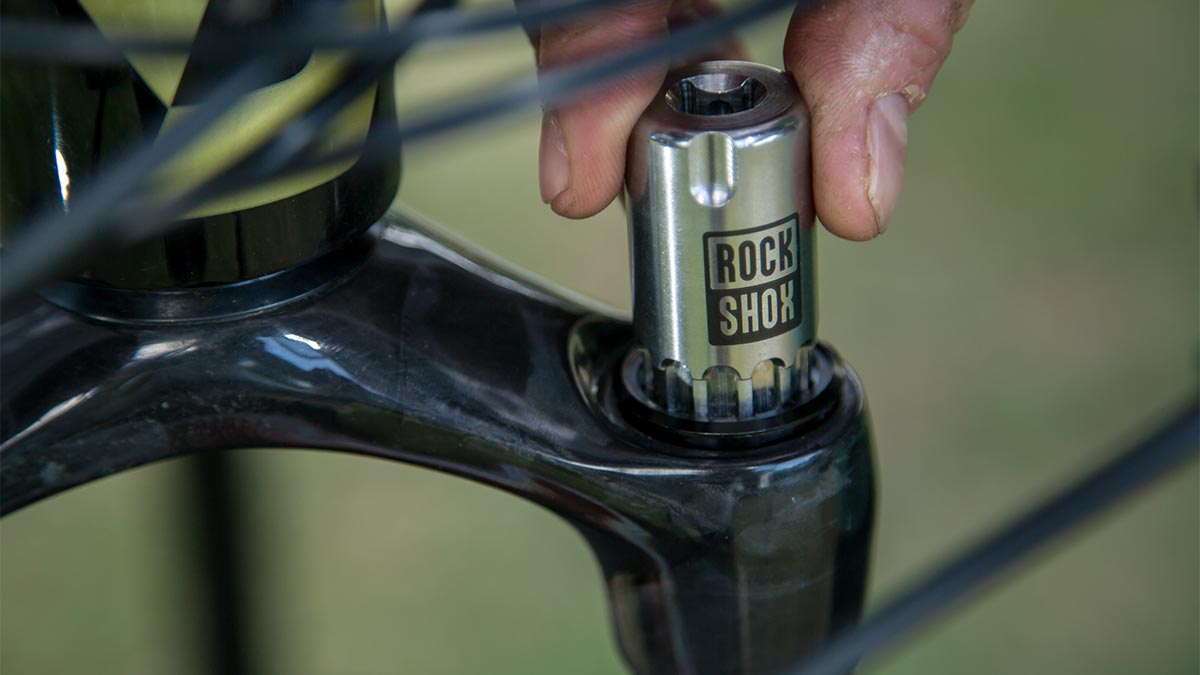
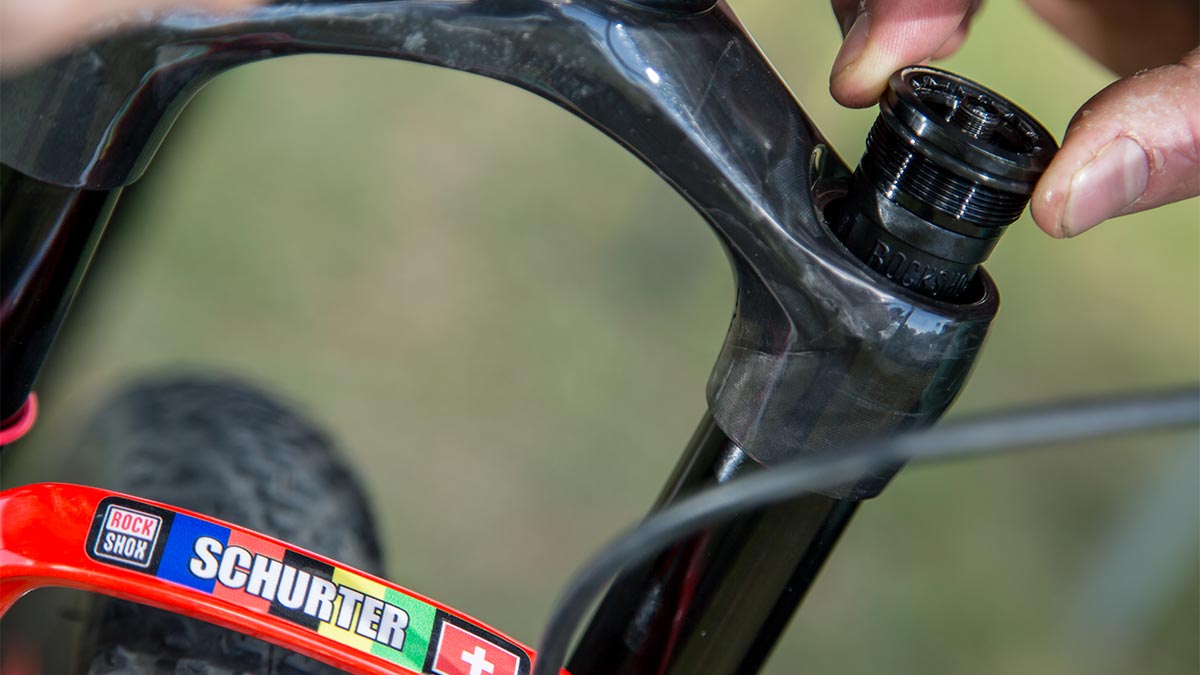
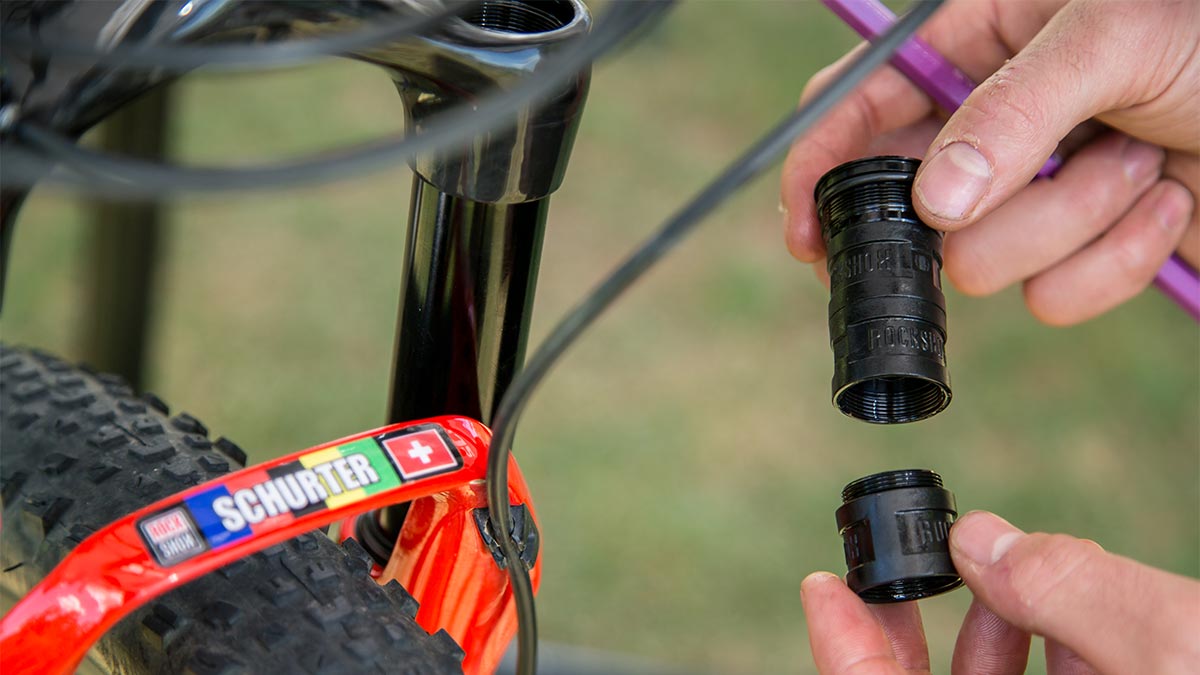
Volume spacers / tokens Fit inside the shock’s air chamber. As the shock reaches full travel, there is less space available for the compressed air which causes the pressure inside the shock to increase more than if it did not have a spacer.
  • Makes it harder to bottom out
  • Firmer end-stroke
  • For every token added, you can run 5 to 10 PSI less pressure
Spring rate For an air shock, this is defined by the pressure that is applied with the pump.
  • The higher the weight of the rider, the higher the spring rate you will need
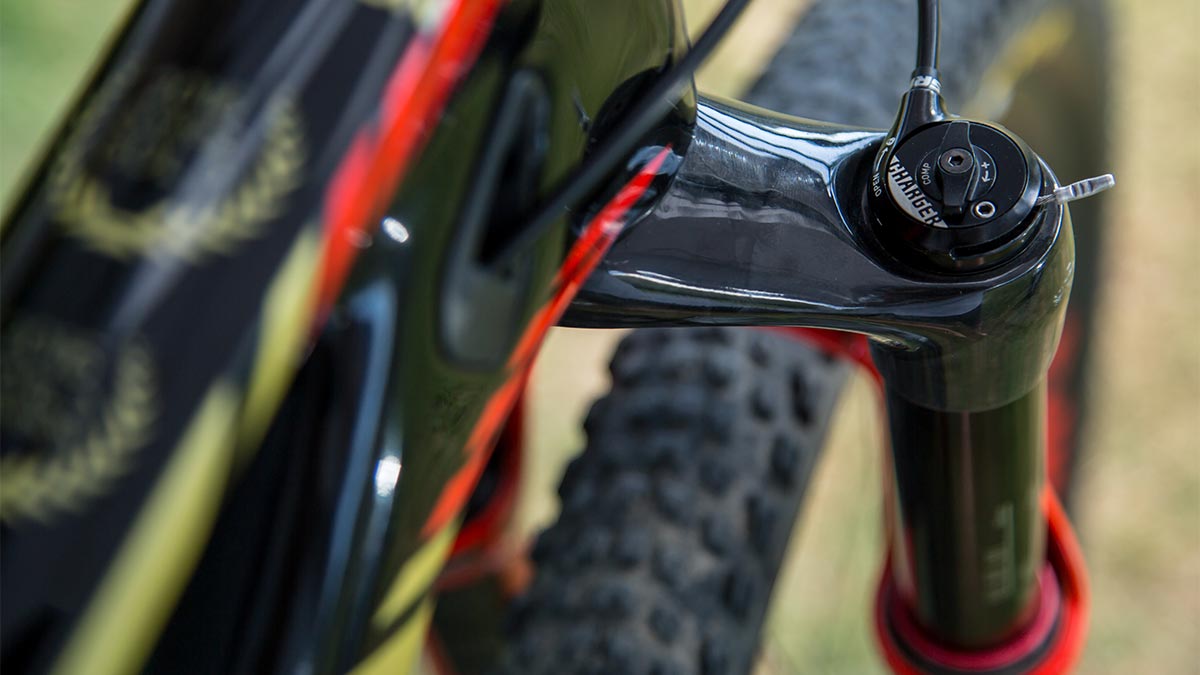
Low-speed Compression Controlling of the compression speed when the suspension compresses very slowly, such as a gradual bumps or pedaling induced suspension bobbing.
  • Safer and more predictable riding experience
  • More resistance on impacts
  • More support to pump the bike over rollers and through corners.
  • More energy derived in the damper than in the spring
  • The suspension is at a higher level in more technical sections
High-speed Compression Controls the compression speed when the suspension compresses very quickly, such as hitting a rock or landing a jump.
  • Suspension is more controlled and there is more support when landing large jumps
  • Makes it harder to bottom out
Low-speed Rebound (!: If your suspension has one rebound dial, it controls Low Speed rebound) Determining where the oil volume can pass inside the shock. The shock will absorb your weight against gravity in a slow, controlled manner.
  • Steadier, more predictable feeling
  • Rear suspension more settled on steep descents
  • Less bouncing after landing
High-speed Rebound High speed rebound is the rebound behavior in the deep stroke (i.e. extending from the full travel) and so has an effect on large hits.
  • More control and stability when recovering from large hit, drops or jumps

Words : Yanick Gyger & Nick Craig
Photos : Jochen Haar
Video : Raineduponmedia


Nino Schurter

Learn more

SCOTT-SRAM MTB RACING TEAM

Learn more