How to Pack For Backcountry Skiing
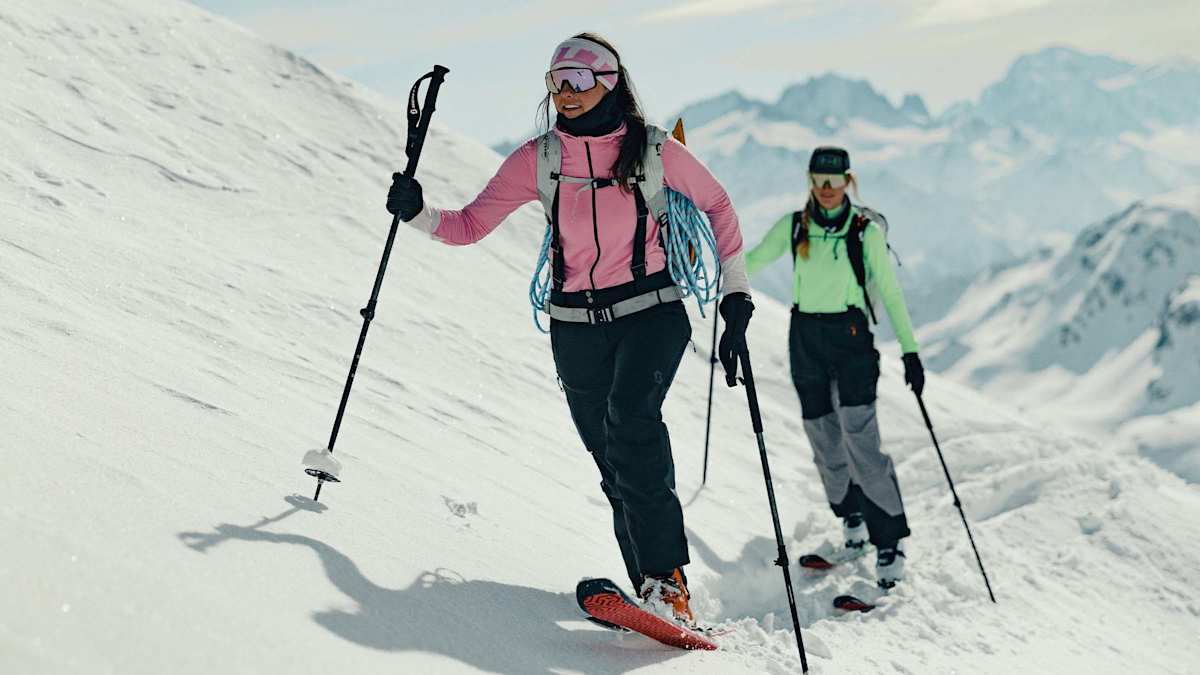
Backcountry skiing is arguably the most unfiltered and pure snow sport out there. There are no mechanized lifts to bring you to the top, few other people on the trails, and in fact, there aren’t really any “trails” per se. You choose your route, both up and down. And every turn on the down is paid for with your sweat on the up.
If you’ve only ever skied at a resort, ski touring might be a bit intimidating, with its unique challenges and specific gear requirements. Fortunately, if you break it down to the basics, it’s no more complex than any other sport.
And that’s just what we’re going to do in this guide. We’ll explain the basics of backcountry equipment and apparel and provide a ski touring pack list to help you pack light for backcountry skiing (and pack smart).
Backcountry Skiing Education and Avalanche Training
The most important piece of gear for safe and enjoyable backcountry skiing is intangible: It is knowledge of your local conditions and training to make good decisions in the backcountry.
Most regions have dedicated avalanche forecast organizations that publish daily reports on conditions during the ski season. Always check the avalanche report before going on a ski tour, and monitor the reports throughout the season to gauge how the snowpack is changing in your area.
But how do you interpret all of that information published by your local avalanche forecasters? Consider taking an avalanche safety course with a provider such as the American Institute for Avalanche Research Education (AIARE). This organization offers avalanche education for everyone from beginners to professional rescuers. If you plan to ski frequently in the backcountry, it’s worth investing in yourself with this training.
And remember, avalanche safety doesn’t end when the course book closes. Practice regularly with your avalanche safety gear and go through rescue scenarios with your ski partners to keep your skills sharp.
Avalanche Safety Gear
There are three essential pieces of avalanche safety equipment that every backcountry traveler should carry: Transceiver, Probe, and Shovel.
Avalanche Transceiver
The avalanche transceiver, commonly known as a beacon performs two critical functions. If you are buried in an avalanche, it transmits a signal to the search party so they can locate you. And, when switched to search mode, your transceiver allows you to search for someone who has been buried with their beacon.
Choose a three-antennae beacon with a multiple burial function and a minimum search range of 40 meters, which operates on the international standard frequency of 457 kHz. Most modern transceivers sold at outdoors shops will meet these standards.
Avalanche Probe
An avalanche probe is essential for finding a victim in the unfortunate event of a burial during an avalanche. Probes fold up to fit in your pack and should be at least 240cm long. Depending on your area’s snowpack you might want to opt for a 300cm probe. Longer probes might be slightly heavier or bulkier, but that’s a small compromise for better rescue capabilities.
Avalanche Shovel
Similar to the probe, an avalanche shovel is compact and packable, with an extendable handle. Its blade should be at least 500cm² and 75cm long. As is the case with the rest of the avalanche safety gear, you’ll find a sturdy, quality shovel at your local gear shop.
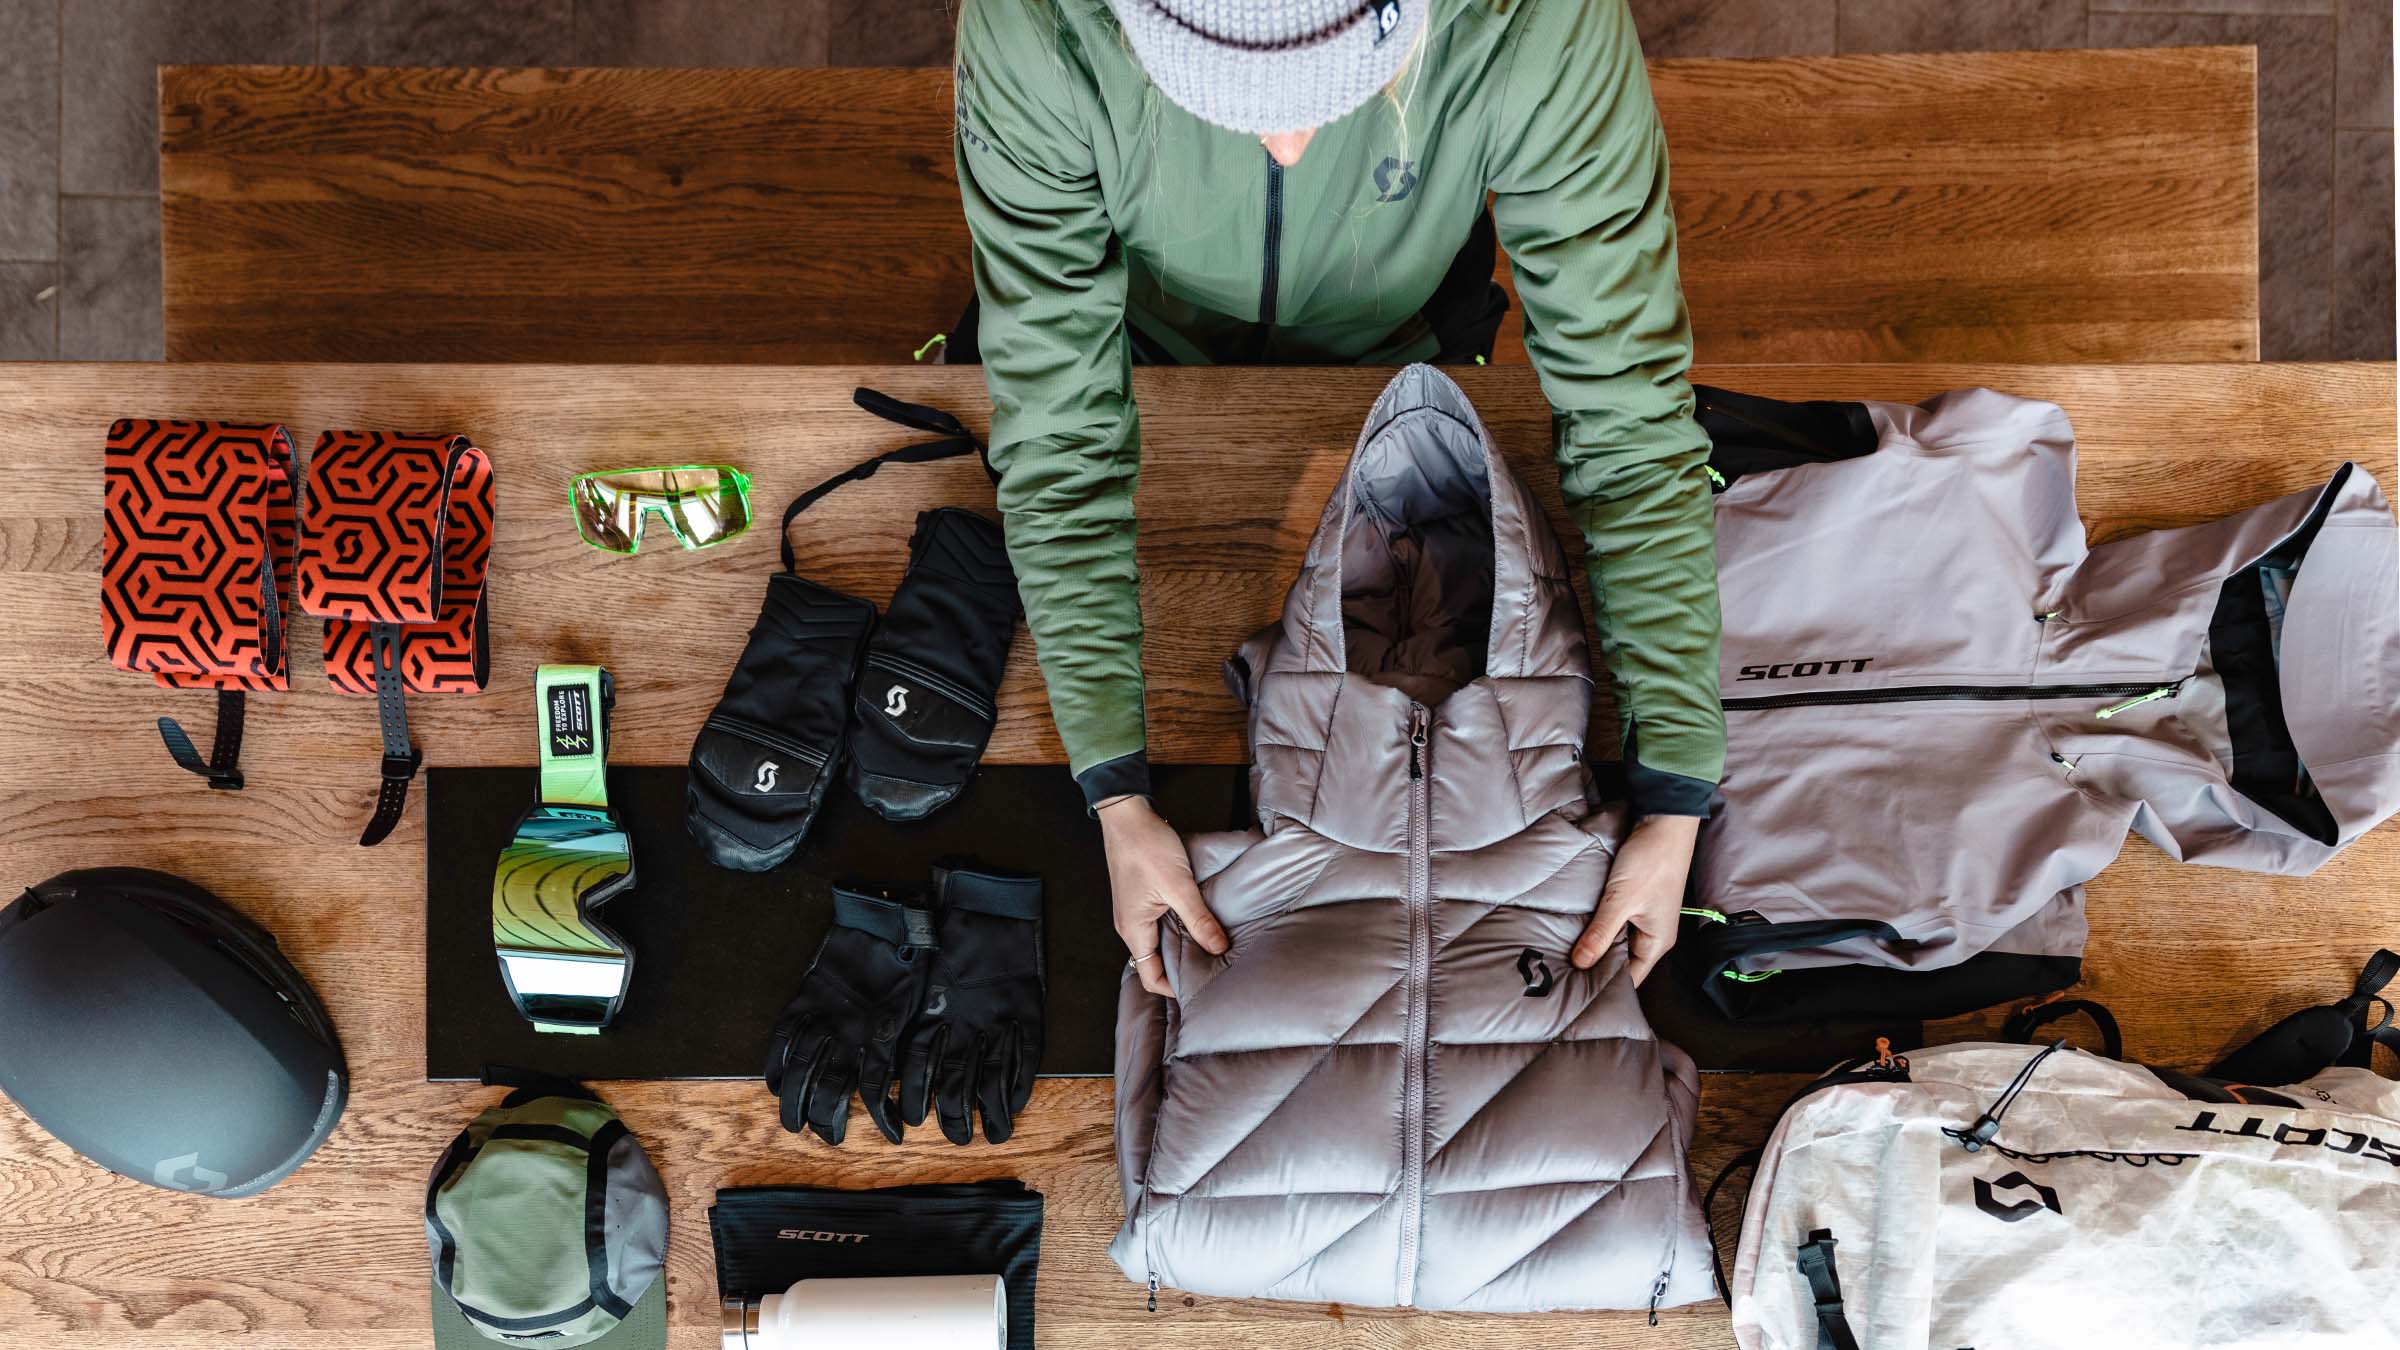
Backcountry Skiing Pack List
Here are some items we typically like to bring in our ski touring pack. You might choose to add more items to the list, depending on your needs, or leave some items at home if they’re unnecessary in your specific locale.
- —First aid kit
- —Water
- —Nutrition
- —Sunscreen
- —Hat/beanie
- —Neck gaiter
- —Extra insulation layer
- —Two-way radio
- —Map and/or GPS
- —Compass
- —Chemical hand warmers
- —Shelter or space blanket
- —Rubber ski tie straps
- —Ice axe or crampons
- —Multitool and/or knife
- —Headlamp
- —Lighter or matches
- —Avalanche observation log book
Choosing a Backcountry Skiing Bag
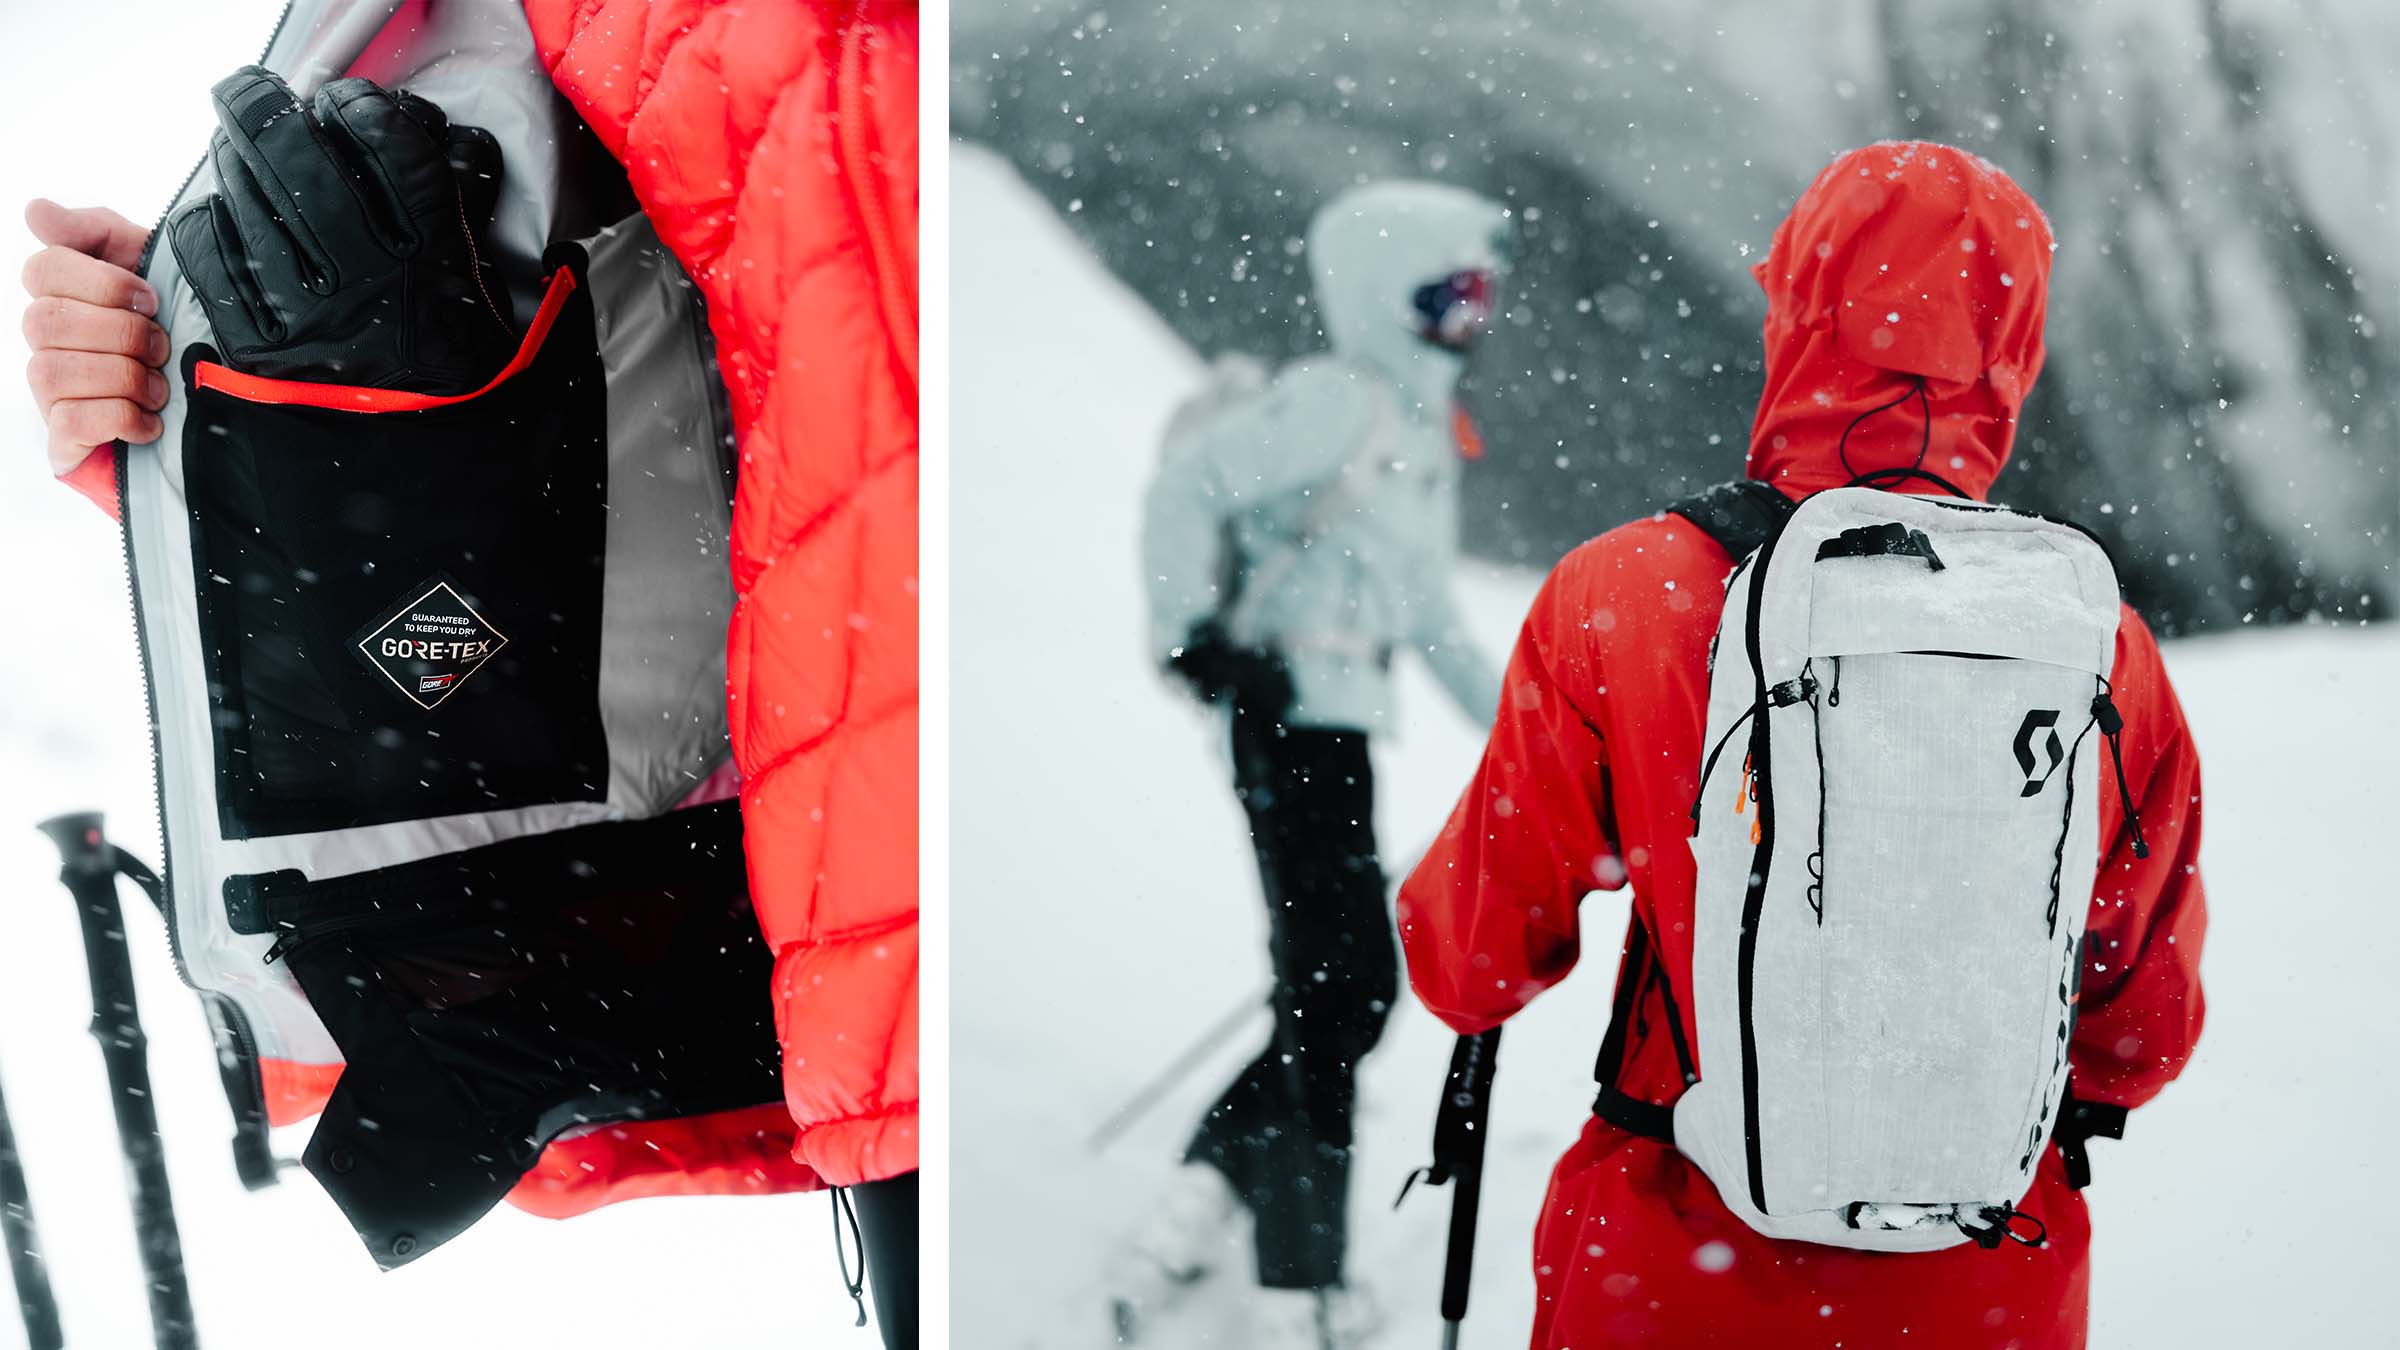
Since ski touring requires a bit more gear than resort skiing, you’ll need a quality bag that is comfortable, durable, and big enough for your objectives. For most one-day tours, a pack between 25 and 35 liters is usually big enough.
Some skiers, who venture into avalanche-prone terrain, prefer to wear a touring bag that also has an avalanche air bag, like the SCOTT Patrol Ultralight E2 25 Kit Pack. Similar to a life preserver worn at sea, a skier can deploy the pack’s airbag in the event of an avalanche, and the inflated bag will help them float on top of the snow, often preventing a burial.
How to Dress for Backcountry Skiing
Few outdoor activities can match ski touring for the incredible range of conditions, from the heat of a sunny skin track to the biting cold that hits you on the dark side of a windy ridge. Layering is key to let you adjust your clothing and avoid excess sweating.
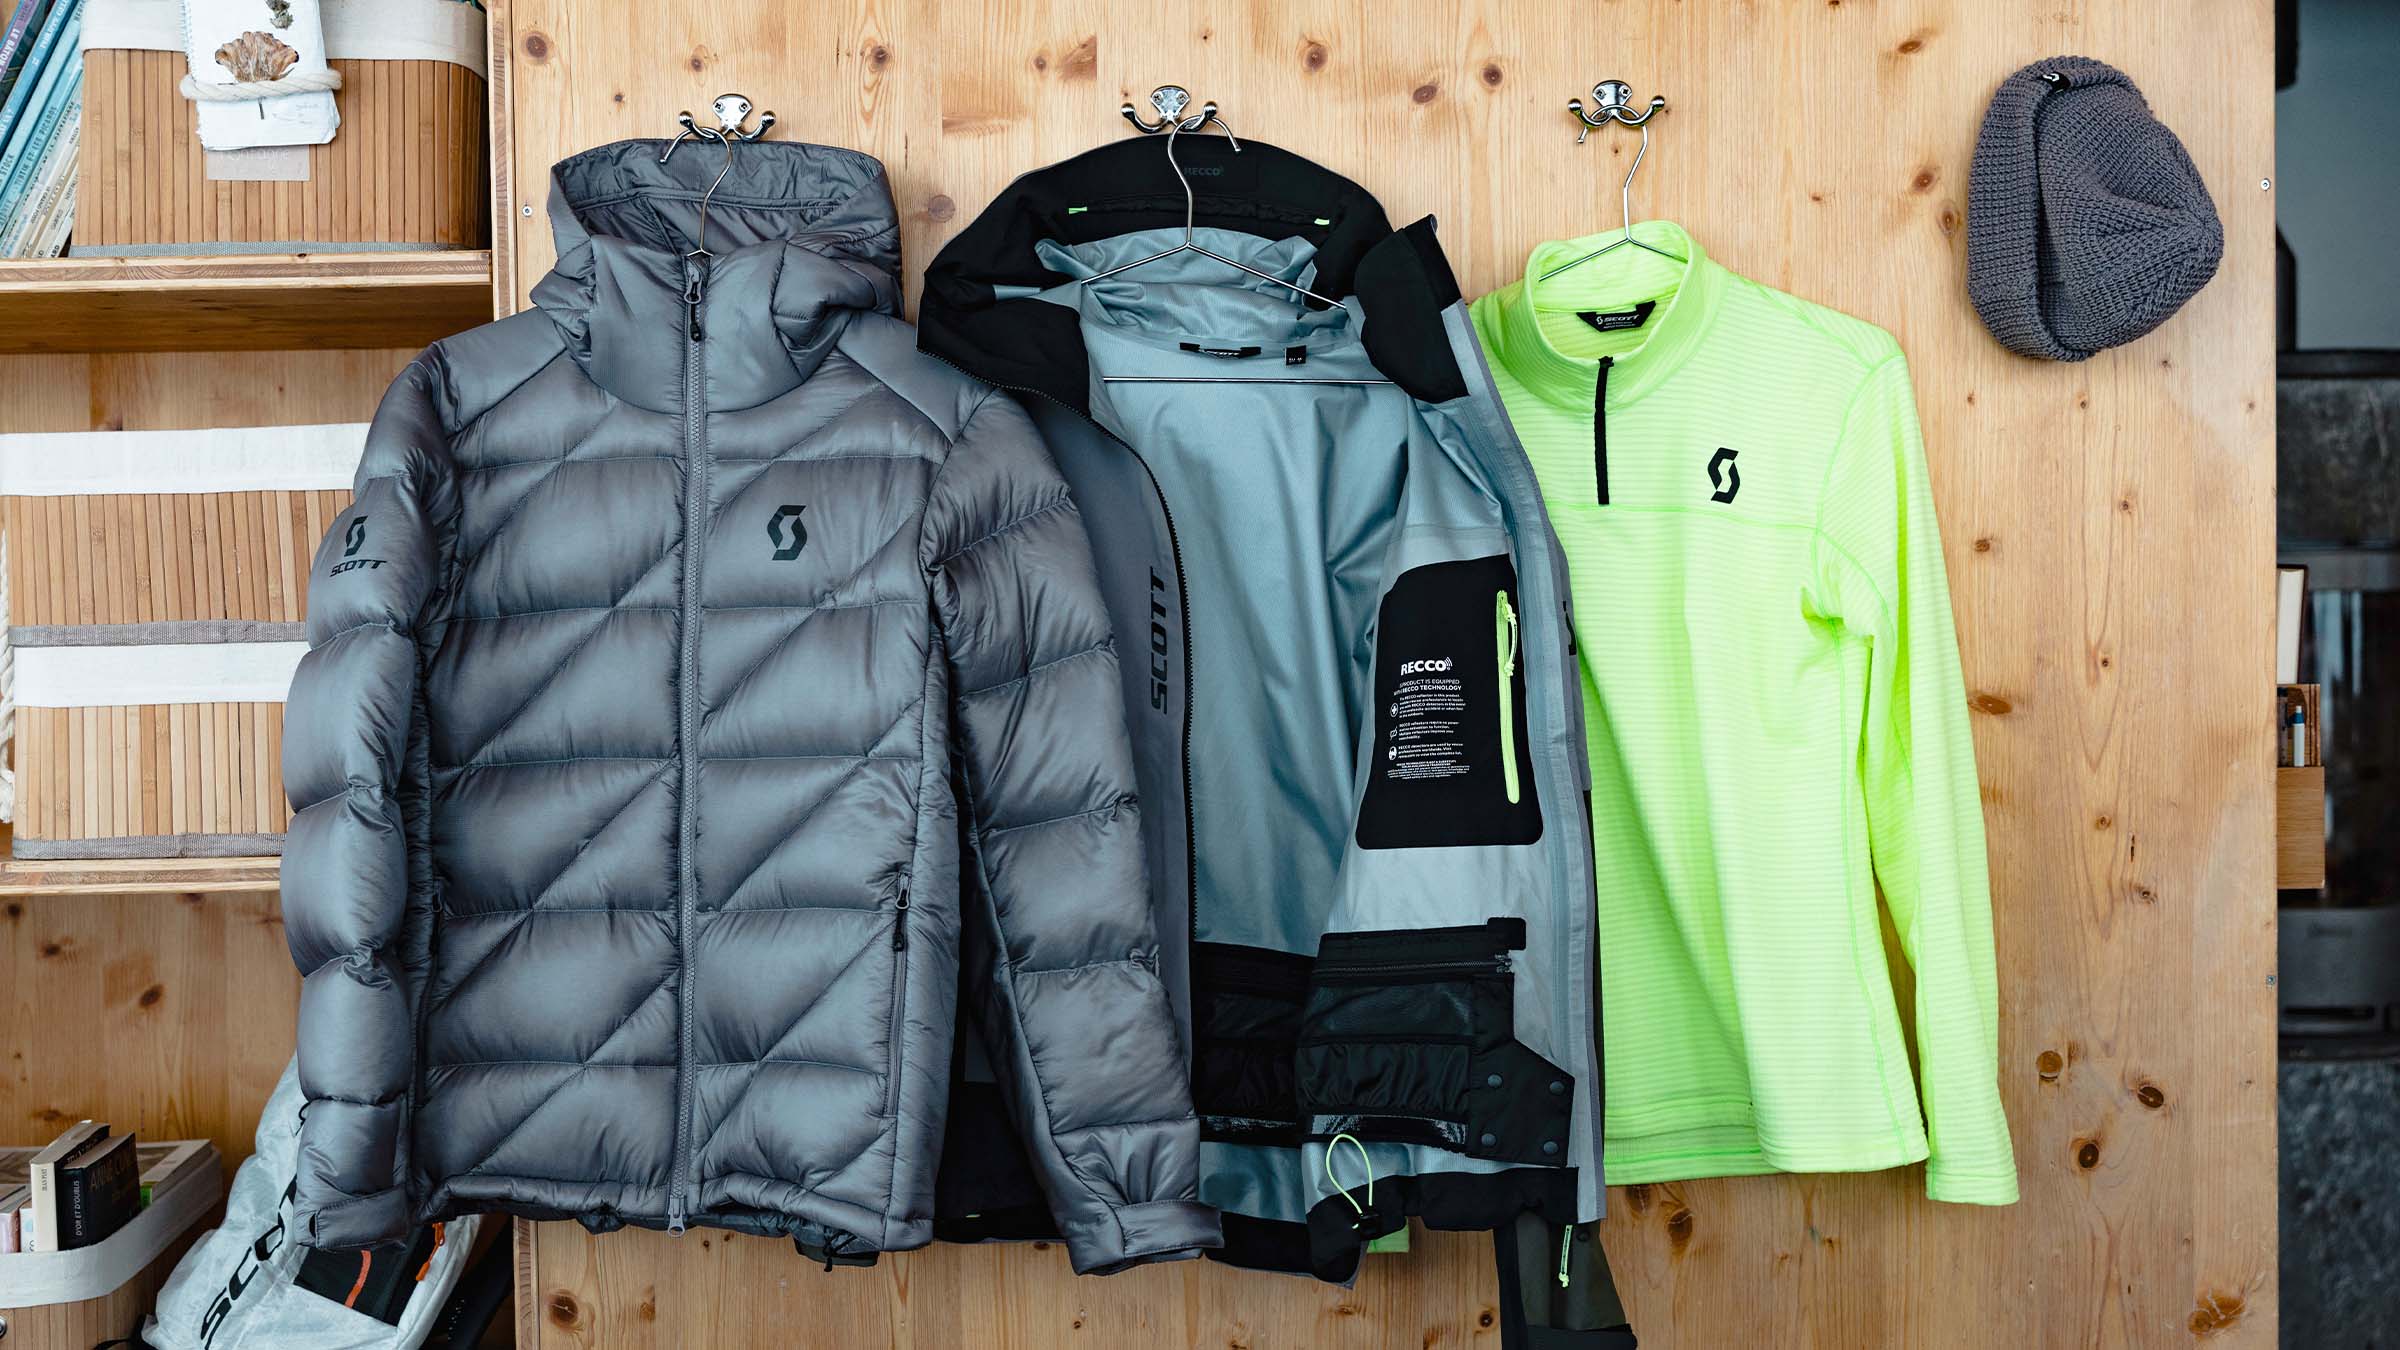
You’ll always want to wear a base layer that wicks moisture and breathes, like the SCOTT Defined Light Pullover Women's or Men's. Merino or synthetic materials are best for this layer, rather than cotton, which doesn’t insulate when wet.
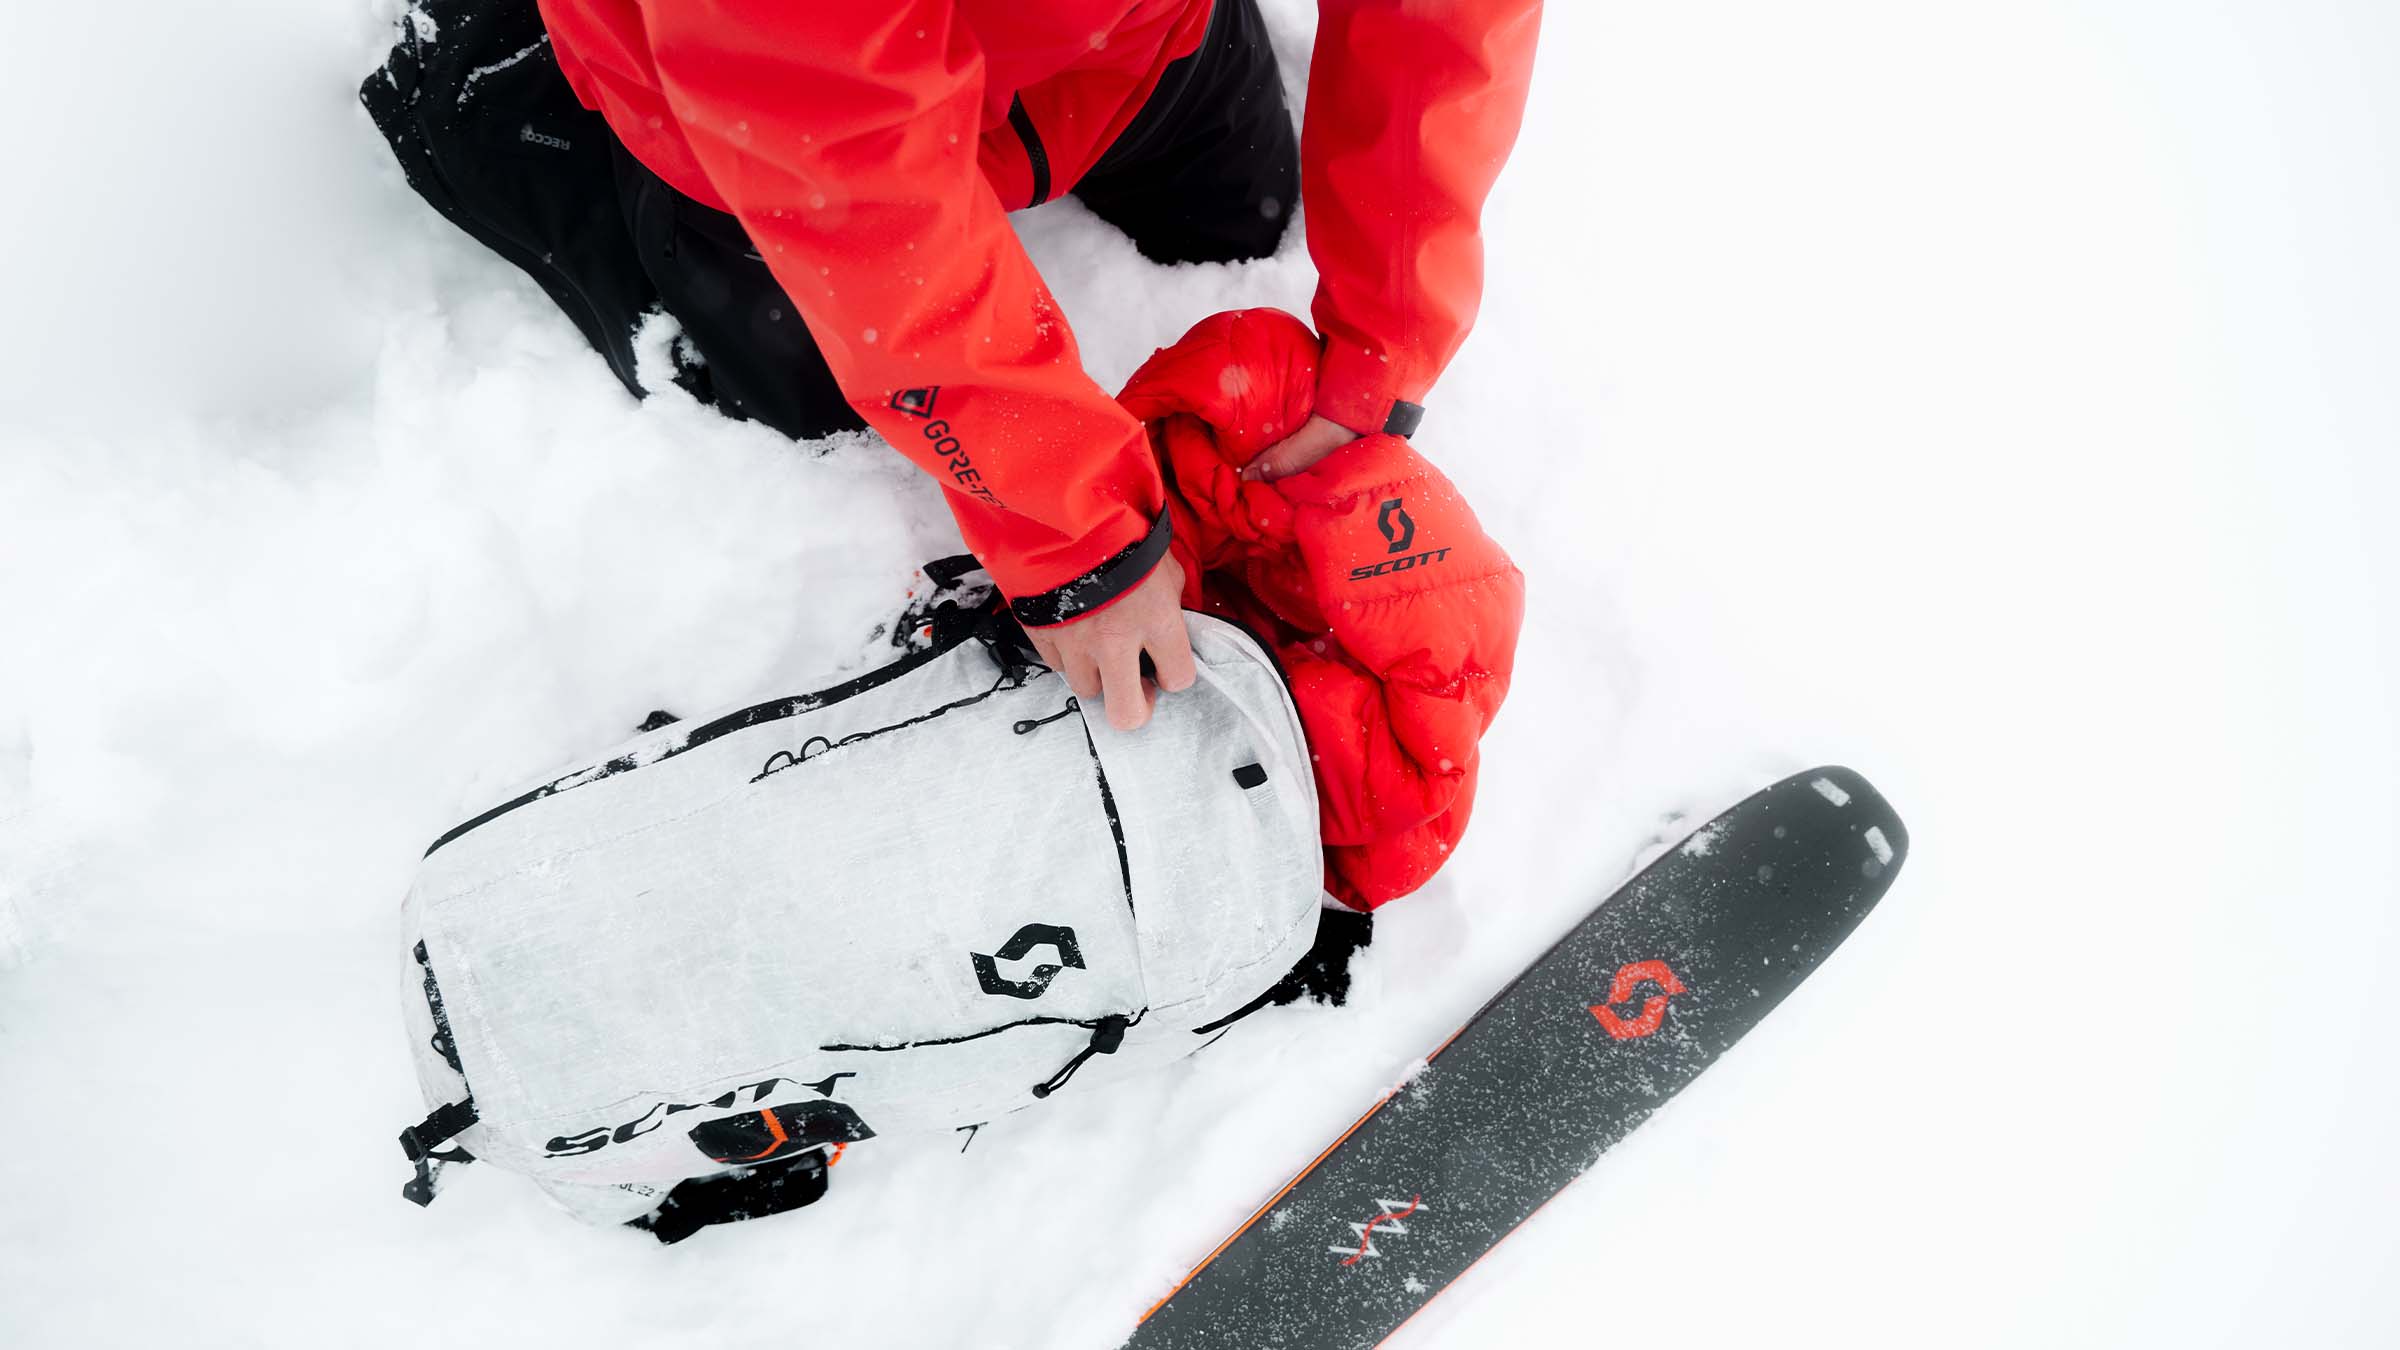
On top of your base layer, an insulated puffy jacket traps your body heat. SCOTT’s Insuloft Warm Women's or Men's jacket affords plenty of warmth, and can also be packed away for long approaches when things heat up.
Finally, a non-insulated jacket/pant combo is essential for blocking wind and moisture, while still being breathable, packable and light. SCOTT’s Explorair line is a great option, for all-day comfort and functionality.
Read our complete Layering Guide for more ideas on how to dress for ski touring.
And don’t forget your hands and feet! Like your base layer, a merino-based, moisture-wicking sock is best. Depending on your preferences, you might opt for a thinner sock or a more padded sock.
Gloves can be a matter of personal preference, depending on how good your circulation is (or isn’t). Similar to layering, if you bring two glove options — one light, one heavy — you can adjust for warmer temperatures on the climb or colder temperatures on the descent. SCOTT’s Explorair Premium GTX glove is our go-to choice for the harshest winter days.
What to Look for In Lightweight Backcountry Ski Gear
When it comes to your ski pack and apparel, there are ways to pack light for backcountry skiing. However, some of that gear, like safety equipment or your favorite puffy jacket, is non-negotiable. Often, the best way to build a lightweight ski tour kit is to focus on hard goods, like skis, poles, boots, and bindings.
Lightweight Backcountry Skis & Skins
The benefits of lightweight skis are noticeable with every step you take up the skin track. While some skiers choose wider, longer skis for more extreme terrain, many backcountry skiers prefer to shave grams with skis that are shorter and narrower than what they’d typically ski in-bounds. SCOTT’s Superguide 95 is a good example of a touring ski that strikes a balance between downhill capabilities and uphill agility with a 95mm waist and carbon construction to save grams. A narrower ski can also be more playful in tight terrain, which is an added bonus.
To grip the snow on the uphills, touring skis rely on removable climbing skins, which adhere to the base of the skis. Like petting a cat backwards, the short “fur” on skins grips the snow as you kick uphill, but then glides smoothly when you stride forward. Typically skins are made of a blend of natural mohair and nylon, with some favoring only one material. In general, mohair glides faster and nylon grips better. As ski mountaineering (a.k.a. Ski-Mo) racing becomes more popular, brands are finding ways to make skins lighter and faster, which is good news for anyone who wants to make backcountry skiing a little easier!
Lightweight Touring Boots
Similar to skis, weight savings are very noticeable when they’re made at your ski boots. However, there is a big caveat with this gear decision: Comfort. Same as you would with a resort boot, start with a boot that fits your foot shape and is sized correctly. Then, consider lightweight options if performance is a priority, a heavy-duty boot if you want to charge steep terrain, or something that strikes a balance, such as the SCOTT Celeste Tour boot.
Along with weight, cuff rotation (how much a boot flexes forward in walk mode) makes a big difference in climbing efficiency. Boots that are geared toward racing or uphill performance might have a releasable cuff for additional mobility.
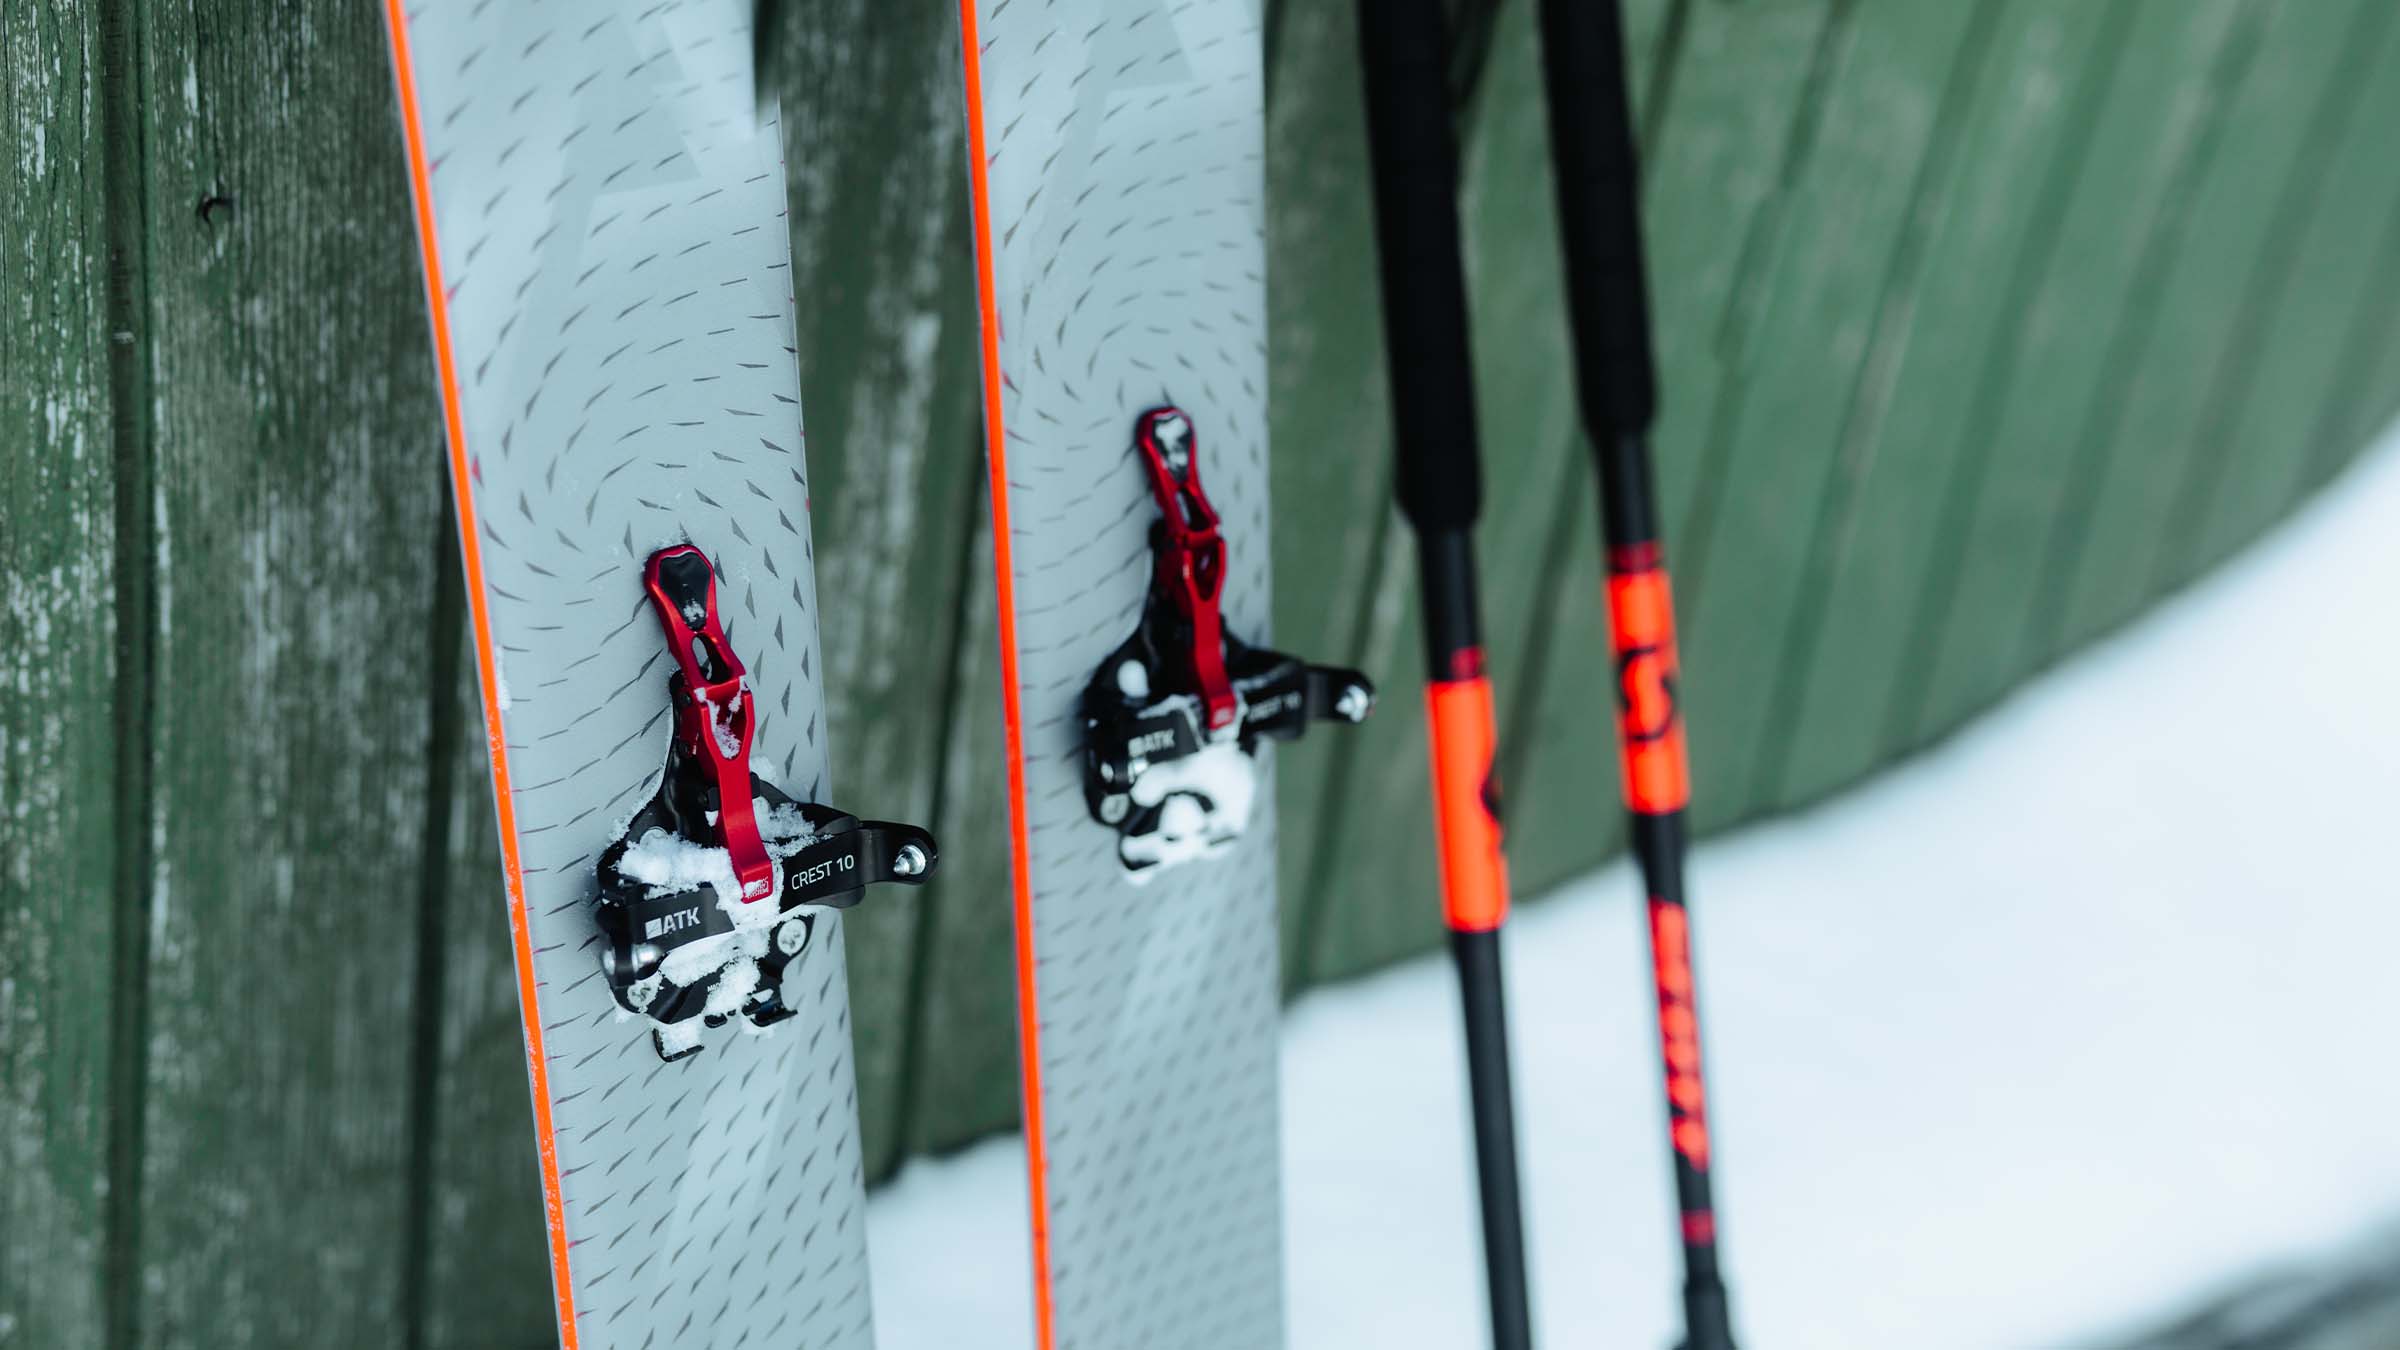
Lightweight Backcountry Ski Bindings
There are a few types of backcountry ski bindings. Some rely strictly on pins in the toe and heel of the boot, resulting in the lightest, most minimal system. Others, that are intended for sidecountry or more aggressive skiers, combine a DIN-rated toe or heel with pins. This results in a binding that sacrifices weight savings in favor of downhill performance. In all cases, the bindings have a function that frees your heel for climbing and locks it down for turning.
It’s best to harmonize your binding choice with the rest of your gear. If you’re opting for Ski-Mo race boots and skis, you’ll want a lightweight pin binding. For a freeride setup, some sort of DIN-hybrid binding will be best.
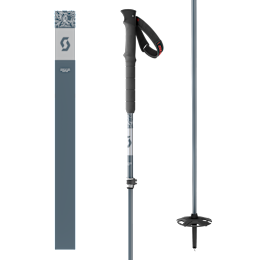
Poles for Ski Touring
Since you use the same poles for climbing and descending, you’ll want something versatile in terms of length. Many skiers prefer adjustable poles like the SCOTT Proguide C SRS, which has a small lever to extend the pole’s lower tube. Extend the pole for more leverage on climbs or flat traverses. Shorten it for good technique on descents. You can also collapse these poles to fit in or on the outside of your bag.
Backcountry Ski Helmet
Taking a cue from bicycle and climbing helmet designs, new backcountry ski helmets are lighter and more minimal than what you see in the lift lines, while still meeting safety standards. Helmets like SCOTT’s Couloir Tour can be worn over hats for warmth or on their own when it is warm. It’s also small enough to easily fit in a pack.
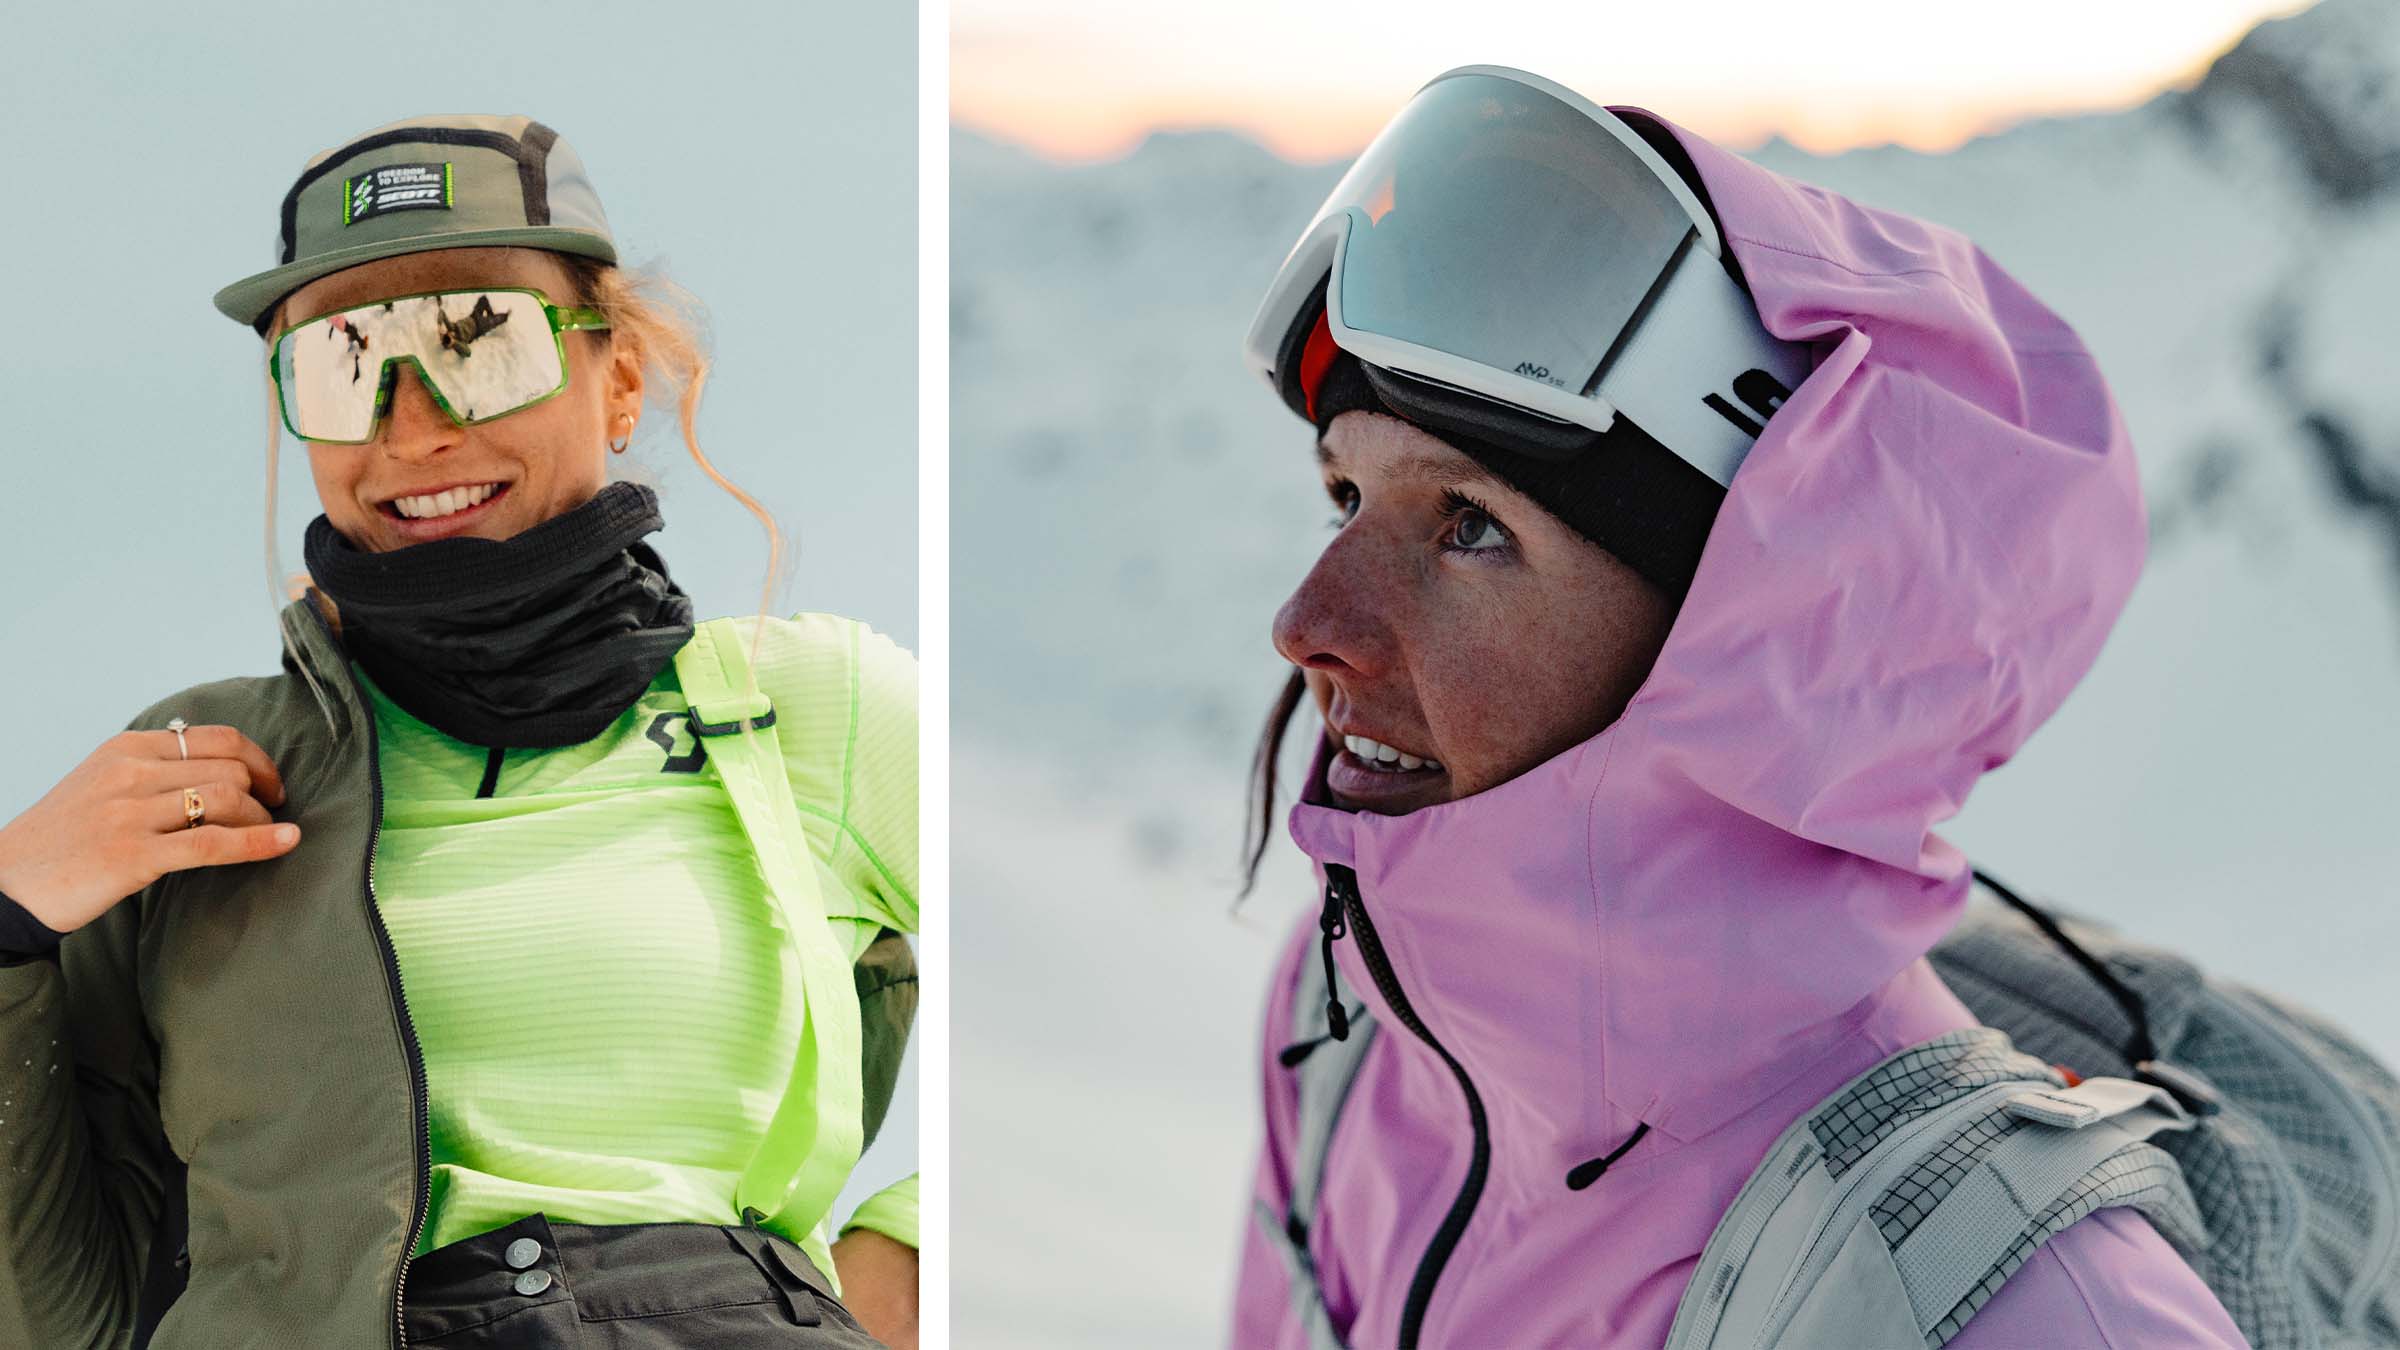
Eyewear: Sunglasses and Goggles
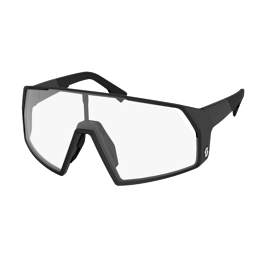
Whatever you do, always protect your eyes from harmful UV light, especially as it is reflected off of the snow. Some skiers prefer to swap between goggles and sunglasses throughout the day, wearing lighter, cooler sunglasses for the ascent and goggles for the face-shots. The minimalists might wear sunglasses all day, so long as they have plenty of coverage, like the SCOTT Pro Shield sunglasses.
Final Thoughts and Tips
- —Between the snow and the sweat, Backcountry gear can get pretty damp! Be diligent about drying out your gear after every tour to extend its life and ensure it’s ready for the next powder day.
- —Remember that every ski tour always has one overarching objective: Get home safely! This means frequently reevaluating plans and adjusting as needed, depending on conditions, group dynamics, and weather.
- —It bears repeating that you should always check the weather and avalanche conditions before heading into the backcountry. Also, learn to watch the weather and anticipate changes that might not have been on the morning forecast.
- —Avoid skiing alone. First of all, it’s way more fun to ski with a buddy, but also it is much safer in terms of everything from avalanches to unexpected mishaps. Always remember to tell someone where you are going and when you intend to return.
- —As you’ll discover, backcountry skiing can be pretty strenuous. Spend some time hiking, running, or biking in the summer to bring some good cardiovascular fitness with you into the winter months.
Have fun, learn what works best for you, and enjoy the serene backcountry!